Deploying Your Bot
Deployment is how you make your AI assistant available to customers. FRENZY.BOT supports multiple deployment methods — from a simple website widget to full omnichannel messaging and custom API integrations.
Deployment methods at a glance
| Method | Best for | Setup time |
|---|---|---|
| Website widget | Most businesses — fastest way to go live | 5 minutes |
| Business messaging, customer support | 15 minutes | |
| Telegram | Communities, tech-savvy audiences | 5 minutes |
| Discord | Communities, gaming, dev teams | 10 minutes |
| Instagram / Messenger | Social media support, DM automation | 15 minutes |
| Slack | Internal teams, workplace support | 10 minutes |
| WordPress plugin | WordPress sites with full-page portal | 5 minutes |
| REST API | Custom frontends, mobile apps, internal tools | Varies |
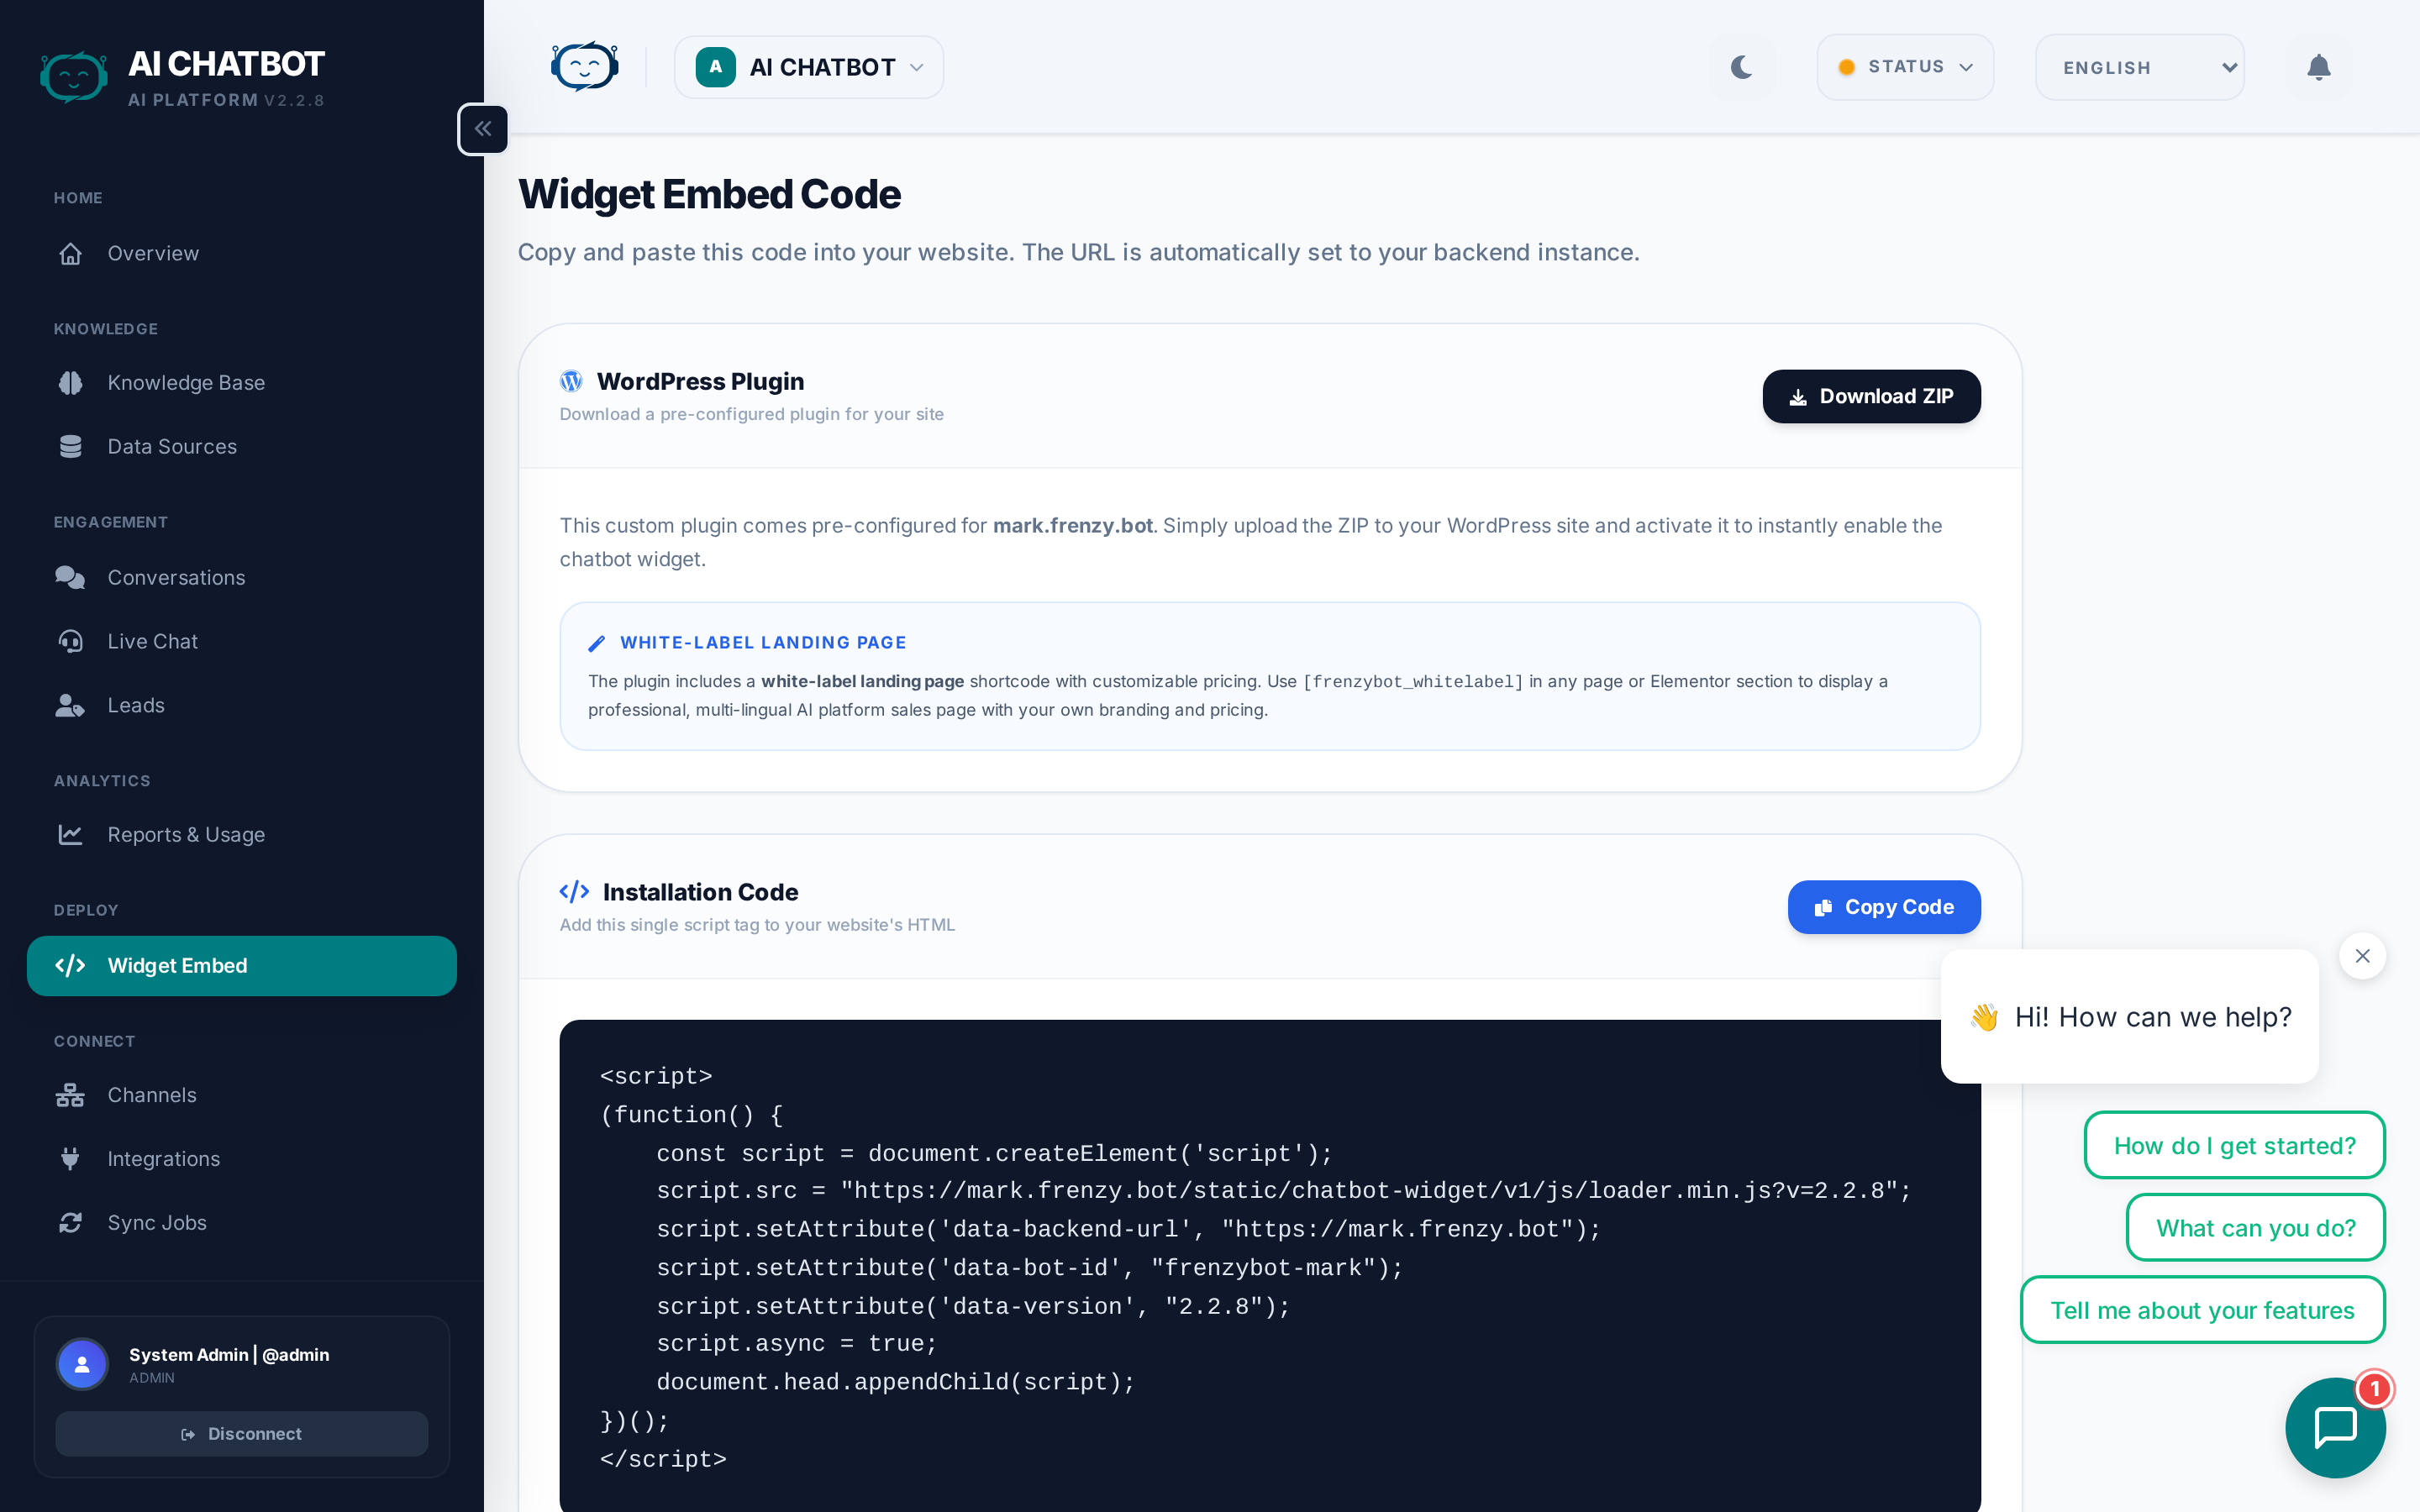
Website widget (primary)
The fastest way to go live. The widget appears as a chat bubble on your website.
- Go to Dashboard → Embed.
- Copy the generated script tag.
- Paste it before
</body>on your website. - Refresh and test the chat.
Key features:
- Shadow DOM isolation — Your site's CSS won't break the widget.
- Session persistence — Chat history survives page refreshes.
- Lazy loading — Widget loads asynchronously, won't slow your site.
- Multilingual — Supports multiple languages with RTL.
- Lead form — Capture contacts directly in the chat flow.
For full details, see Widget & Embed Code.
Messaging channels
Deploy to messaging platforms so users can chat with your bot where they already are:
- WhatsApp — Enterprise messaging with lead capture and handoff. See WhatsApp Setup.
- Telegram — 24/7 support via bot token.
- Discord — AI expert in your community server.
- Instagram / Messenger — Social DM automation.
- Slack — Internal workspace assistant.
All channels feed conversations into the same dashboard for unified management.
For setup guides, see Channels.
WordPress plugin
For WordPress sites:
- Script method: Paste the embed code in your theme footer or via a custom scripts plugin.
- Plugin method: Upload the FRENZY.BOT WordPress plugin ZIP.
- Activate and configure the bot ID.
- Use the
[FRENZY.BOT_whitelabel]shortcode for a full-screen embedded support portal.
API deployment
Build your own frontend using the FRENZY.BOT REST API.
Use cases:
- Custom chat UI with your own design
- Mobile app integration (iOS, Android)
- Internal tools and employee portals
- Kiosk or in-store displays
Key API endpoints:
| Endpoint | What it does |
|---|---|
POST /api/chat |
Send a message and receive an AI response |
POST /api/leads |
Create a lead programmatically |
GET /api/analytics/funnel |
Retrieve funnel metrics |
GET /api/analytics/daily |
Daily usage statistics |
For API documentation and authentication details, contact your account manager.
Deployment checklist
Before going live on any channel:
- [ ] Knowledge base has content and items show Live status
- [ ] OpenRouter is connected and a model is selected
- [ ] System prompt is configured in Settings → Model Behavior
- [ ] Widget or channel responds correctly in test mode
- [ ] Lead form is configured (if you want to capture contacts)
- [ ] Integrations are active (if you want leads routed to CRM/email)
- [ ] Custom domain is configured (recommended for production)
FAQ
Q: The widget loads but doesn't answer.
- Verify
data-bot-idis correct and OpenRouter is connected. Check the knowledge base has content.
Q: Can I use the widget on multiple websites?
- Yes. The same embed code works on any website. Use
data-backend-urlto point to your server.
Q: Can I deploy to multiple channels at once?
- Yes. Enable as many channels as you need. All conversations from all channels appear in the same Conversations page.
Q: How do I test before going live?
- Use the built-in test page at
https://yourdomain.com:8321/chatbot-widget/test.htmlfor the widget. For messaging channels, test with a personal account before sharing publicly.