System Settings
Path: /dashboard/settings · Permission: Settings module
Fine-tune every aspect of your FRENZY.BOT instance — AI behavior, branding, widget configuration, lead capture, and system administration. Each tab controls a different part of the system.
What this page answers
- How do I connect or change AI models?
- How do I control response quality and length?
- How do I customize branding and widget behavior?
- How do I configure lead capture and handoff?
- How do I manage system-level settings?
AI Engine
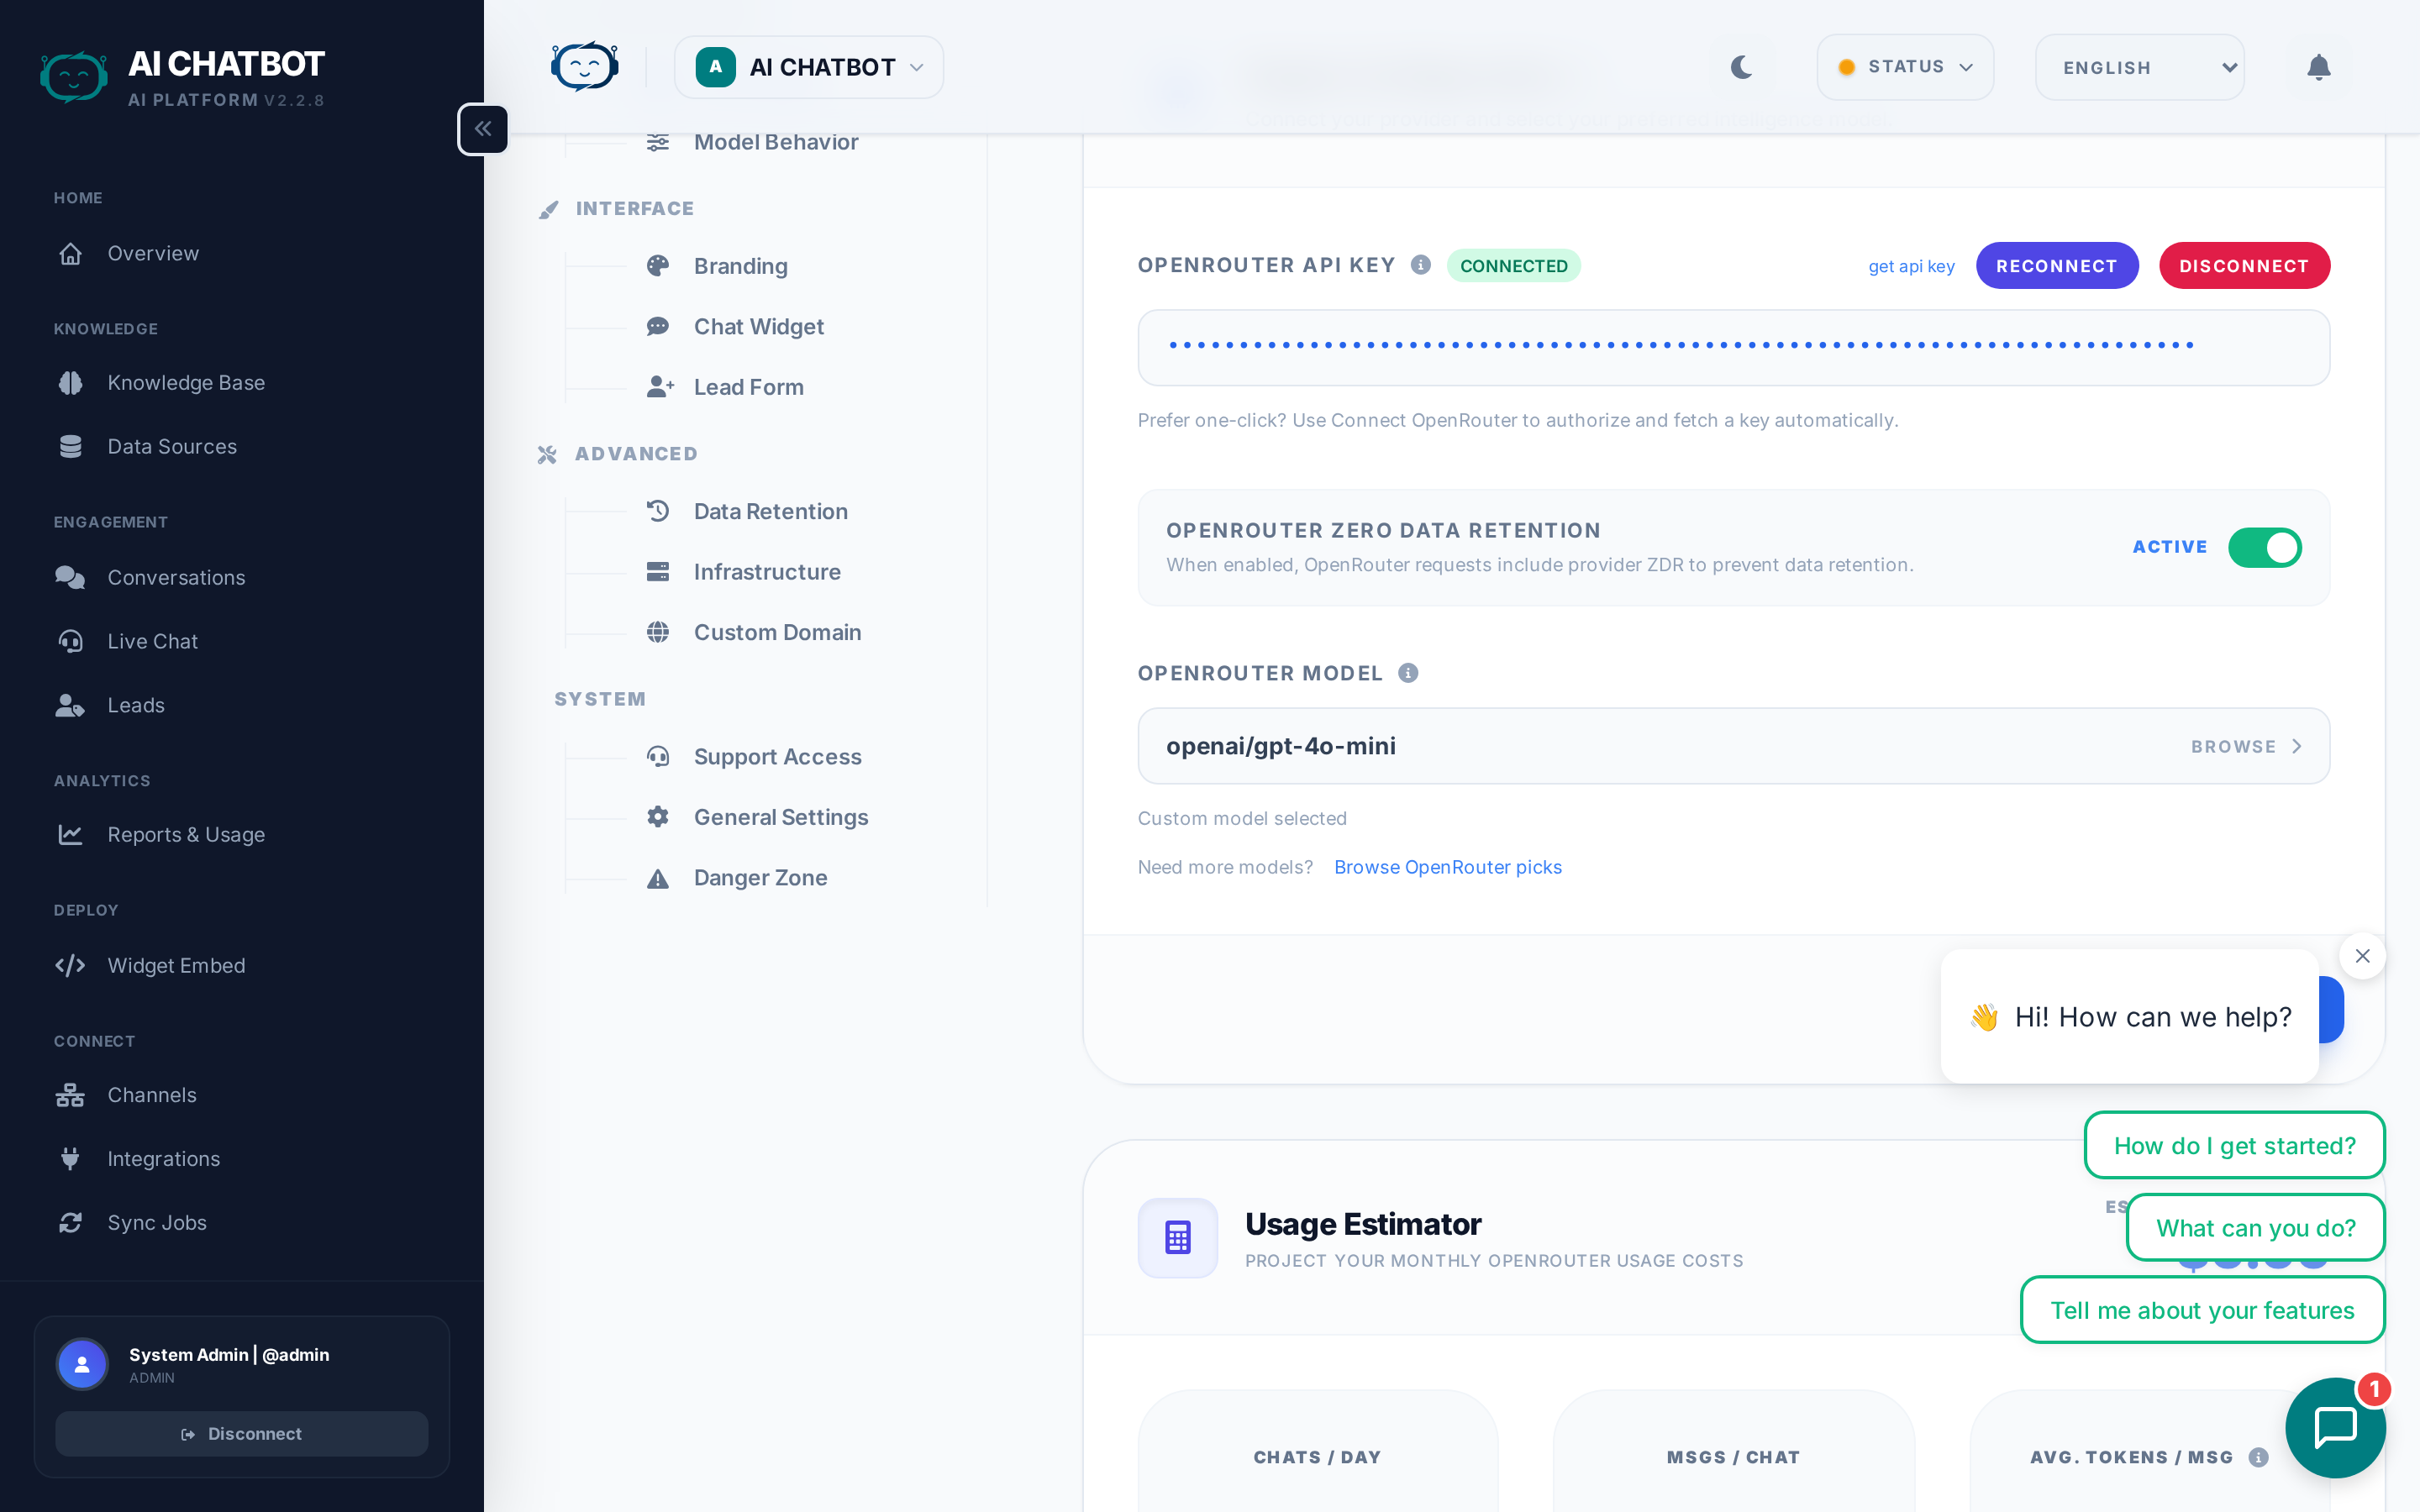
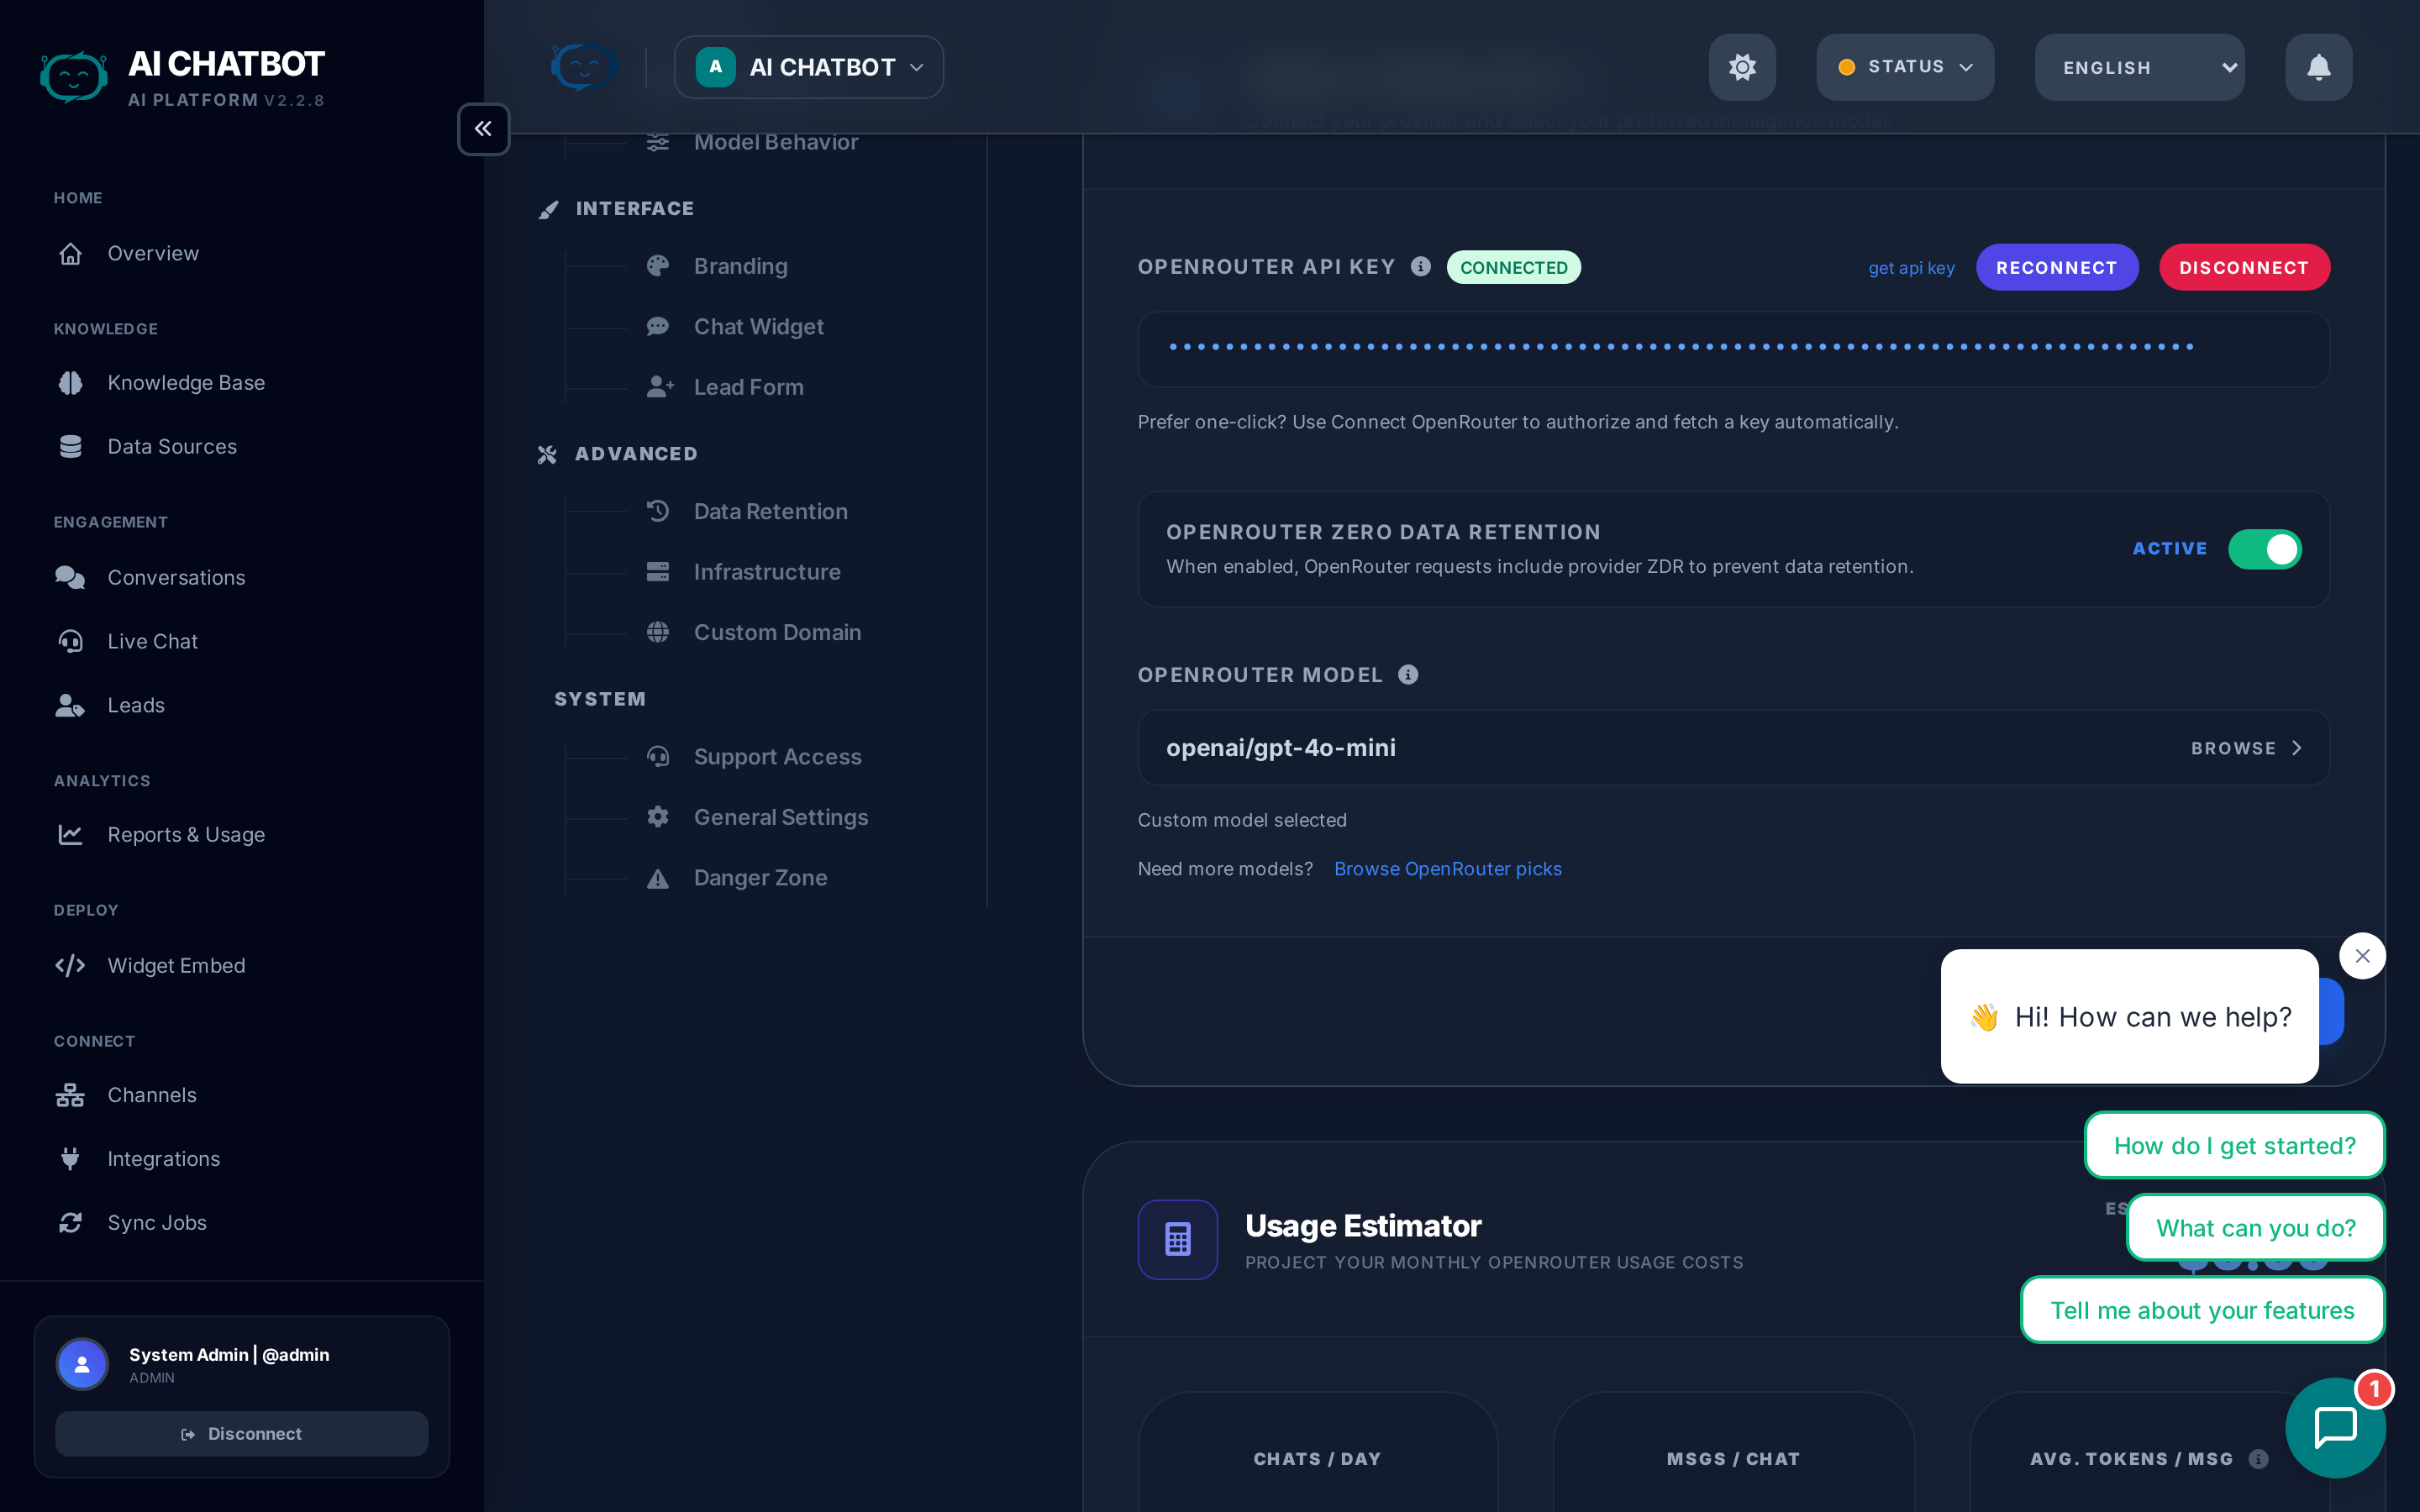
Configure your AI provider and model selection. This is the first thing to set up — without an AI provider, the bot cannot generate responses.
| Setting | What it does | How to use |
|---|---|---|
| Connect OpenRouter | Link your OpenRouter account via secure OAuth | Click the button, authorize in the popup, done |
| API Key | Alternative to OAuth — paste an OpenRouter API key directly | Get a key from openrouter.ai → API Keys |
| Model Selector | Choose which AI model handles conversations | Each option shows provider, context window, and cost tier |
| Tavily API Key | Enable live web search when the knowledge base doesn't have the answer | Get a key from tavily.com |
| Zero Data Retention | Prevent AI providers from storing or training on your data | Toggle on for privacy-sensitive businesses |
If the LLM health indicator is red: Reconnect OpenRouter or verify your API key is valid and has credits.
For the full model comparison guide, see AI Models & Providers.
Model Behavior
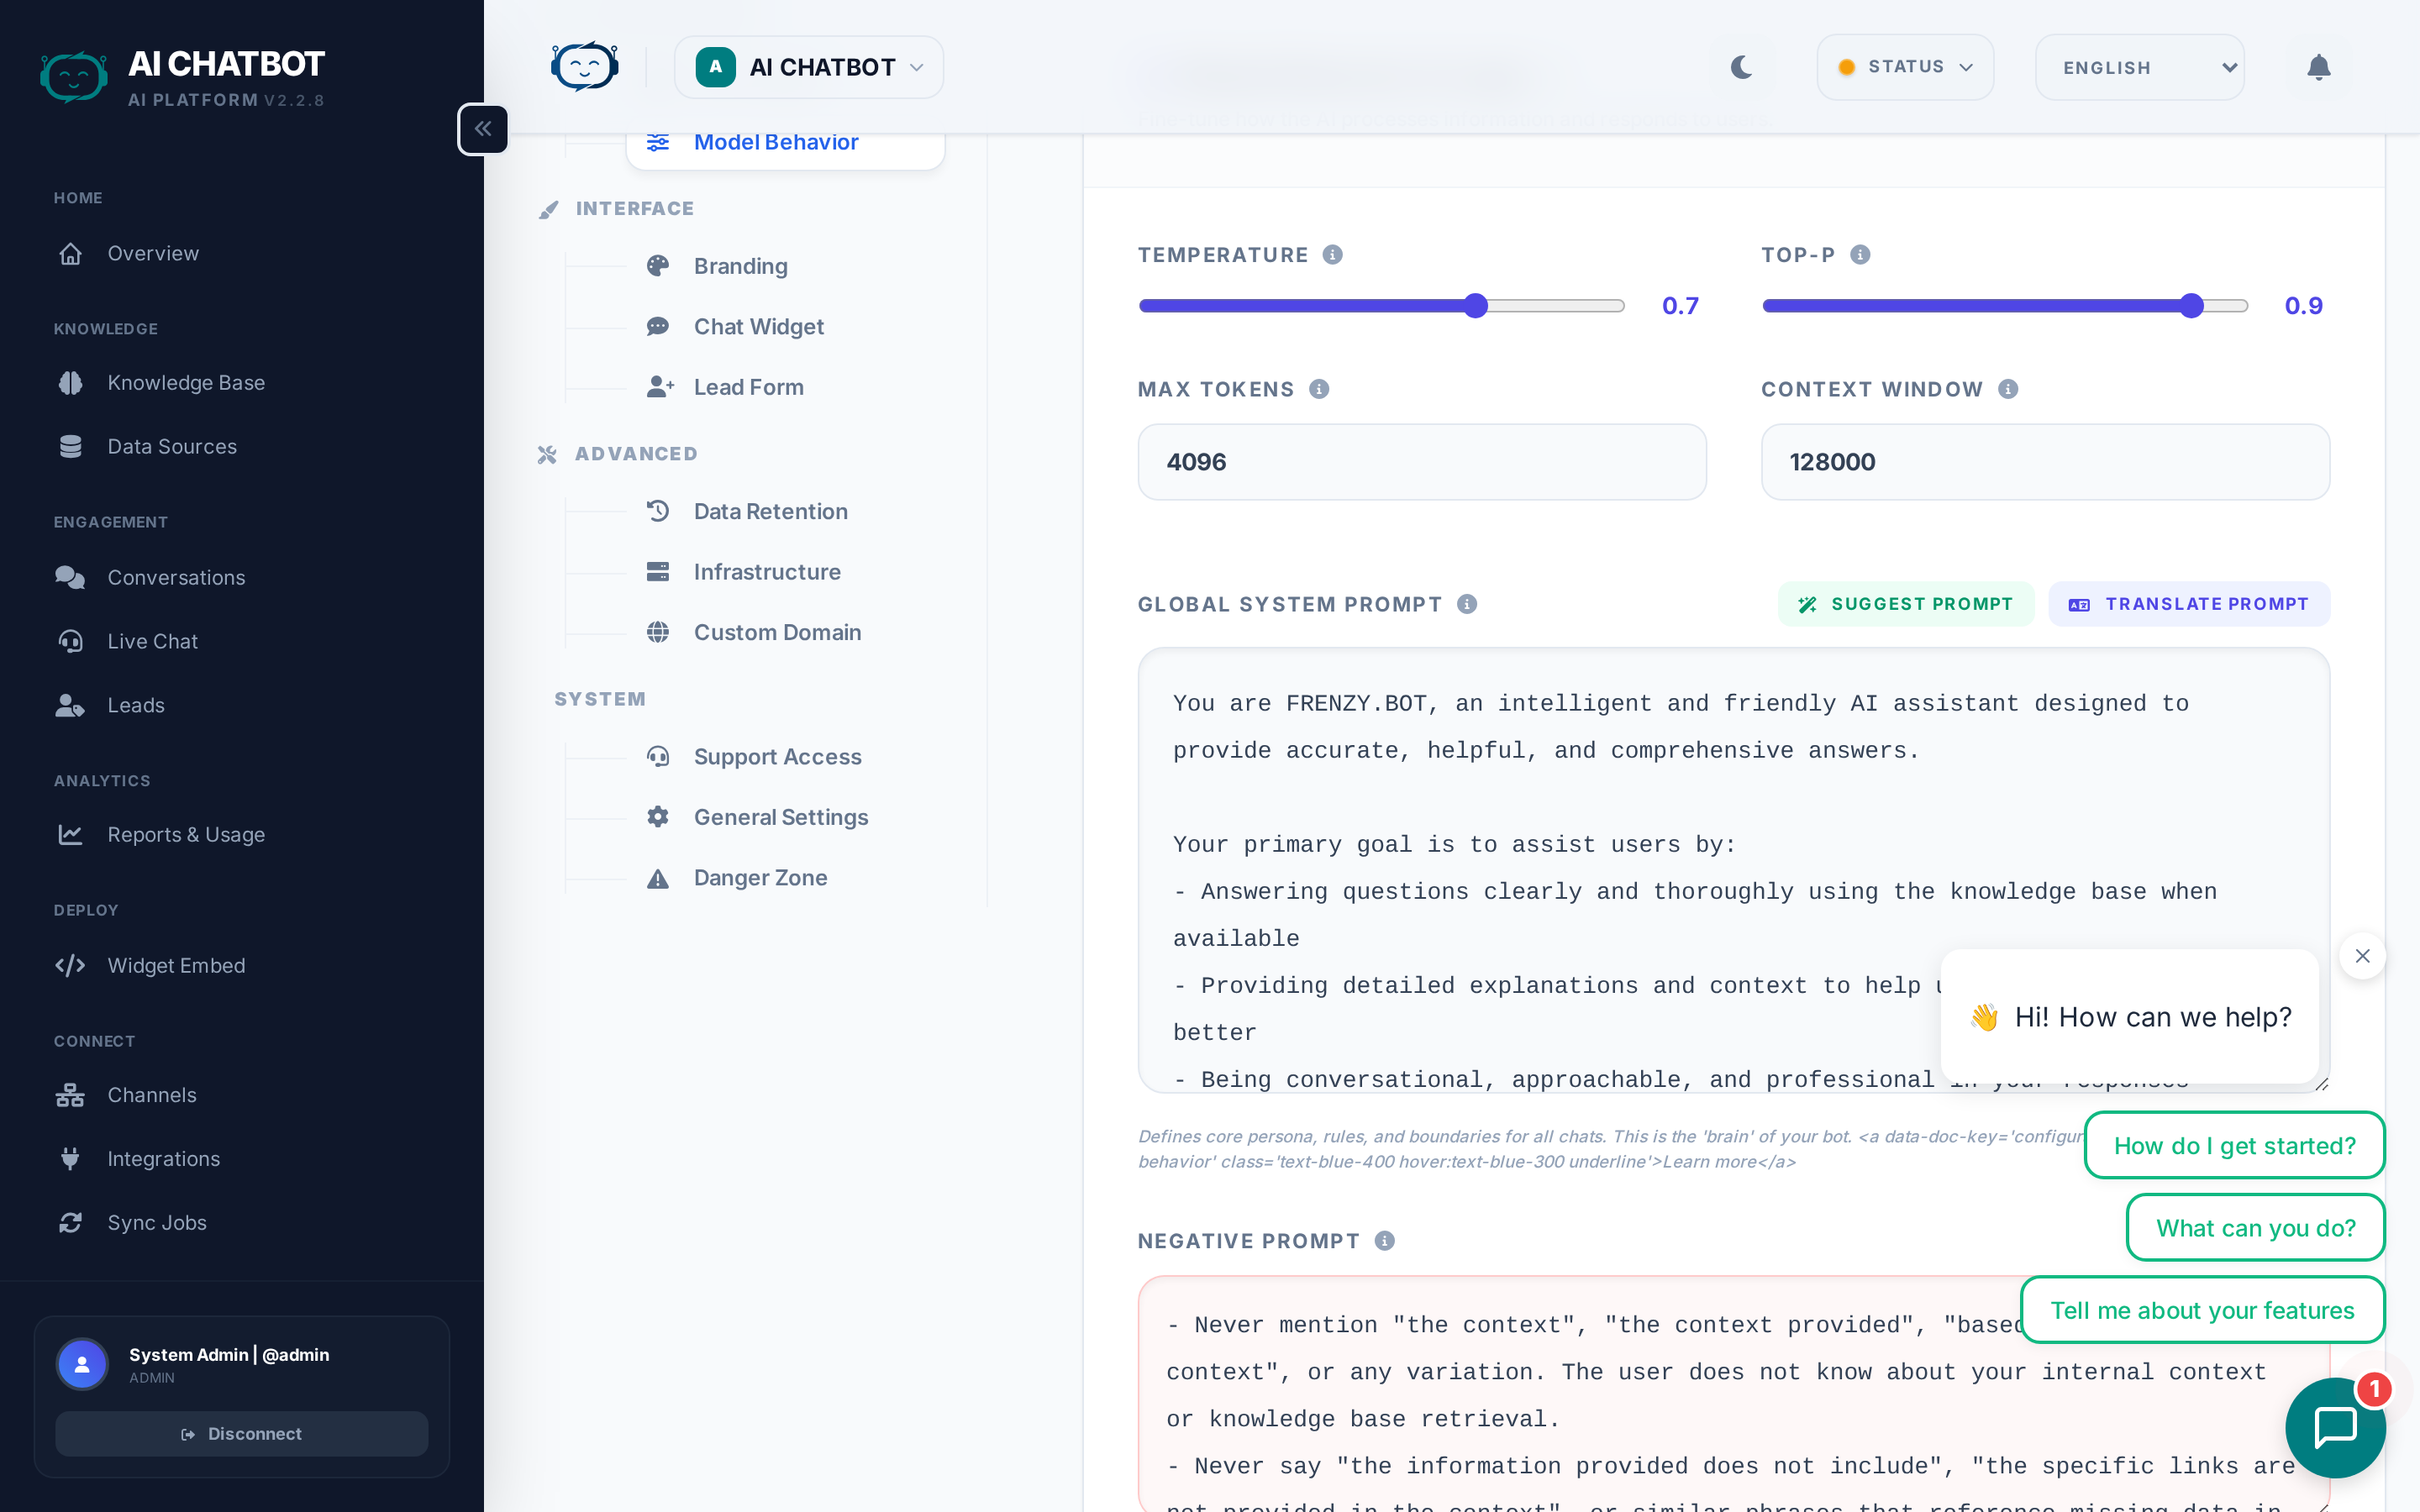
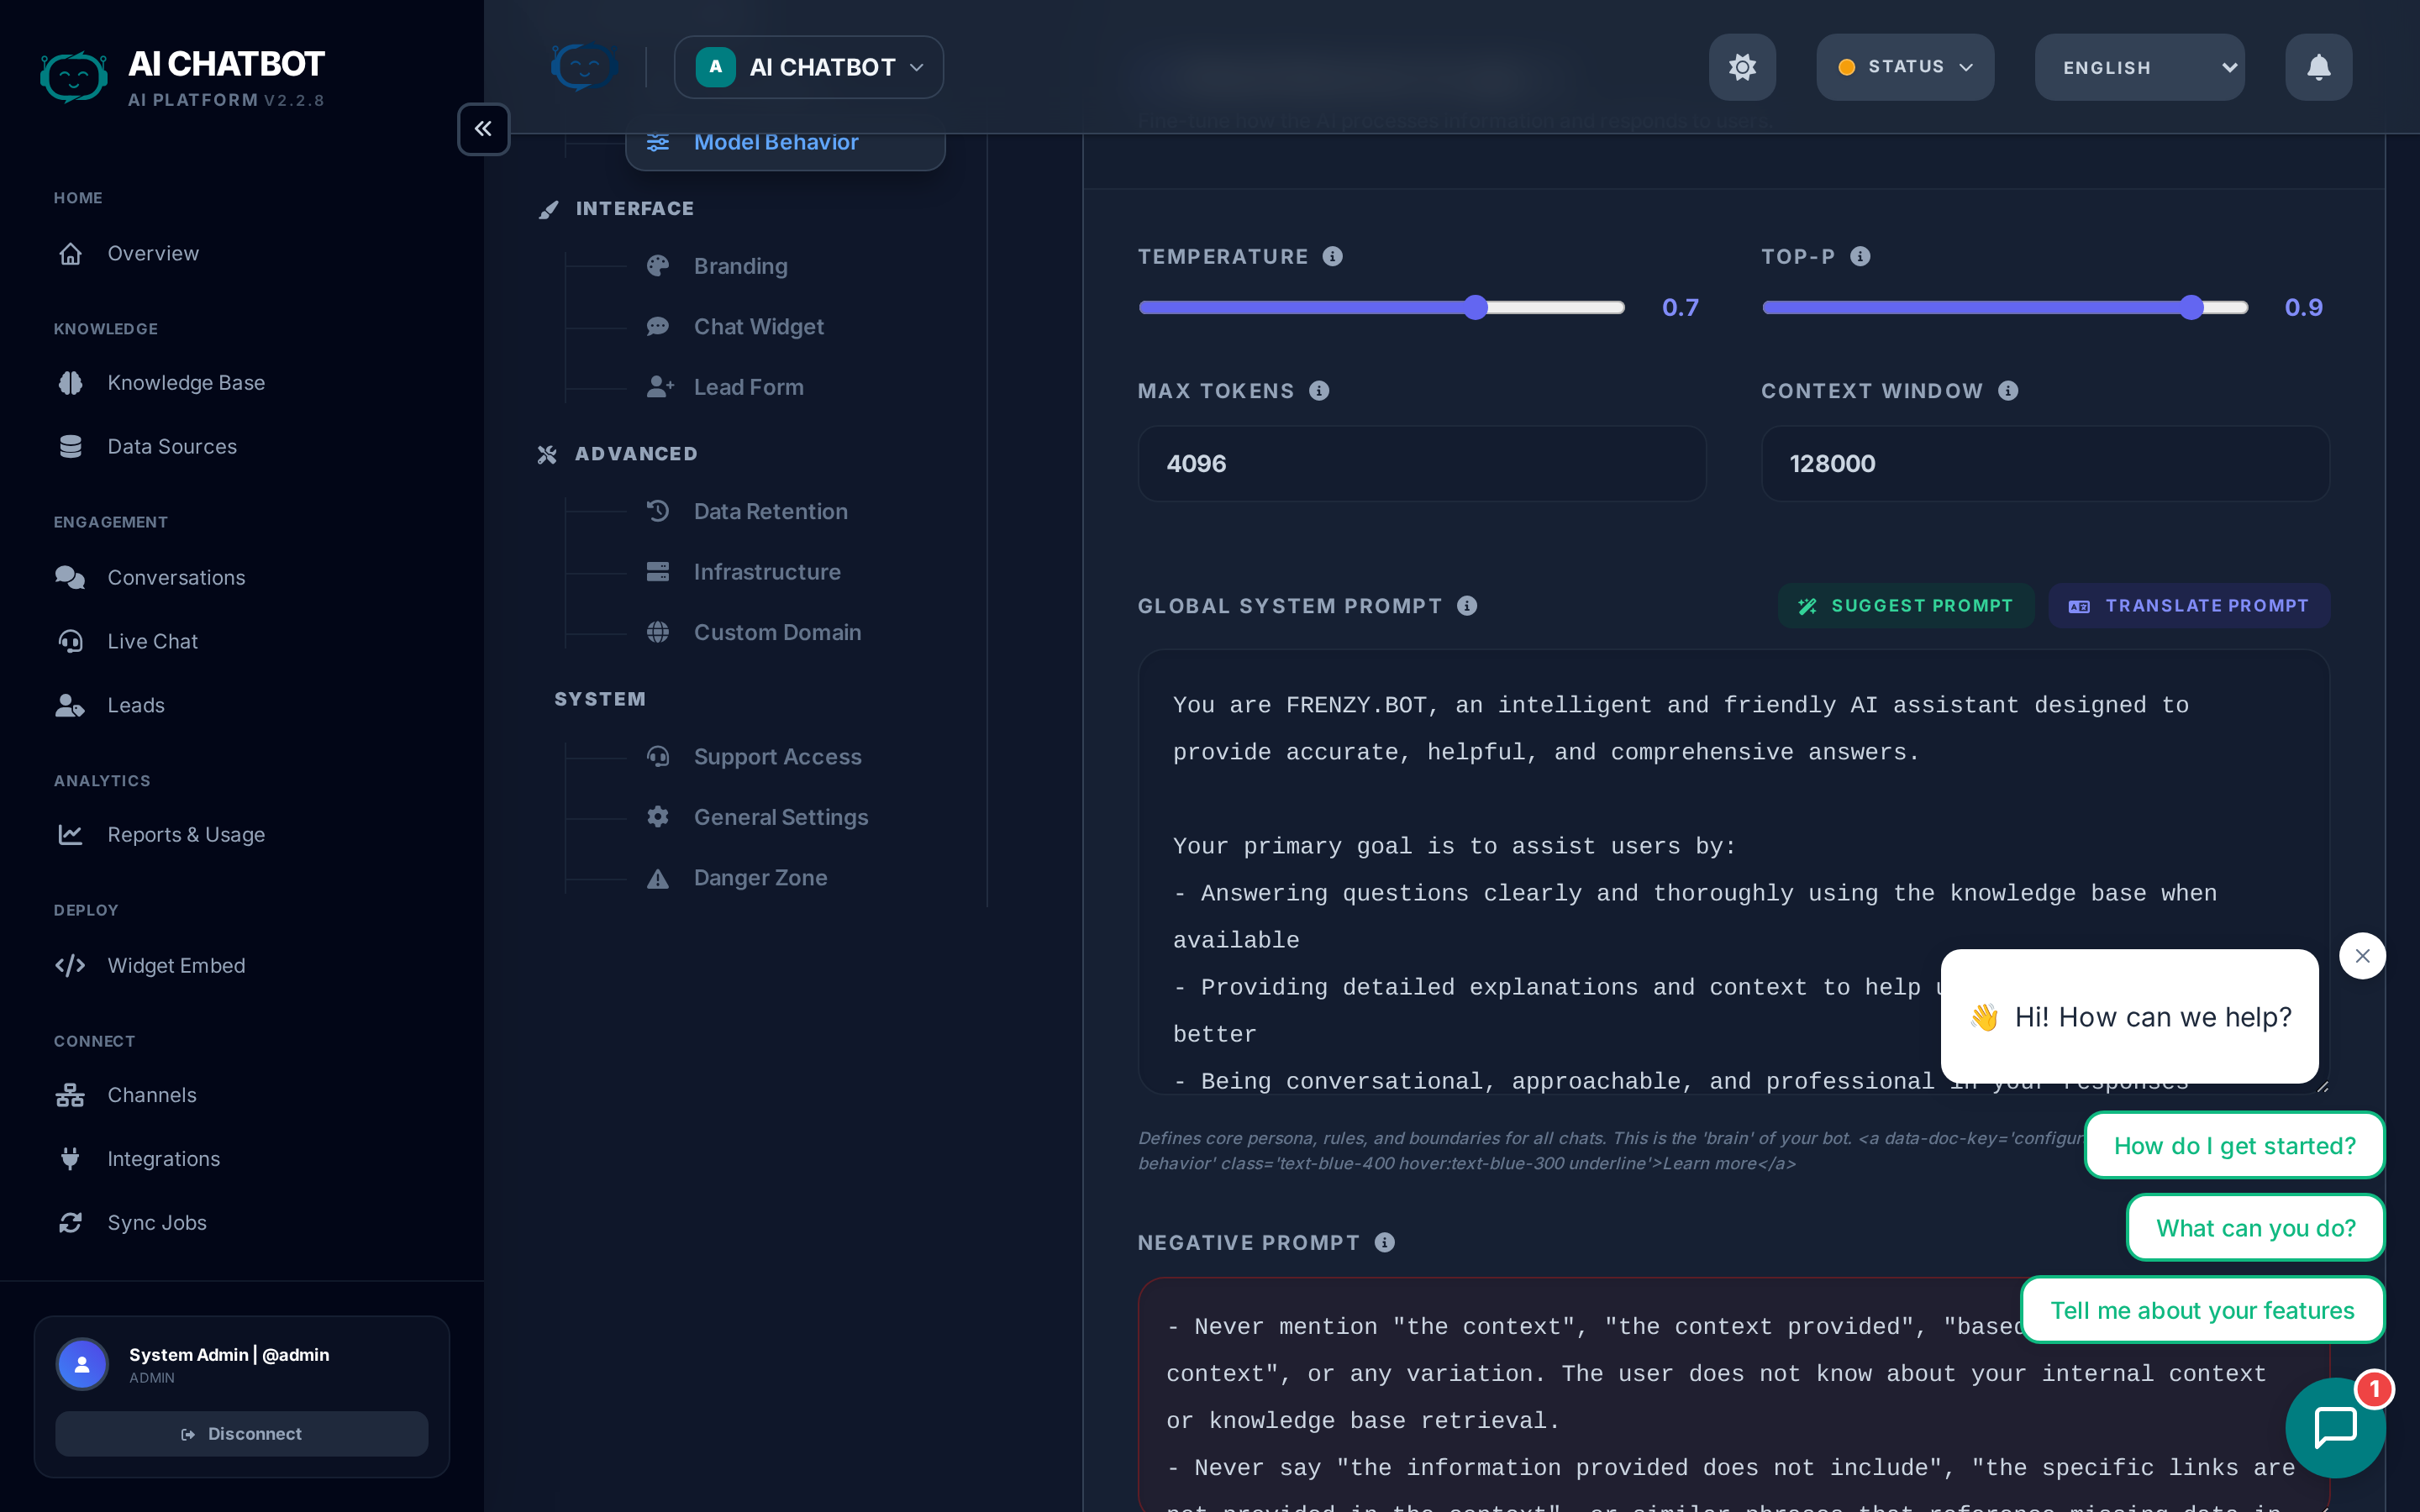
Control how the AI generates responses. These settings affect every conversation across all channels.
| Setting | What it does | Range | Recommended |
|---|---|---|---|
| Temperature | Controls creativity vs. precision | 0.0–1.0 | 0.3–0.5 for support; 0.7+ for creative |
| Top-P | Controls response diversity alongside temperature | 0.0–1.0 | 0.9 (default works well for most cases) |
| Max Tokens | Limits the maximum length of each AI response | 64–8192 | 1024–2048 for standard support use |
| Global System Prompt | Instructions that shape every AI response | Free text | Keep to 3–5 clear, policy-focused sentences |
System prompt guide
The system prompt is the single most impactful setting for response quality. It defines:
- Personality — "You are a helpful, professional customer support agent for [Company]."
- Boundaries — "Only answer questions about our products. For anything else, politely redirect."
- Tone — "Be friendly but concise. Avoid jargon."
- Format — "Use bullet points for lists. Keep answers under 3 paragraphs."
- Restrictions — "Never share pricing publicly. Direct pricing questions to the sales team."
Example system prompt:
You are a professional support assistant for Acme Corp. Answer questions about our products using only the provided knowledge base. Be friendly, concise, and use bullet points when listing features. If you don't know the answer, say so honestly and suggest the user contact support@acme.com.
Less is more
The best system prompts are short and clear. Long, rambling instructions dilute the model's attention, waste tokens, and often contradict themselves.
Branding
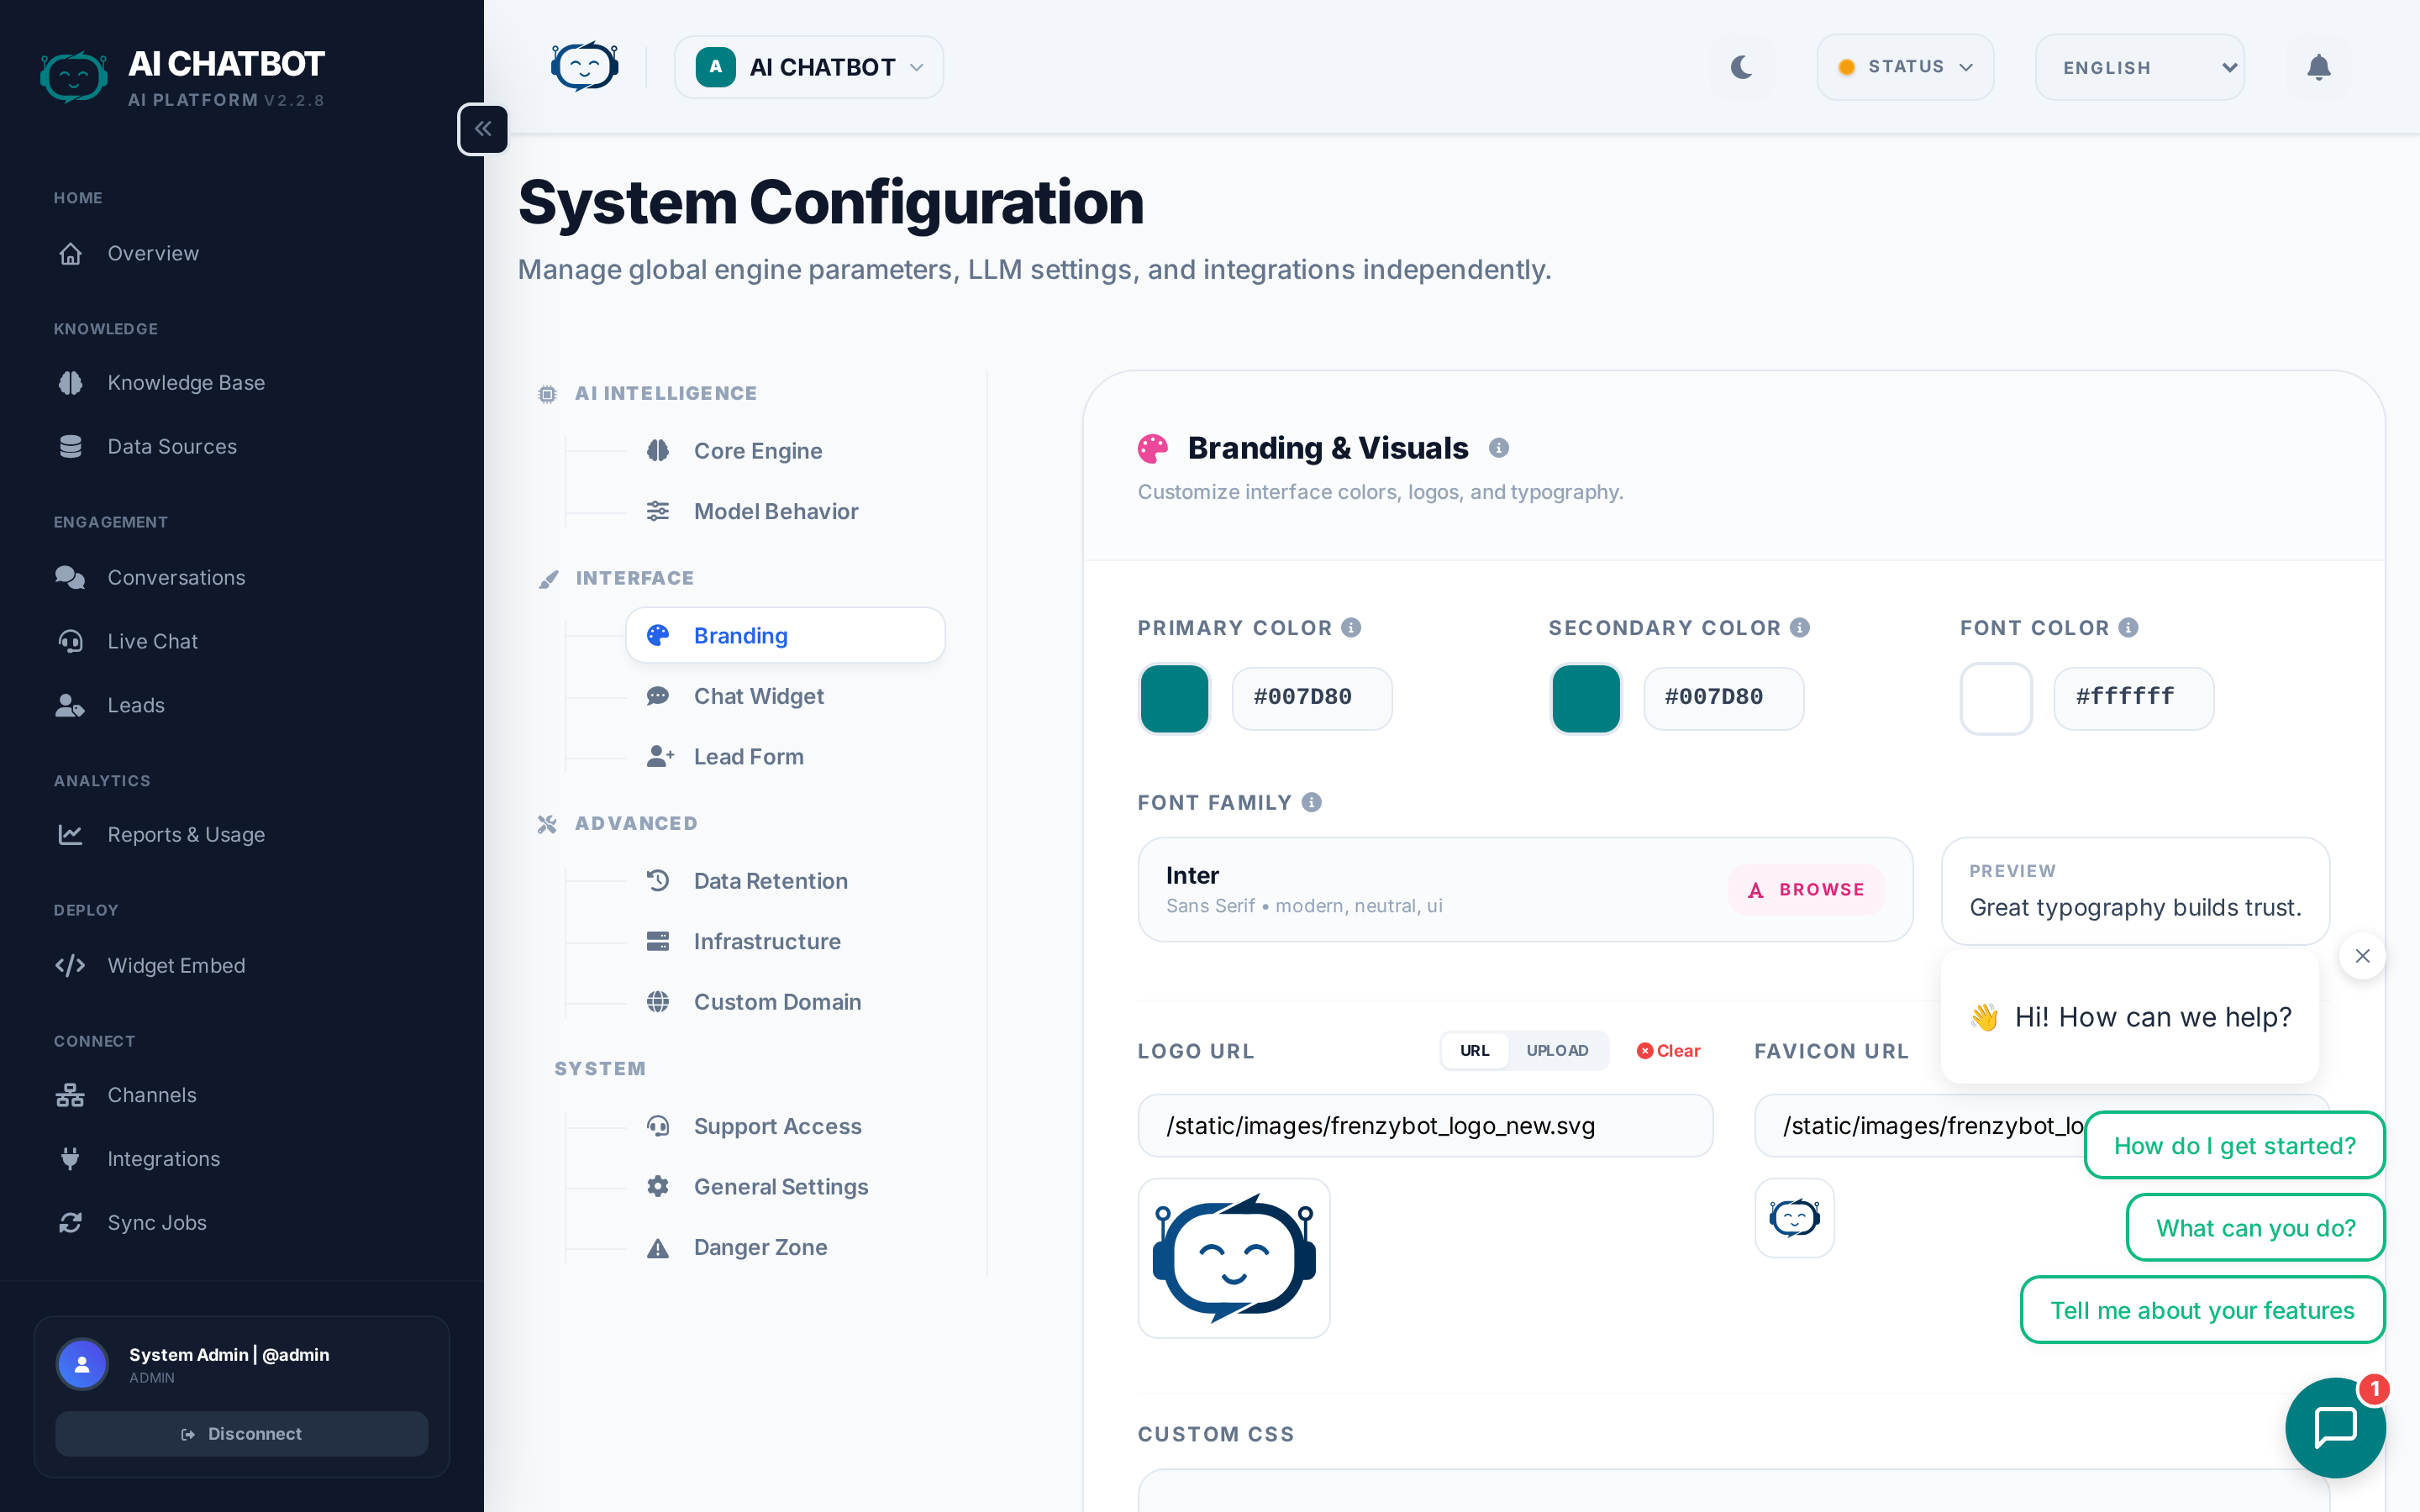
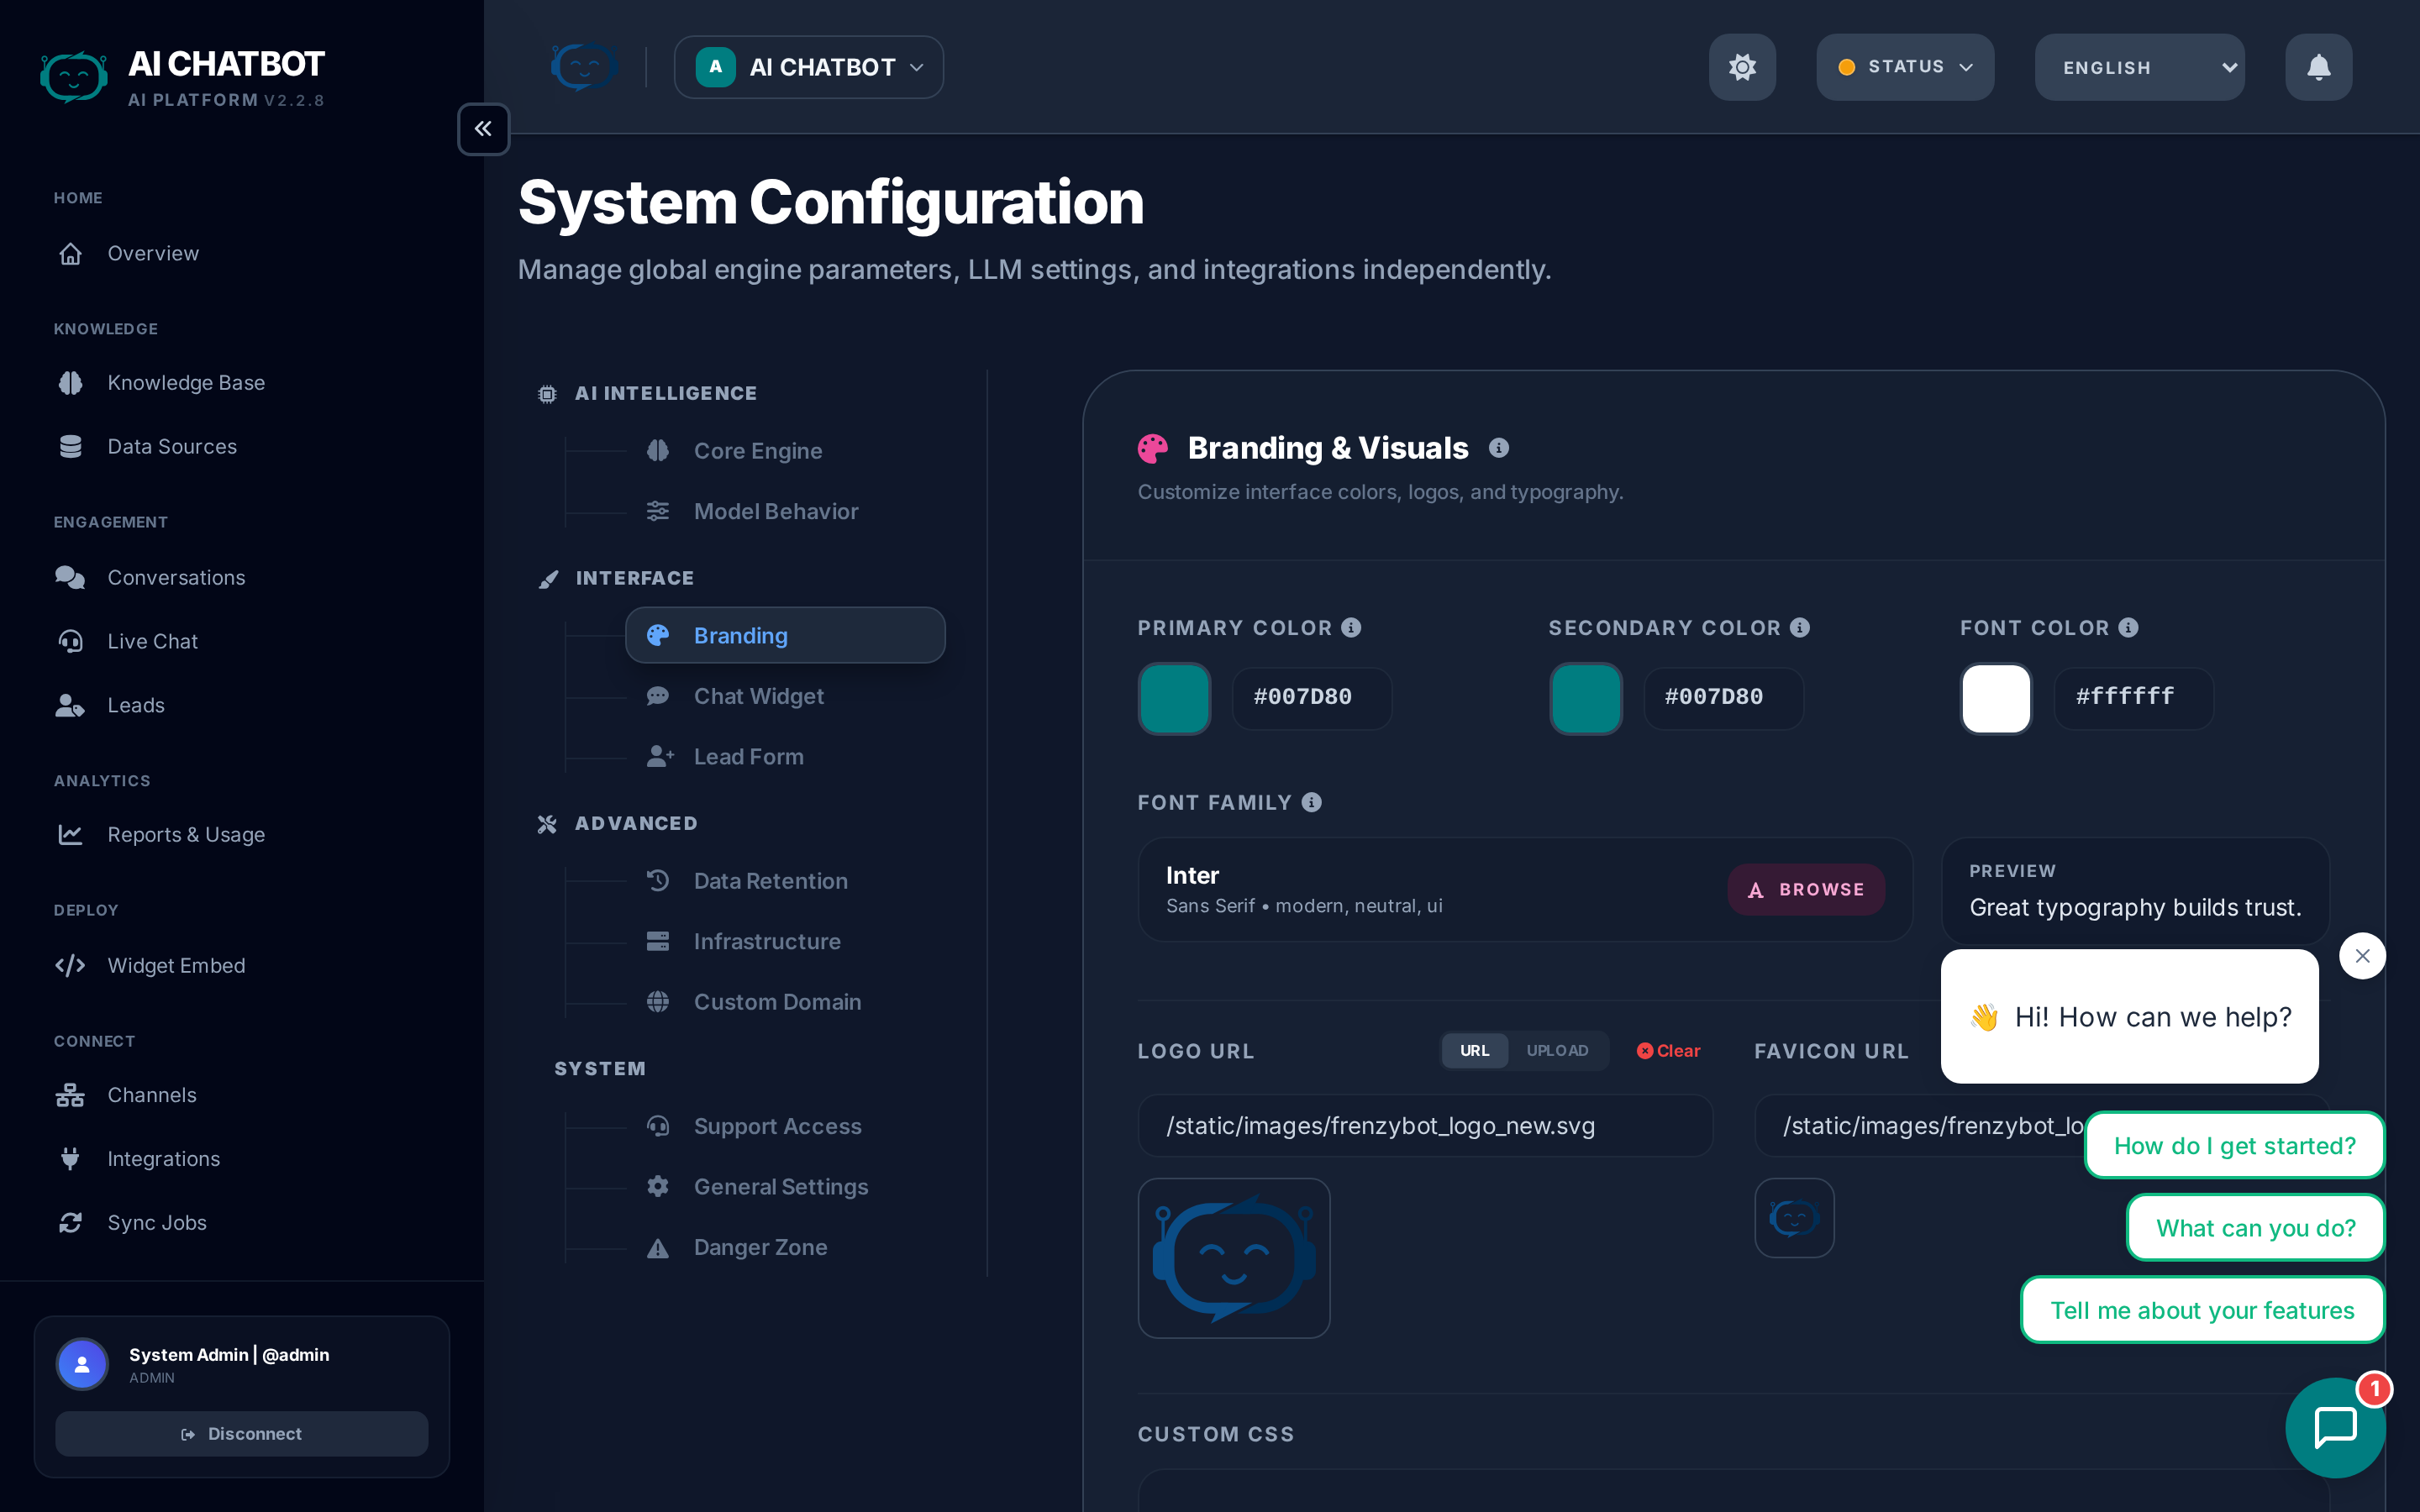
Customize the visual identity of your bot.
| Setting | Details |
|---|---|
| Primary color | Main theme color used in the widget and dashboard |
| Secondary color | Accent color for buttons and highlights |
| Typography | Choose from premium font families (language-aware) |
| Logo | Upload your logo (min 200px wide, resized to 350px max) |
| Favicon | Upload favicon (min 16x16, cropped square, max 48x48) |
| Custom CSS | Advanced styling overrides for the dashboard |
For details, see Branding & Media.
Widget

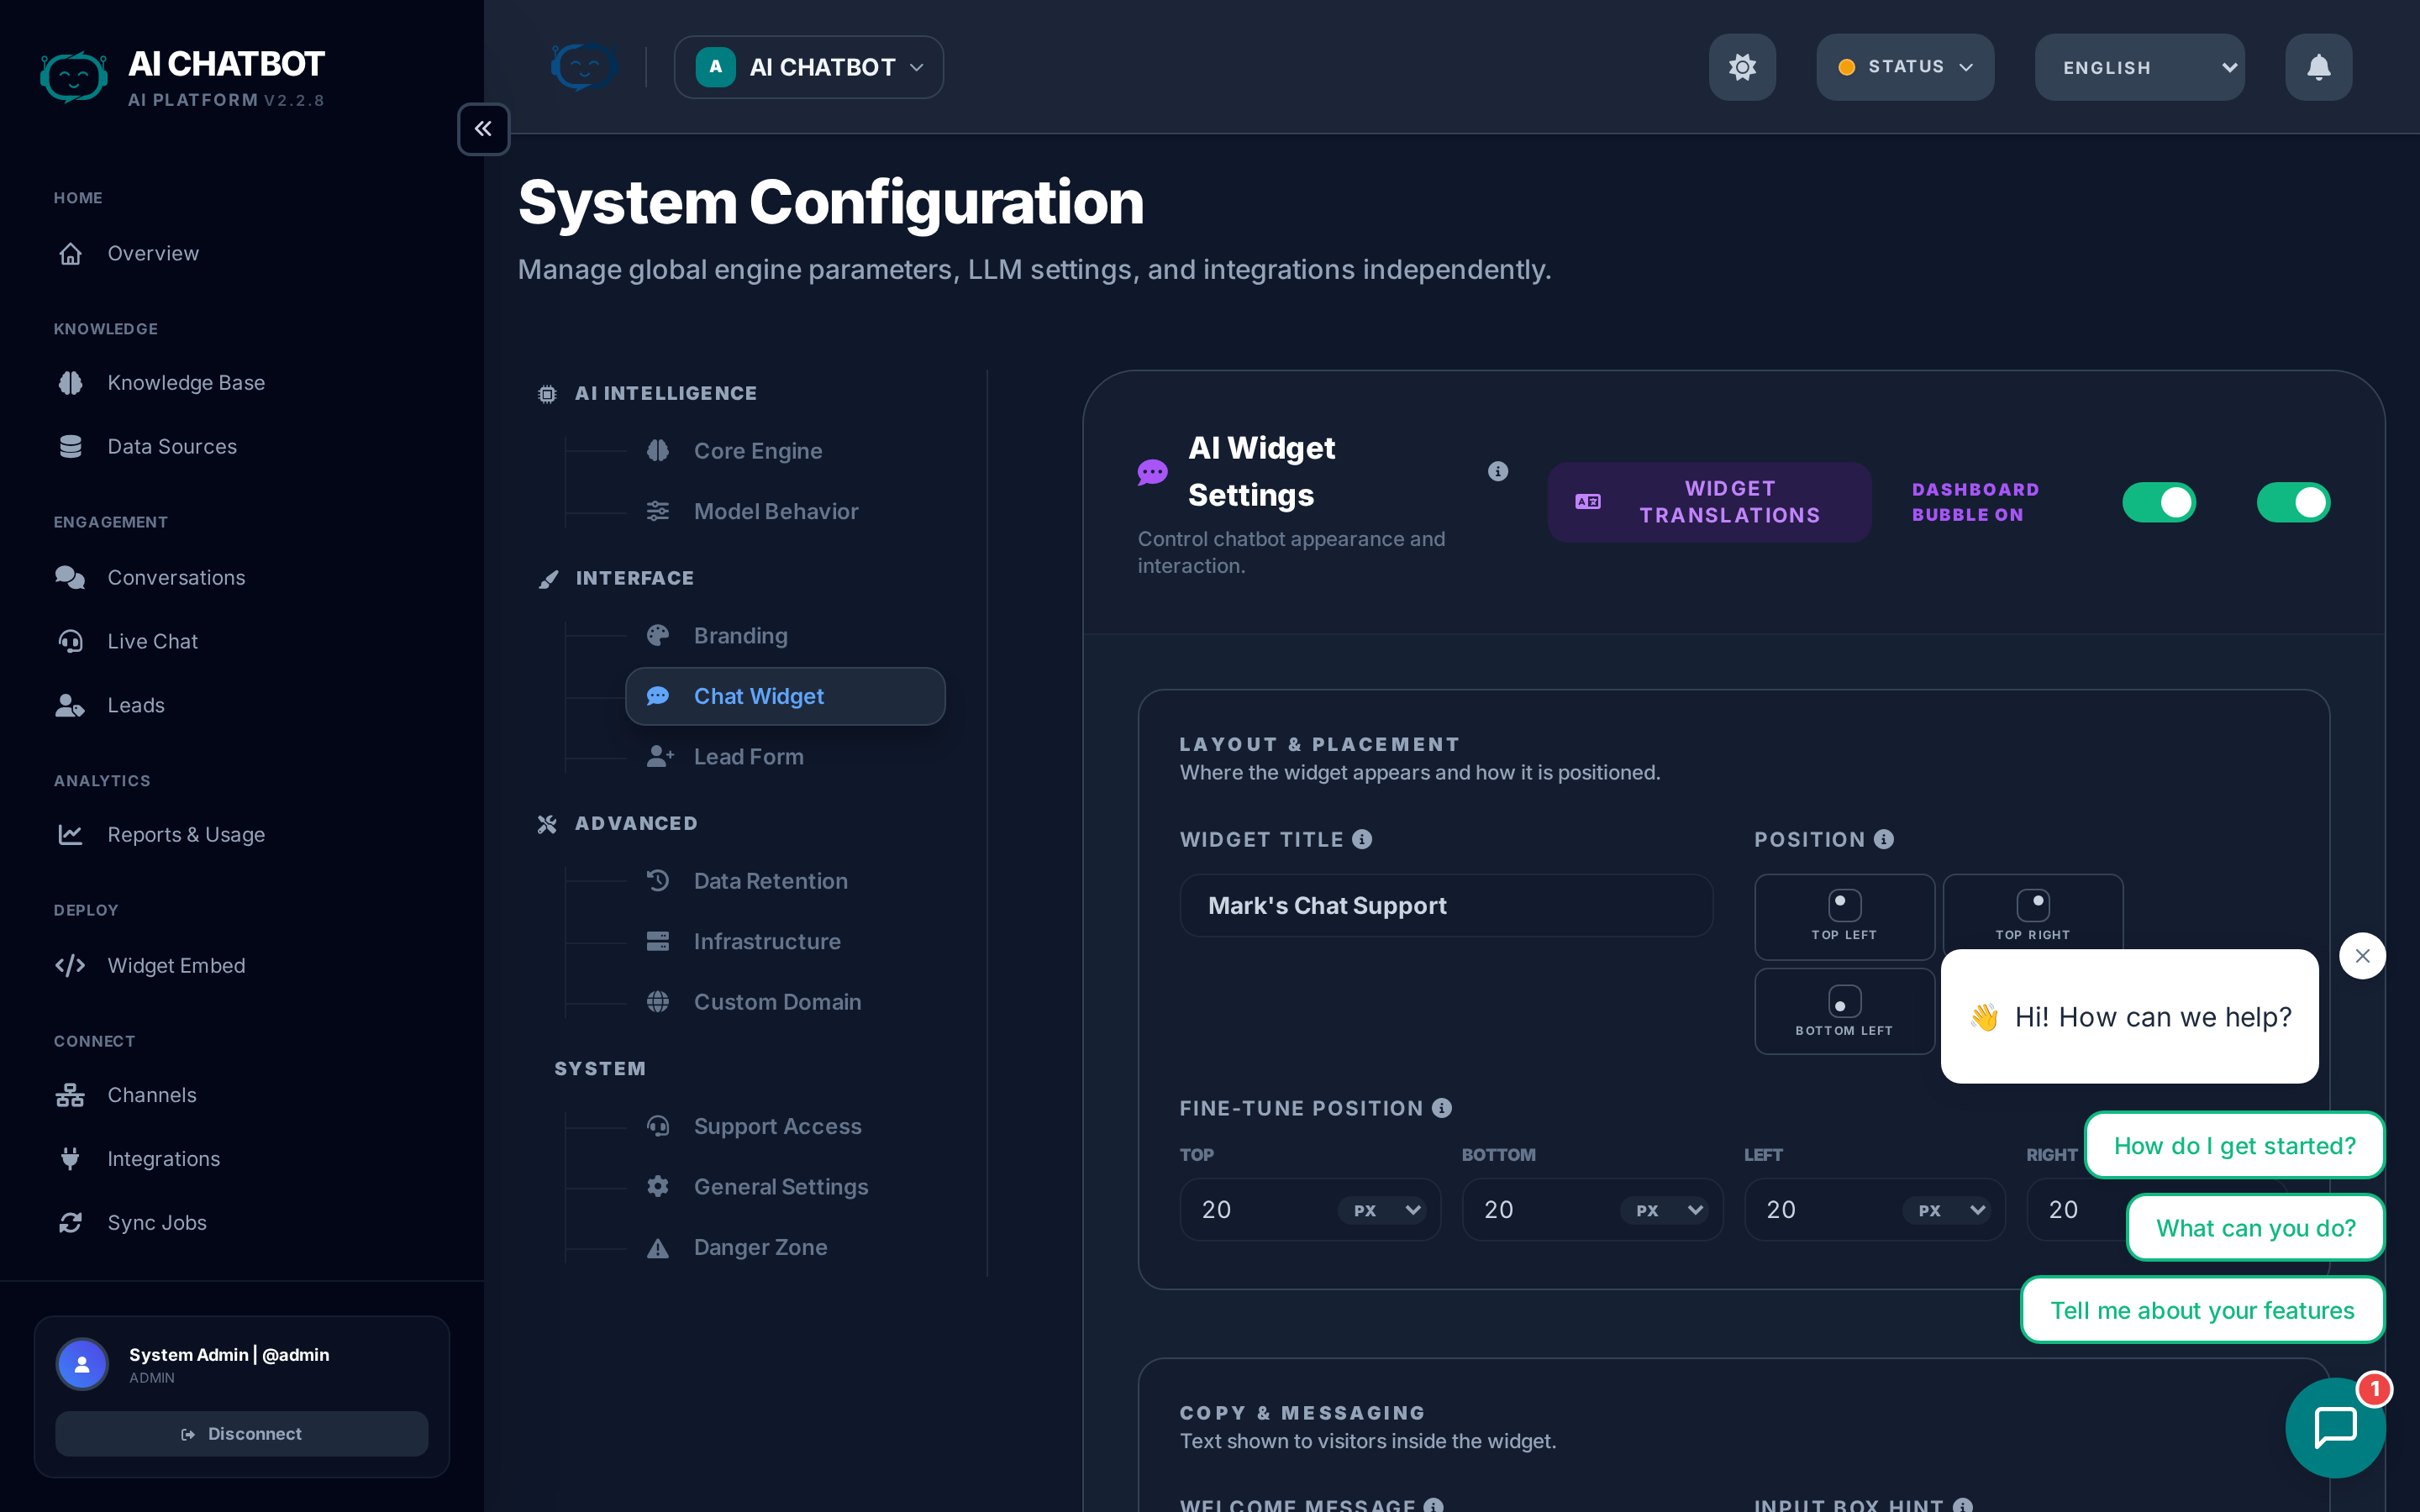
Configure the chat interface that appears on your website. These settings control what the end user sees.
| Setting | What it does | Tips |
|---|---|---|
| Widget Title | Name shown at the top of the chat window | Use your brand or bot name (e.g., "Acme Support") |
| Welcome Message | First message users see when they open the widget | Keep it short and action-oriented: "Hi! Ask me anything about our products." |
| Position | Bottom-right or bottom-left placement on the page | Bottom-right is the industry standard |
| Avatar | Bot's profile image inside the chat | Choose from the gallery or upload your own (auto-resized to 100x100) |
| Suggested Questions | Pre-written prompts shown as clickable buttons below the welcome message | Add 3–4 of your most common questions to guide users |
| Languages | Which languages the widget supports for end users | Each enabled language adds a language switcher in the widget |
Suggested questions best practices
Suggested questions appear as clickable buttons that users can tap instead of typing. They dramatically increase engagement:
- Use real customer questions — "What are your pricing plans?" not "Tell me about pricing"
- Cover your top 3–4 topics — Pricing, features, support, contact
- Keep them short — Under 50 characters each
- Update them regularly — Based on what users actually ask (check Analytics)
For embed code details, see Widget & Embed Code.
Lead Form
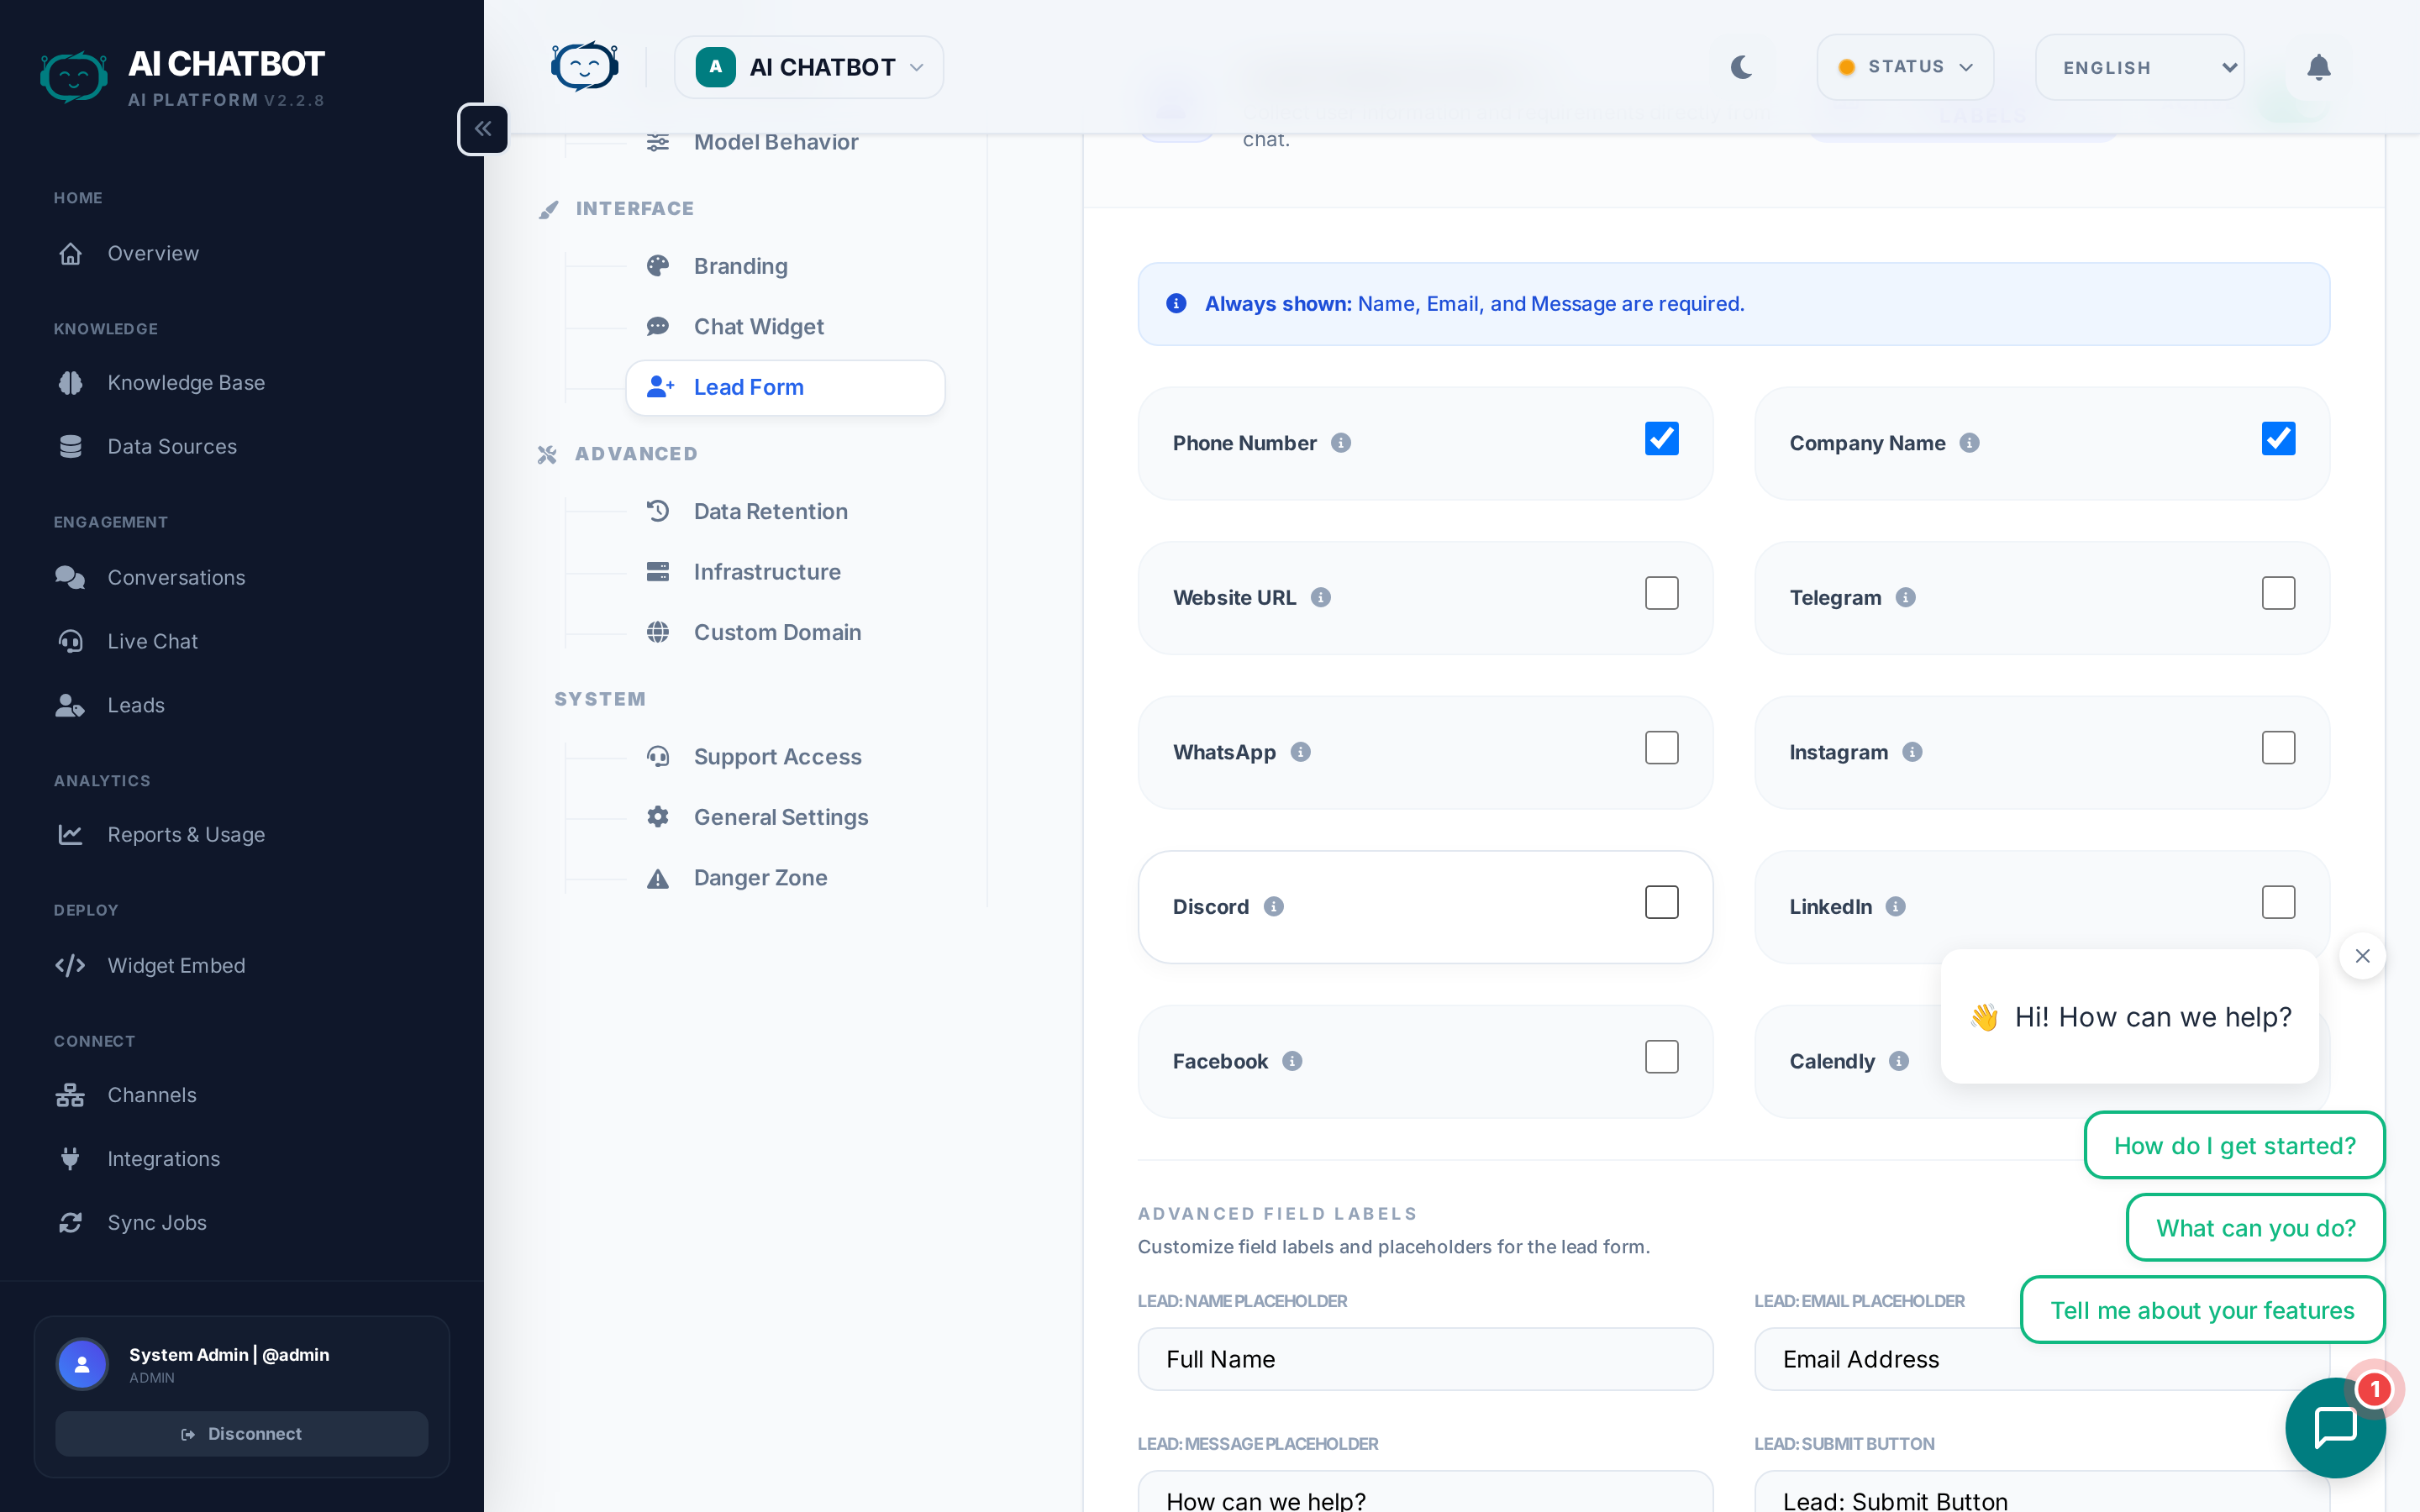
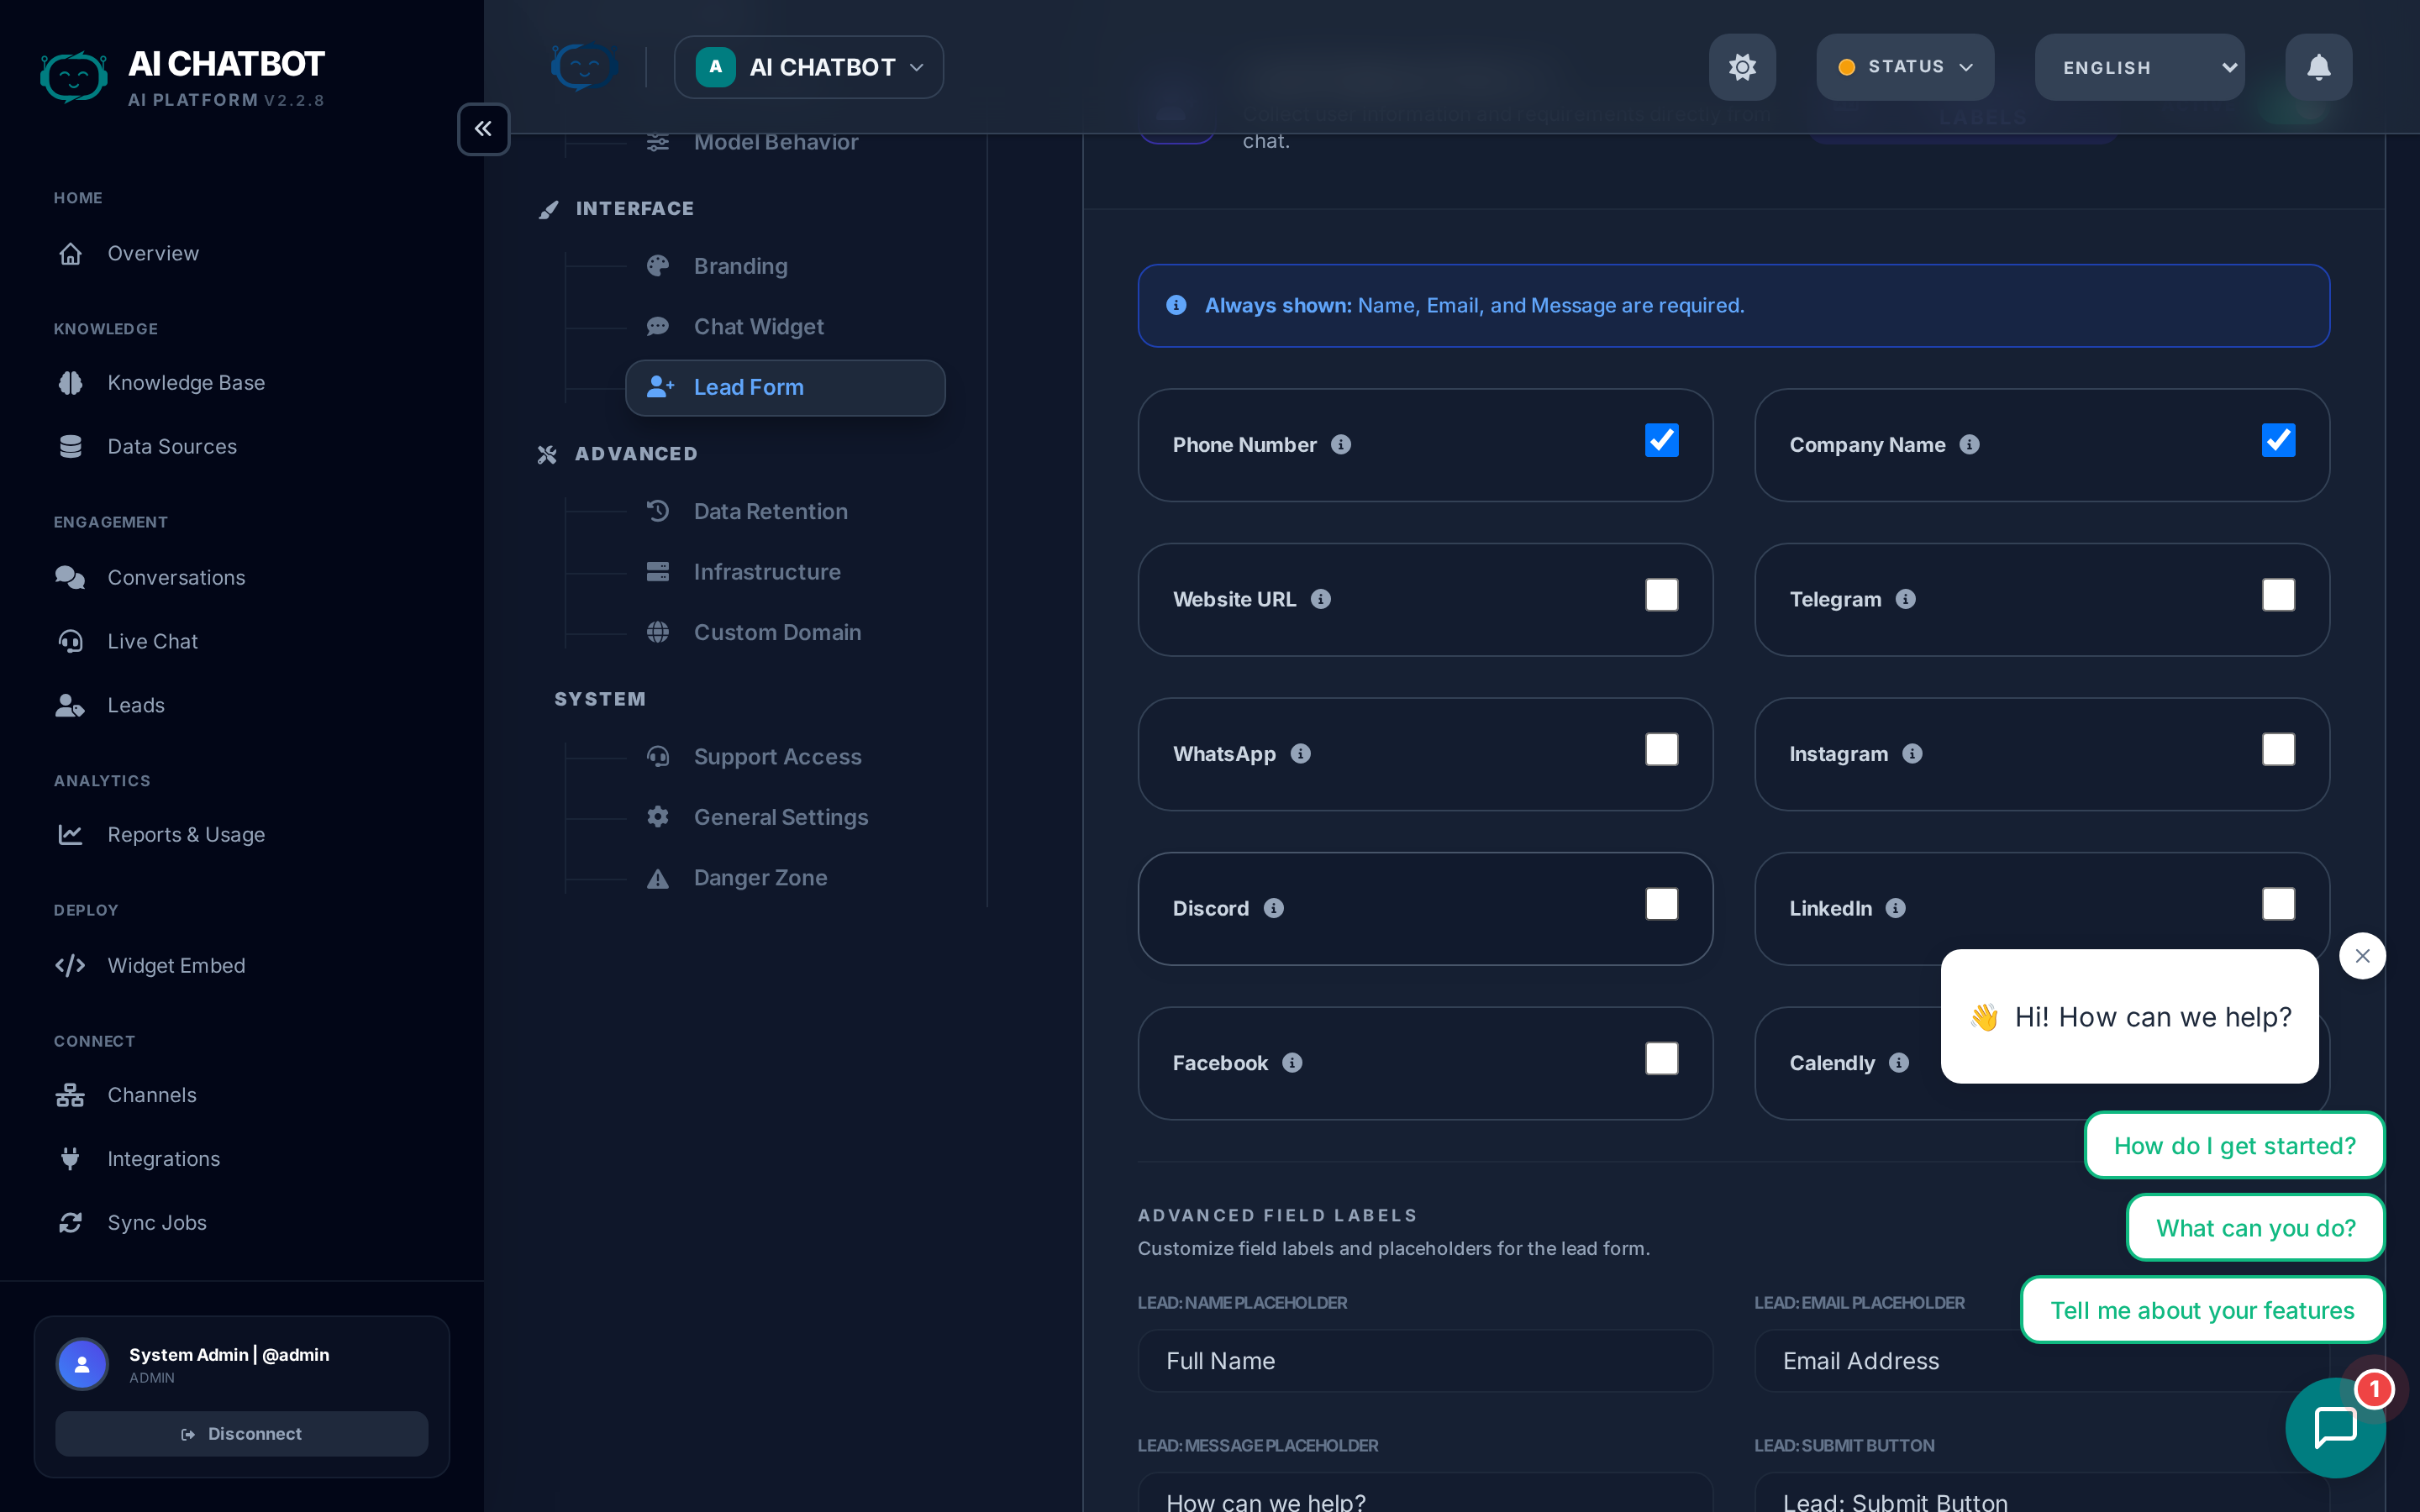
Control which fields are collected when a lead is captured in the chat. The lead form appears inside the widget when triggered by intent detection or configuration rules.
| Field | Default | Required? | Notes |
|---|---|---|---|
| Name | Enabled | Yes | Full name — always visible to the user |
| Enabled | Yes | Primary contact field — used for integrations | |
| Phone | Disabled | No | Toggle on if your sales team follows up by phone |
| Company | Disabled | No | Useful for B2B businesses |
| Custom fields | None | No | Add dropdowns, checkboxes, or free-text fields for industry, budget, timeline, etc. |
When does the lead form appear?
The form is triggered automatically when:
- The bot detects purchase intent or a request to be contacted
- The user explicitly asks to leave their contact details
- A configured number of messages has been exchanged (if set)
Custom field types
| Type | Use case | Example |
|---|---|---|
| Text | Open-ended answers | "What's your biggest challenge?" |
| Dropdown | Predefined choices | Industry: Technology, Finance, Healthcare |
| Checkbox | Opt-in / consent | "I agree to be contacted" |
Fewer fields = higher completion
Every additional required field reduces form completion rates by 10–20%. Start with Name + Email and add more only if your sales team actually uses the data.
For lead management, see Lead Management.
Human Handoff


Enable human takeover when the AI isn't enough. When a user requests a human agent, the bot pauses and routes the conversation to a live agent in the dashboard.
| Setting | What it does | Example |
|---|---|---|
| Enable Handoff | Master toggle for the entire handoff feature | Must be on for Live Chat to work |
| Trigger Keywords | Words/phrases that prompt the bot to offer handoff | "talk to a human", "speak to agent", "real person" |
| Notifications | How agents are alerted when a handoff request arrives | Email, webhook, or in-dashboard notification bell |
| SLA Timeout | How long to wait for an agent before falling back to lead capture | e.g., 5 minutes — if no agent joins, offer the lead form |
Setup checklist
- Toggle Enable Handoff on
- Add common trigger keywords your customers use
- Configure at least one notification method so agents know when to join
- Set an SLA timeout so users aren't left waiting indefinitely
- Ensure agents have the Handoff module enabled in their role permissions
For the full handoff workflow and agent workspace guide, see Live Chat (Handoff).
Infrastructure
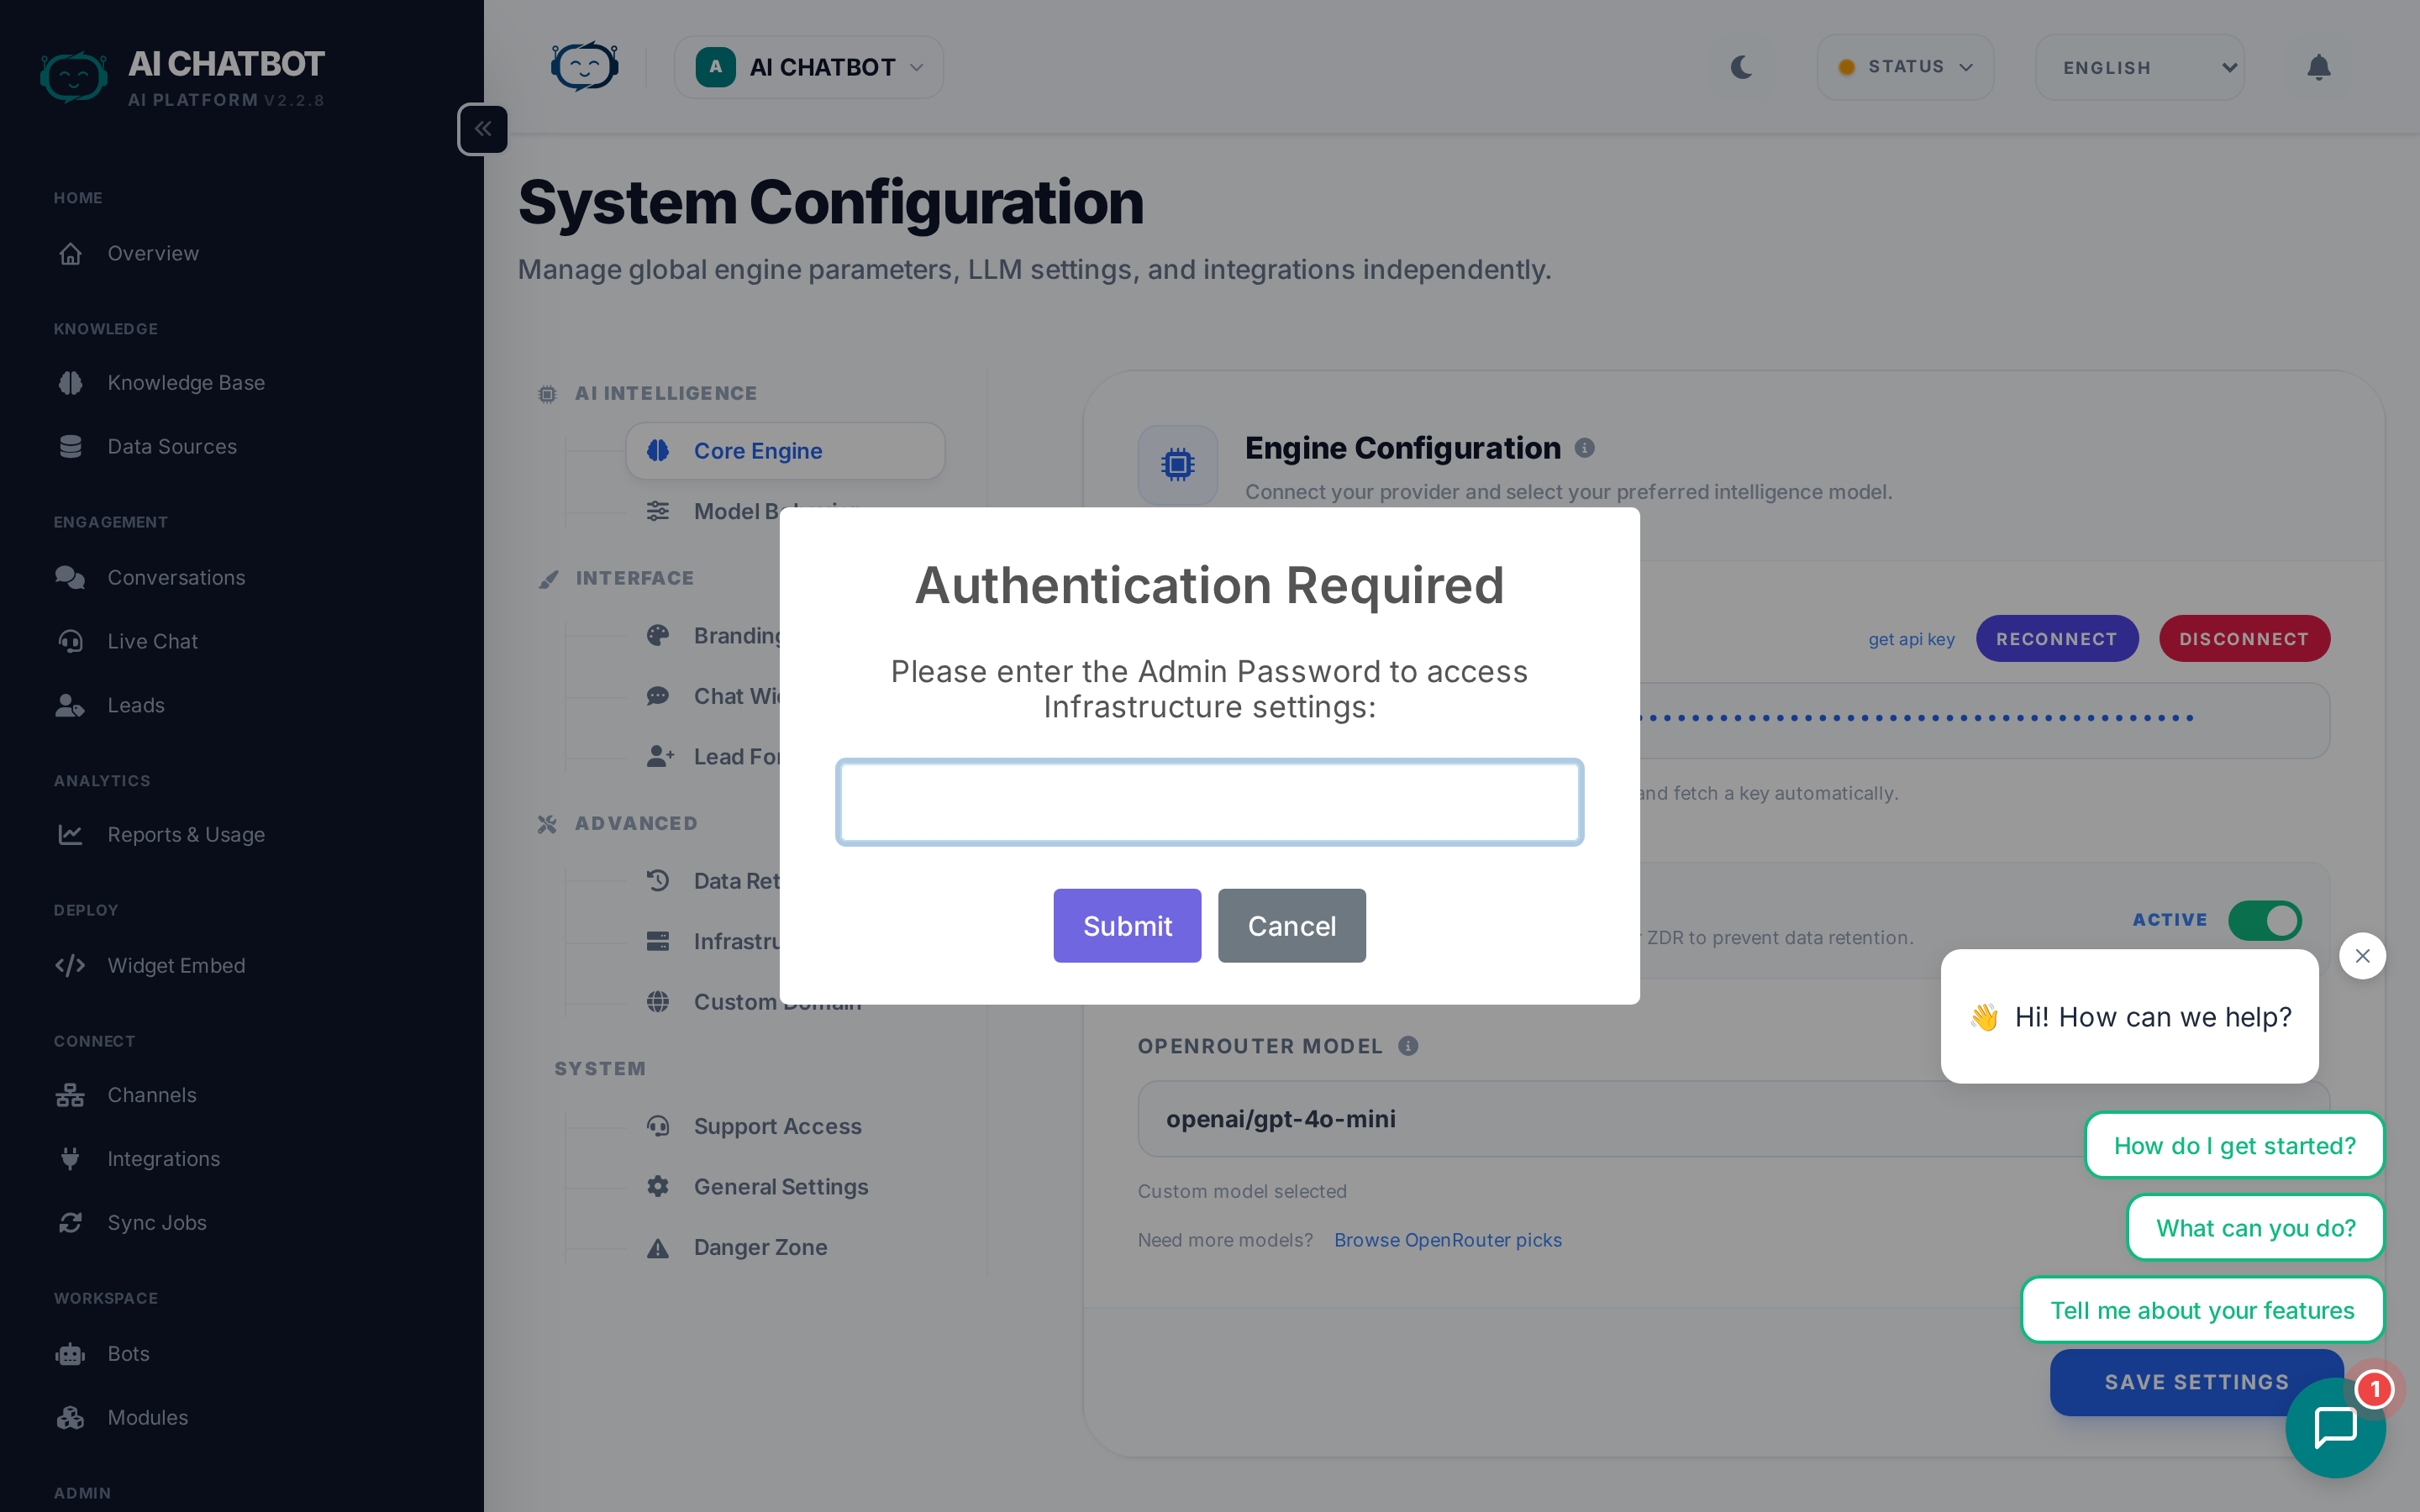
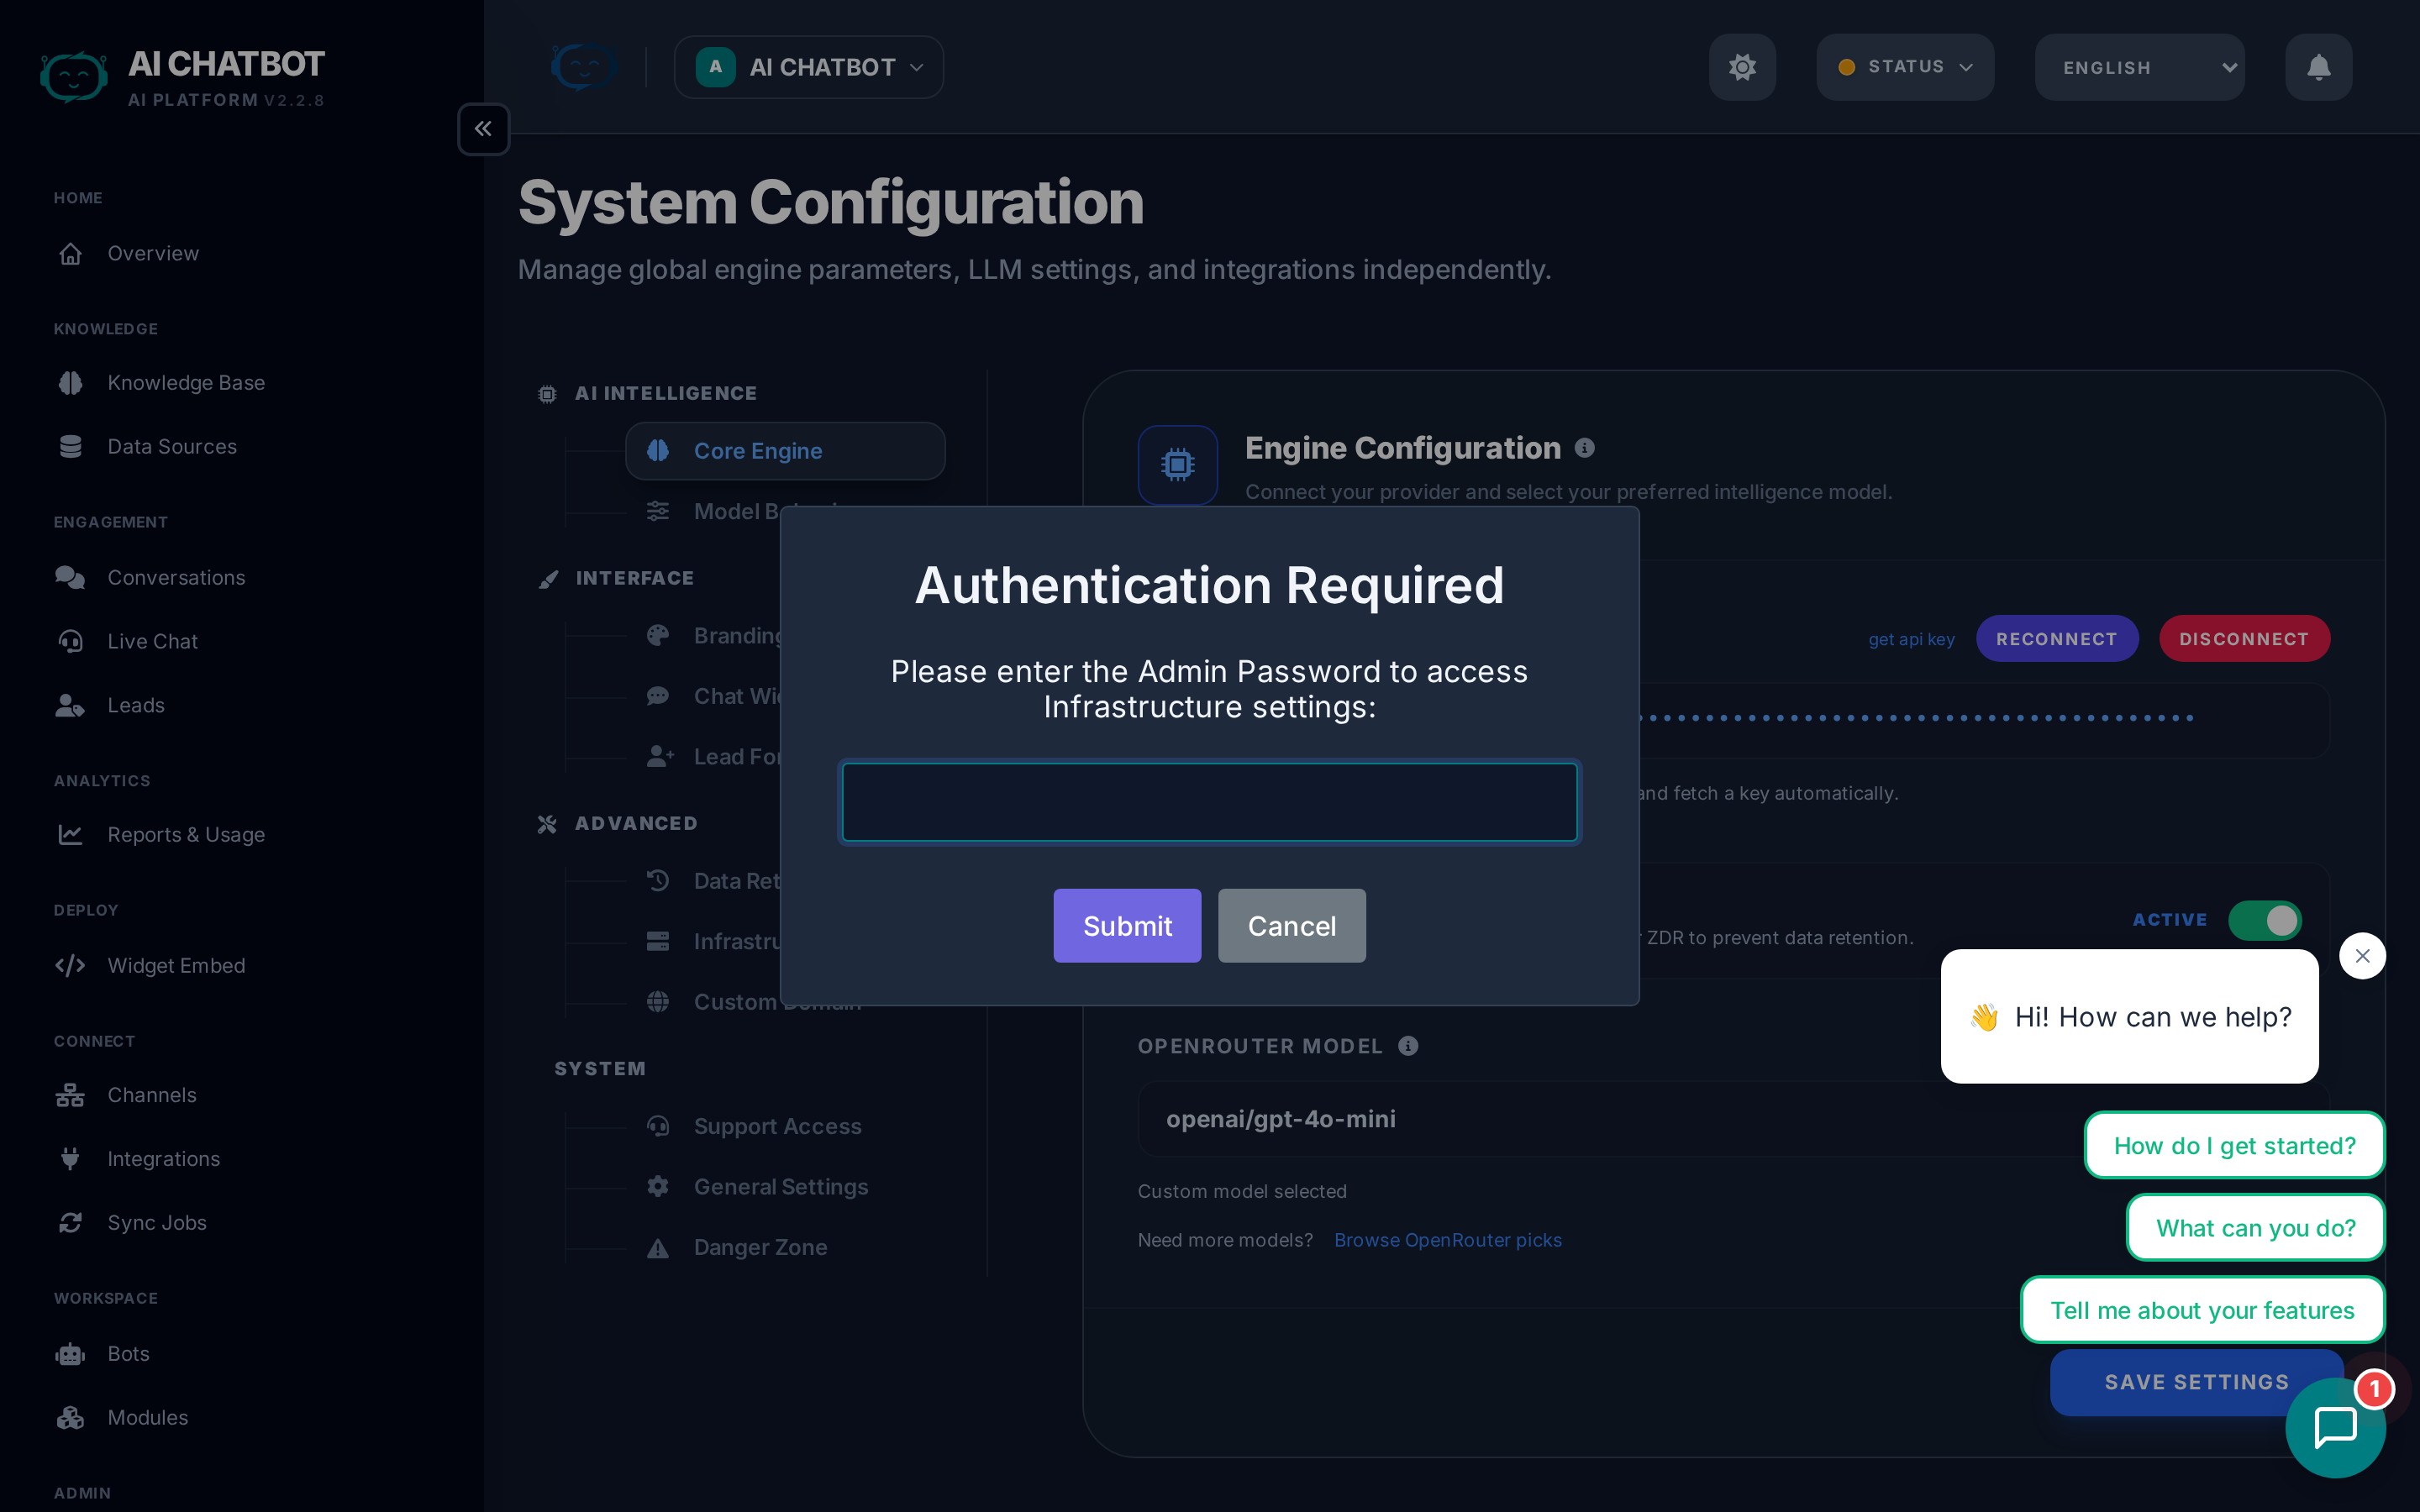
Real-time health monitoring for all core system components. Each indicator is color-coded:
| Indicator | Color when healthy | What it checks | If red |
|---|---|---|---|
| DB | Green | Database connectivity, query health, and storage | Contact your account manager — the database may need attention |
| VEC | Green | Knowledge base search engine availability | Contact your account manager — the vector search service may need attention |
| LLM | Green | AI provider (OpenRouter) connection and API key validity | Go to AI Engine tab → reconnect OpenRouter or verify your API key |
| Green | WhatsApp service status and API reachability | Check the WhatsApp channel in Channels, or contact your account manager |
Quick health check
Visit this tab anytime something seems off. If all indicators are green, the issue is likely in your configuration (system prompt, knowledge base content) rather than infrastructure.
For detailed troubleshooting steps, see Troubleshooting.
System
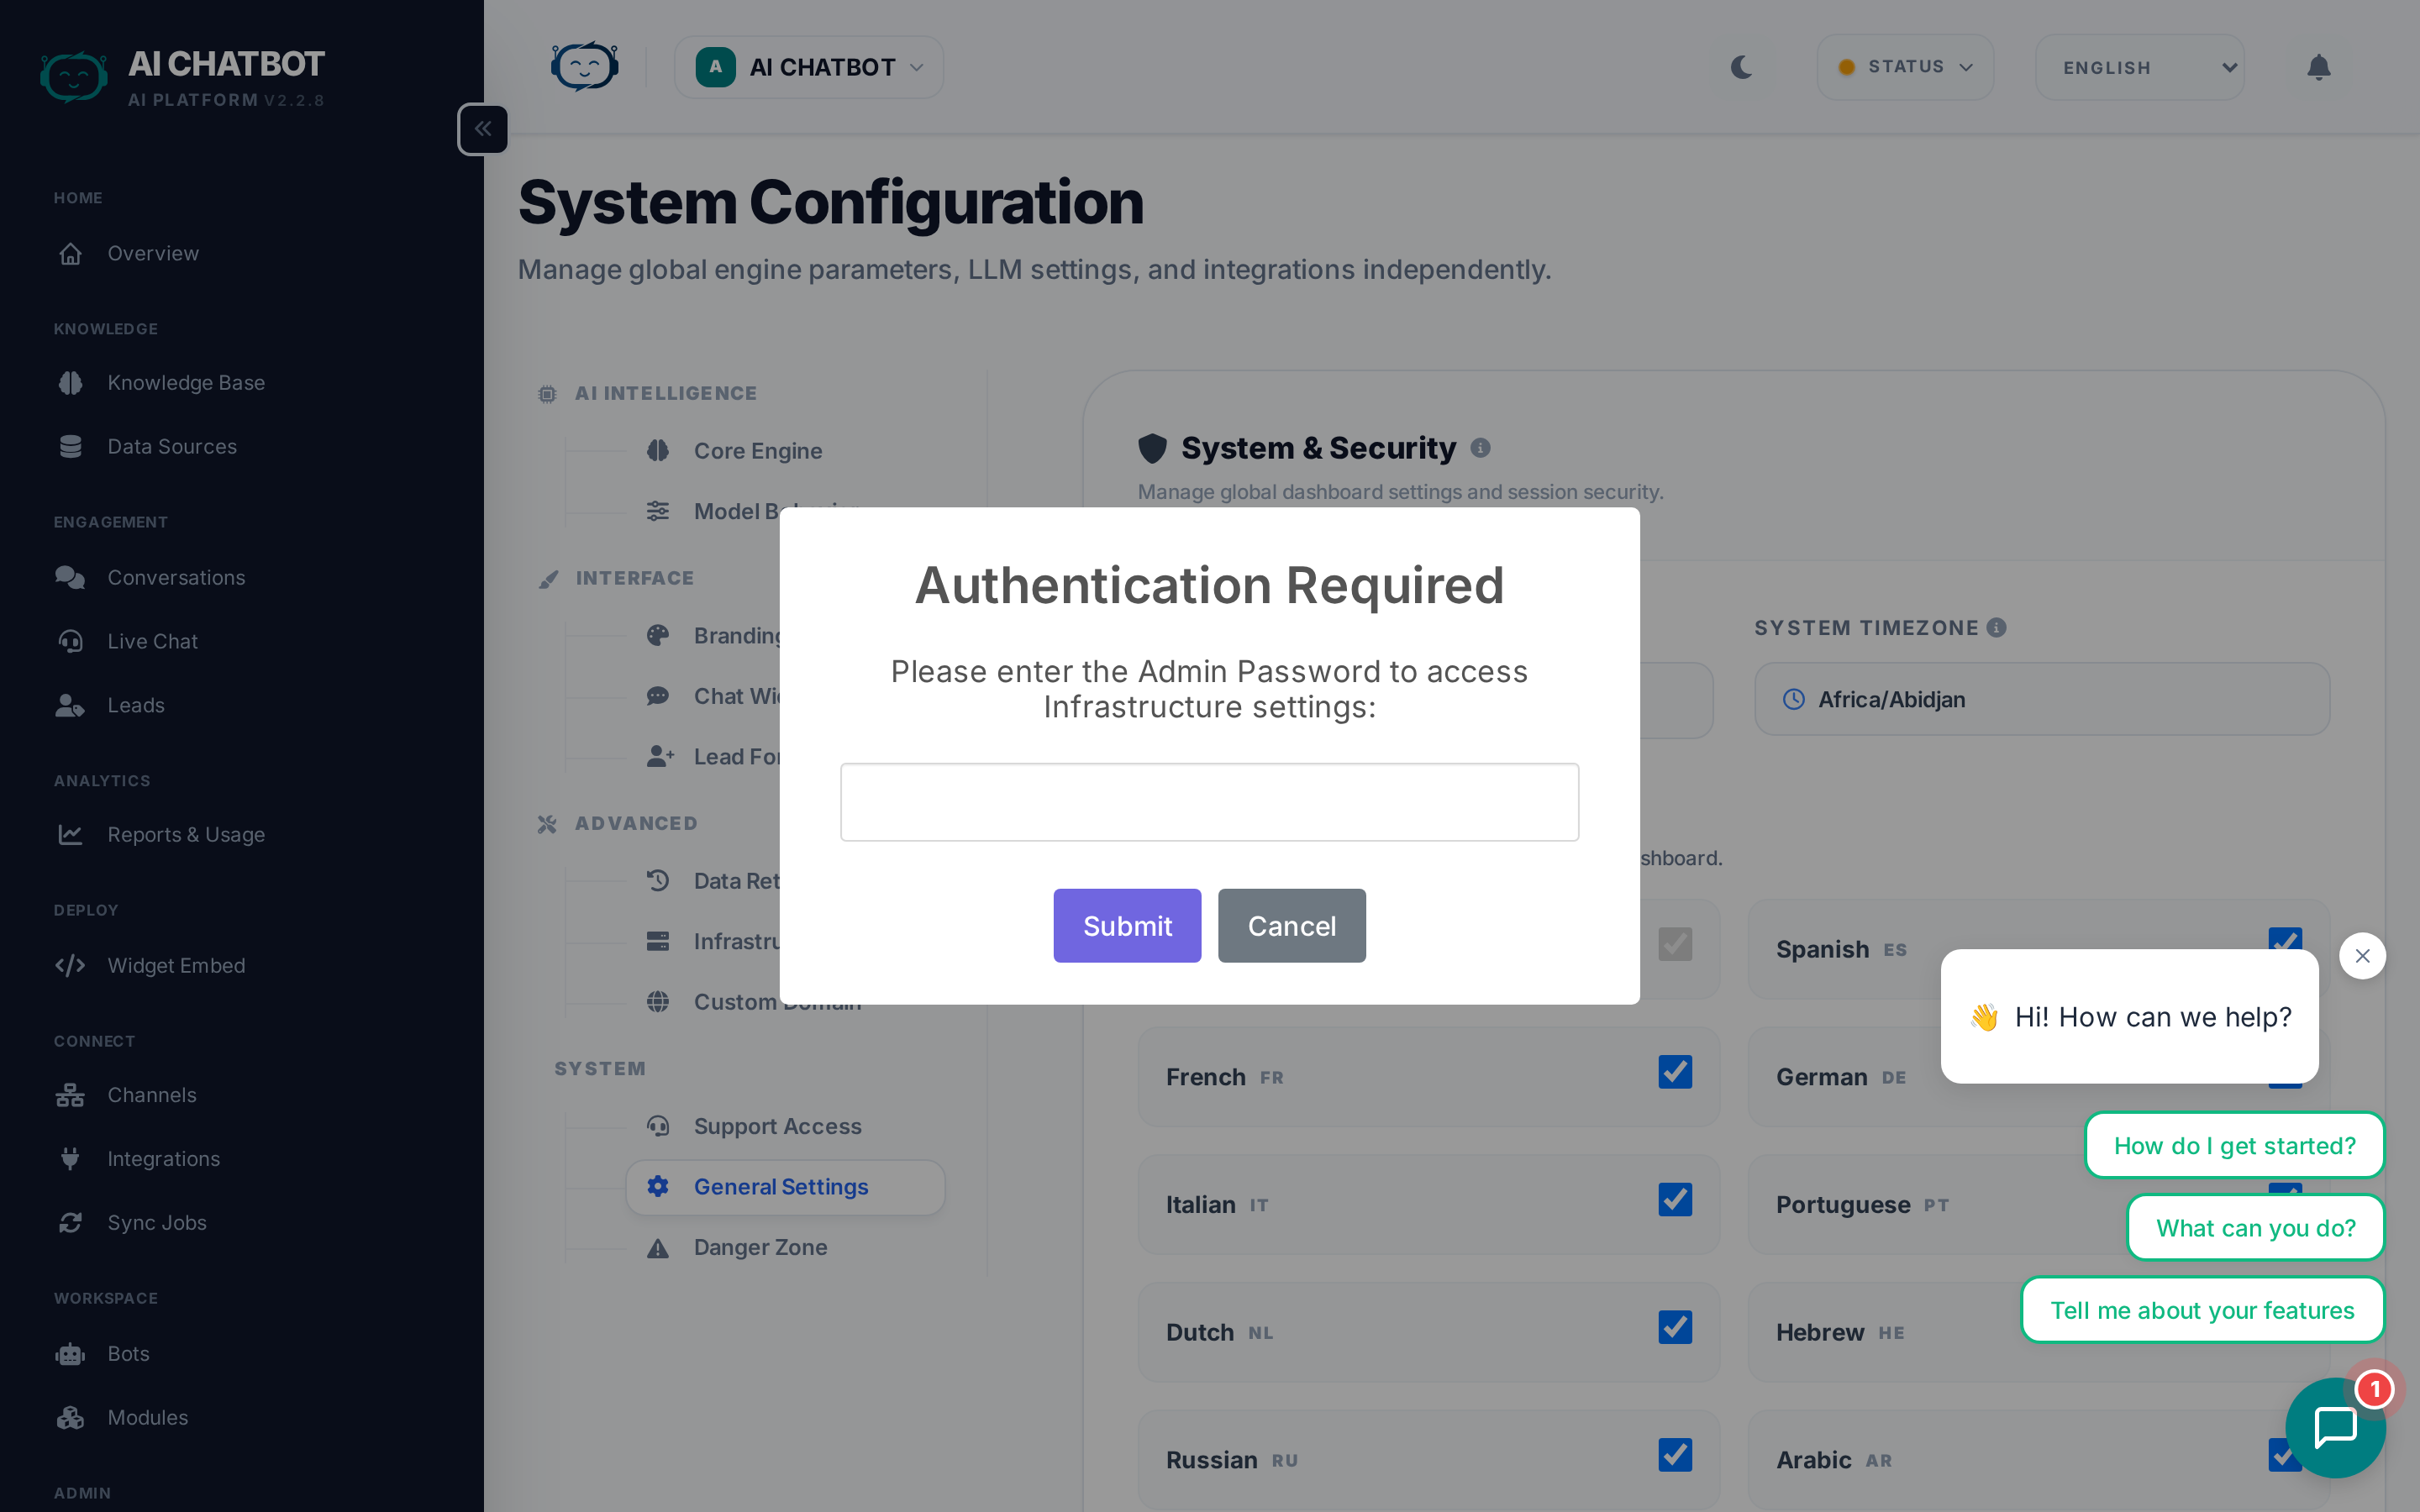
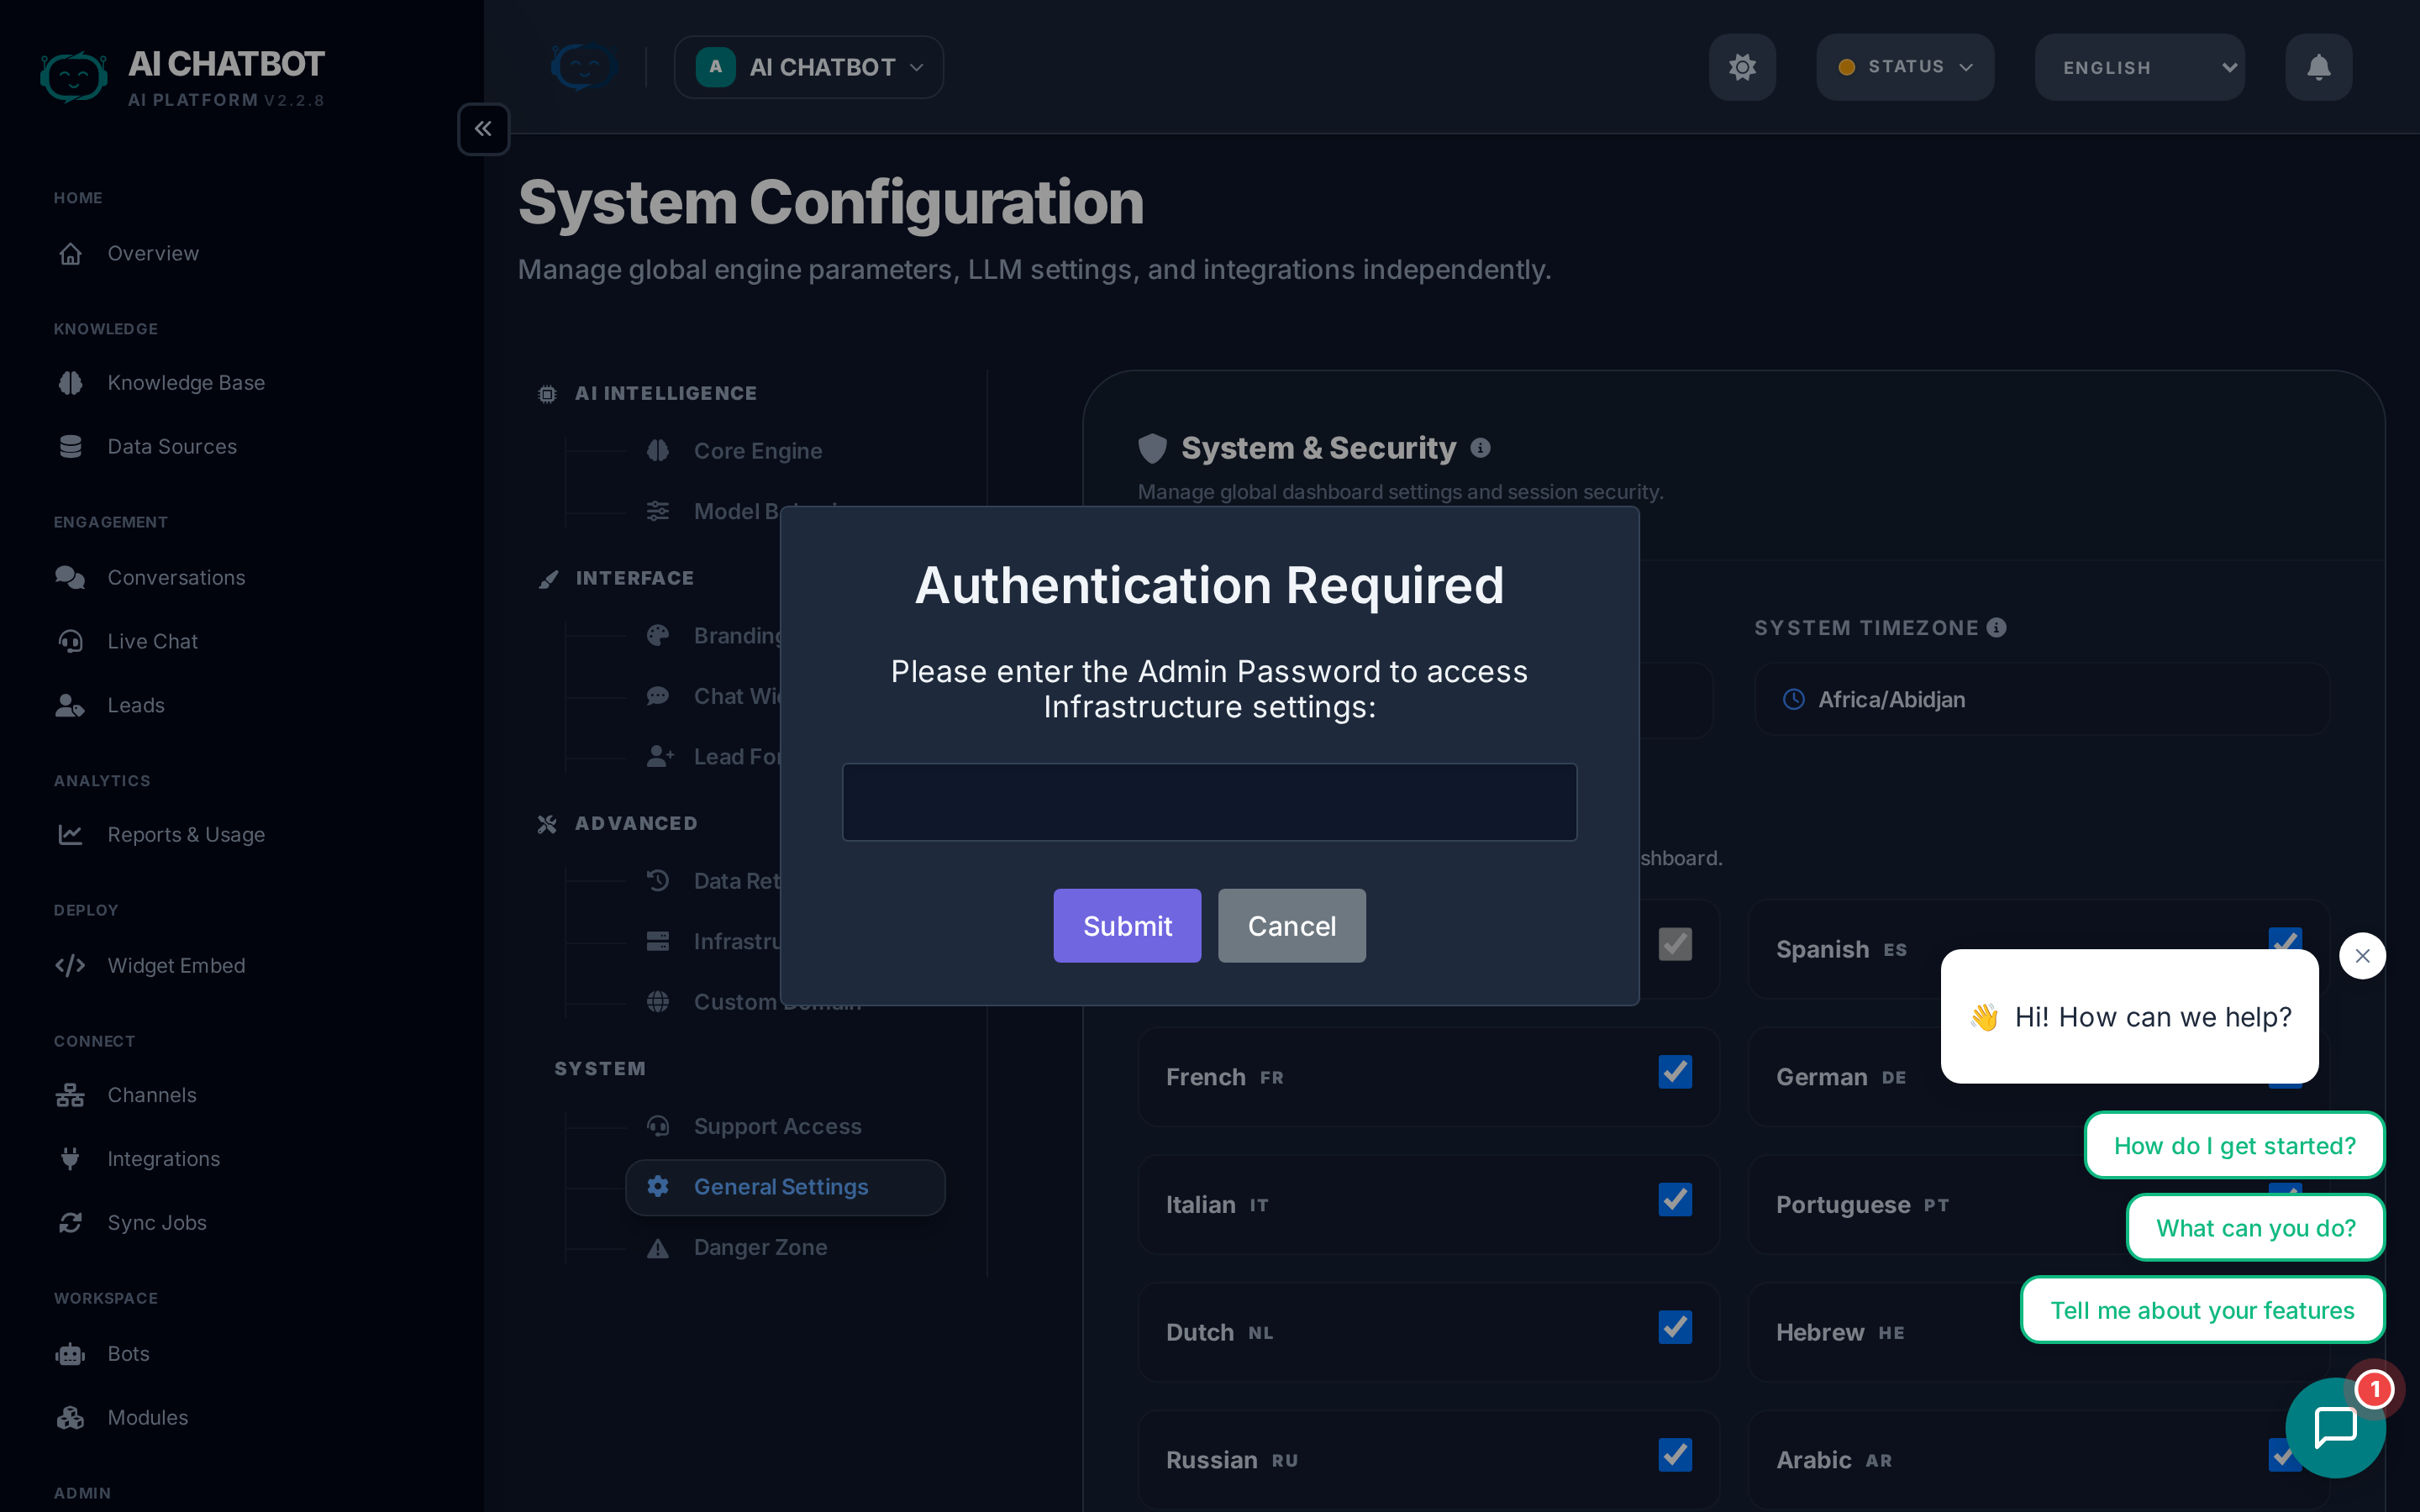
General administration settings that affect the entire dashboard and system behavior.
| Setting | What it does | Notes |
|---|---|---|
| Project Name | Displayed in the dashboard header, browser tab, and widget | Use your company or product name |
| System Timezone | Controls timestamp display in logs, reports, and conversations | Set to your business timezone for accurate reporting |
| Max Session Length | How long dashboard users stay logged in before being asked to re-authenticate | Options from 1 hour to 1 month — shorter is more secure |
| Dashboard Languages | Which languages appear in the dashboard language switcher | Currently supports English, Spanish, and Hebrew (with RTL) |
Session security
Shorter session lengths are more secure but require more frequent logins. For teams sharing a computer, use 1–4 hours. For personal devices, 1 week or 1 month is convenient.
Custom Domain
Configure a branded URL for your bot (e.g., https://bot.yourcompany.com).
For the full guide, see Custom Domains.
Danger Zone
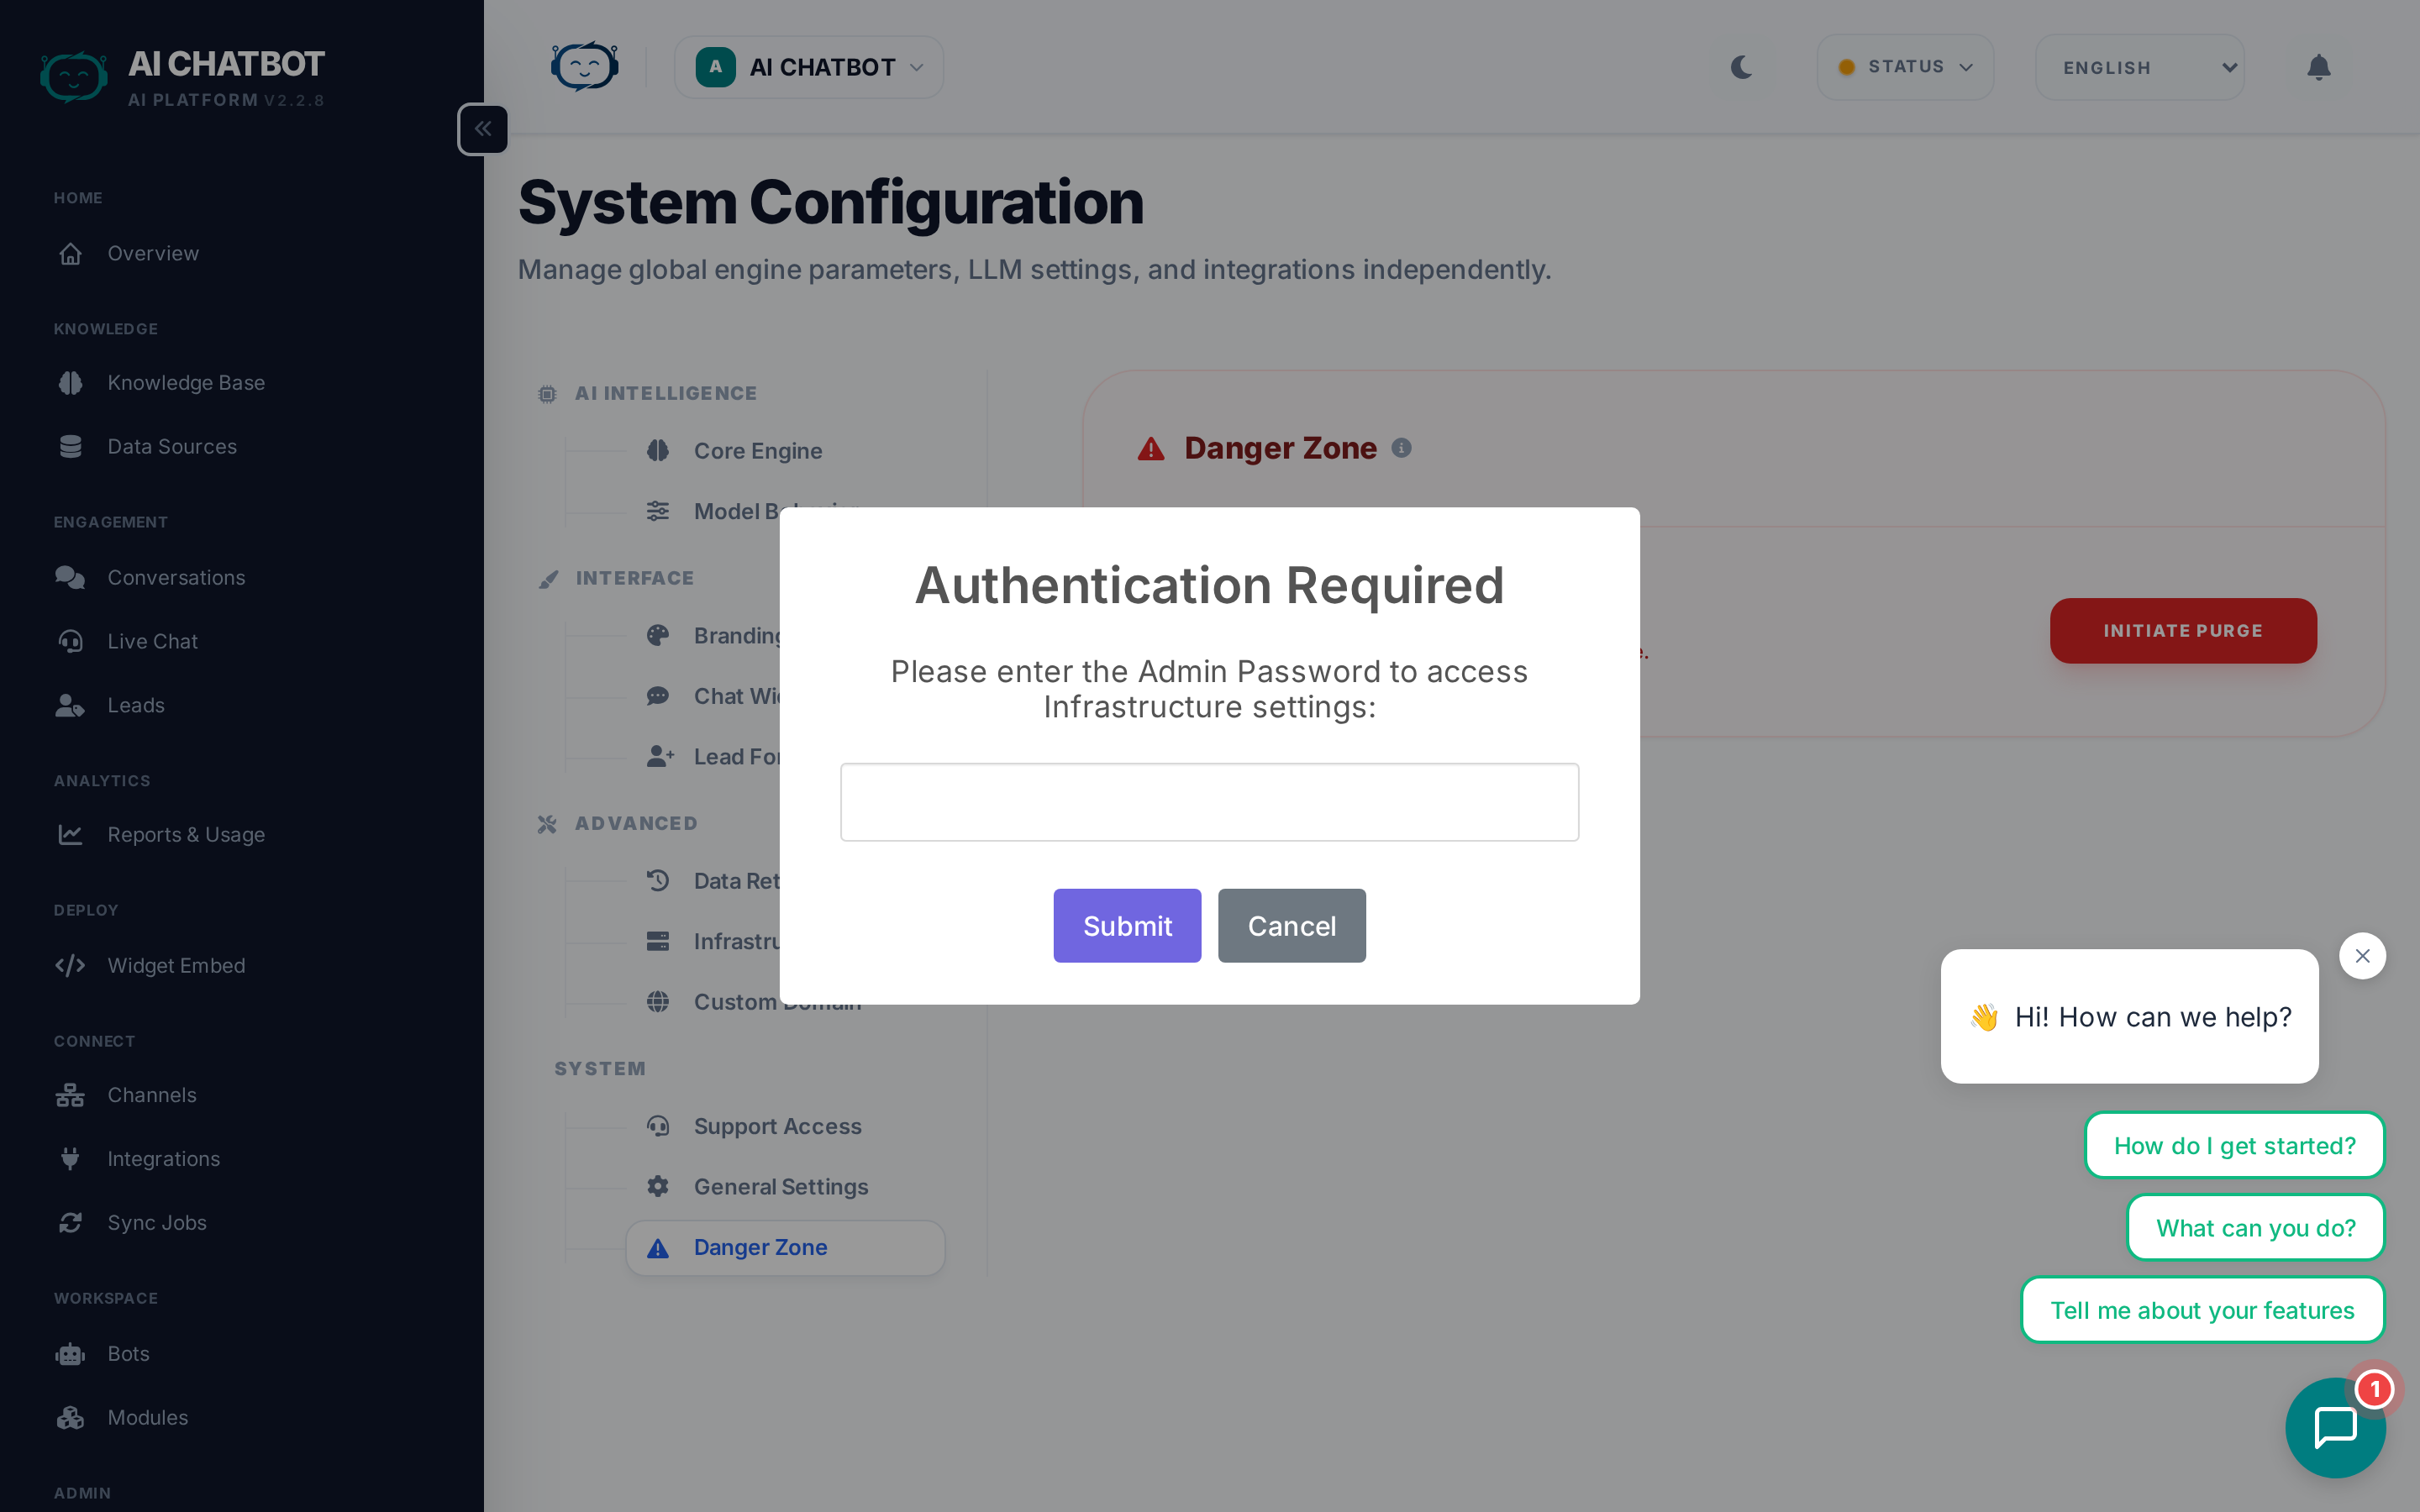
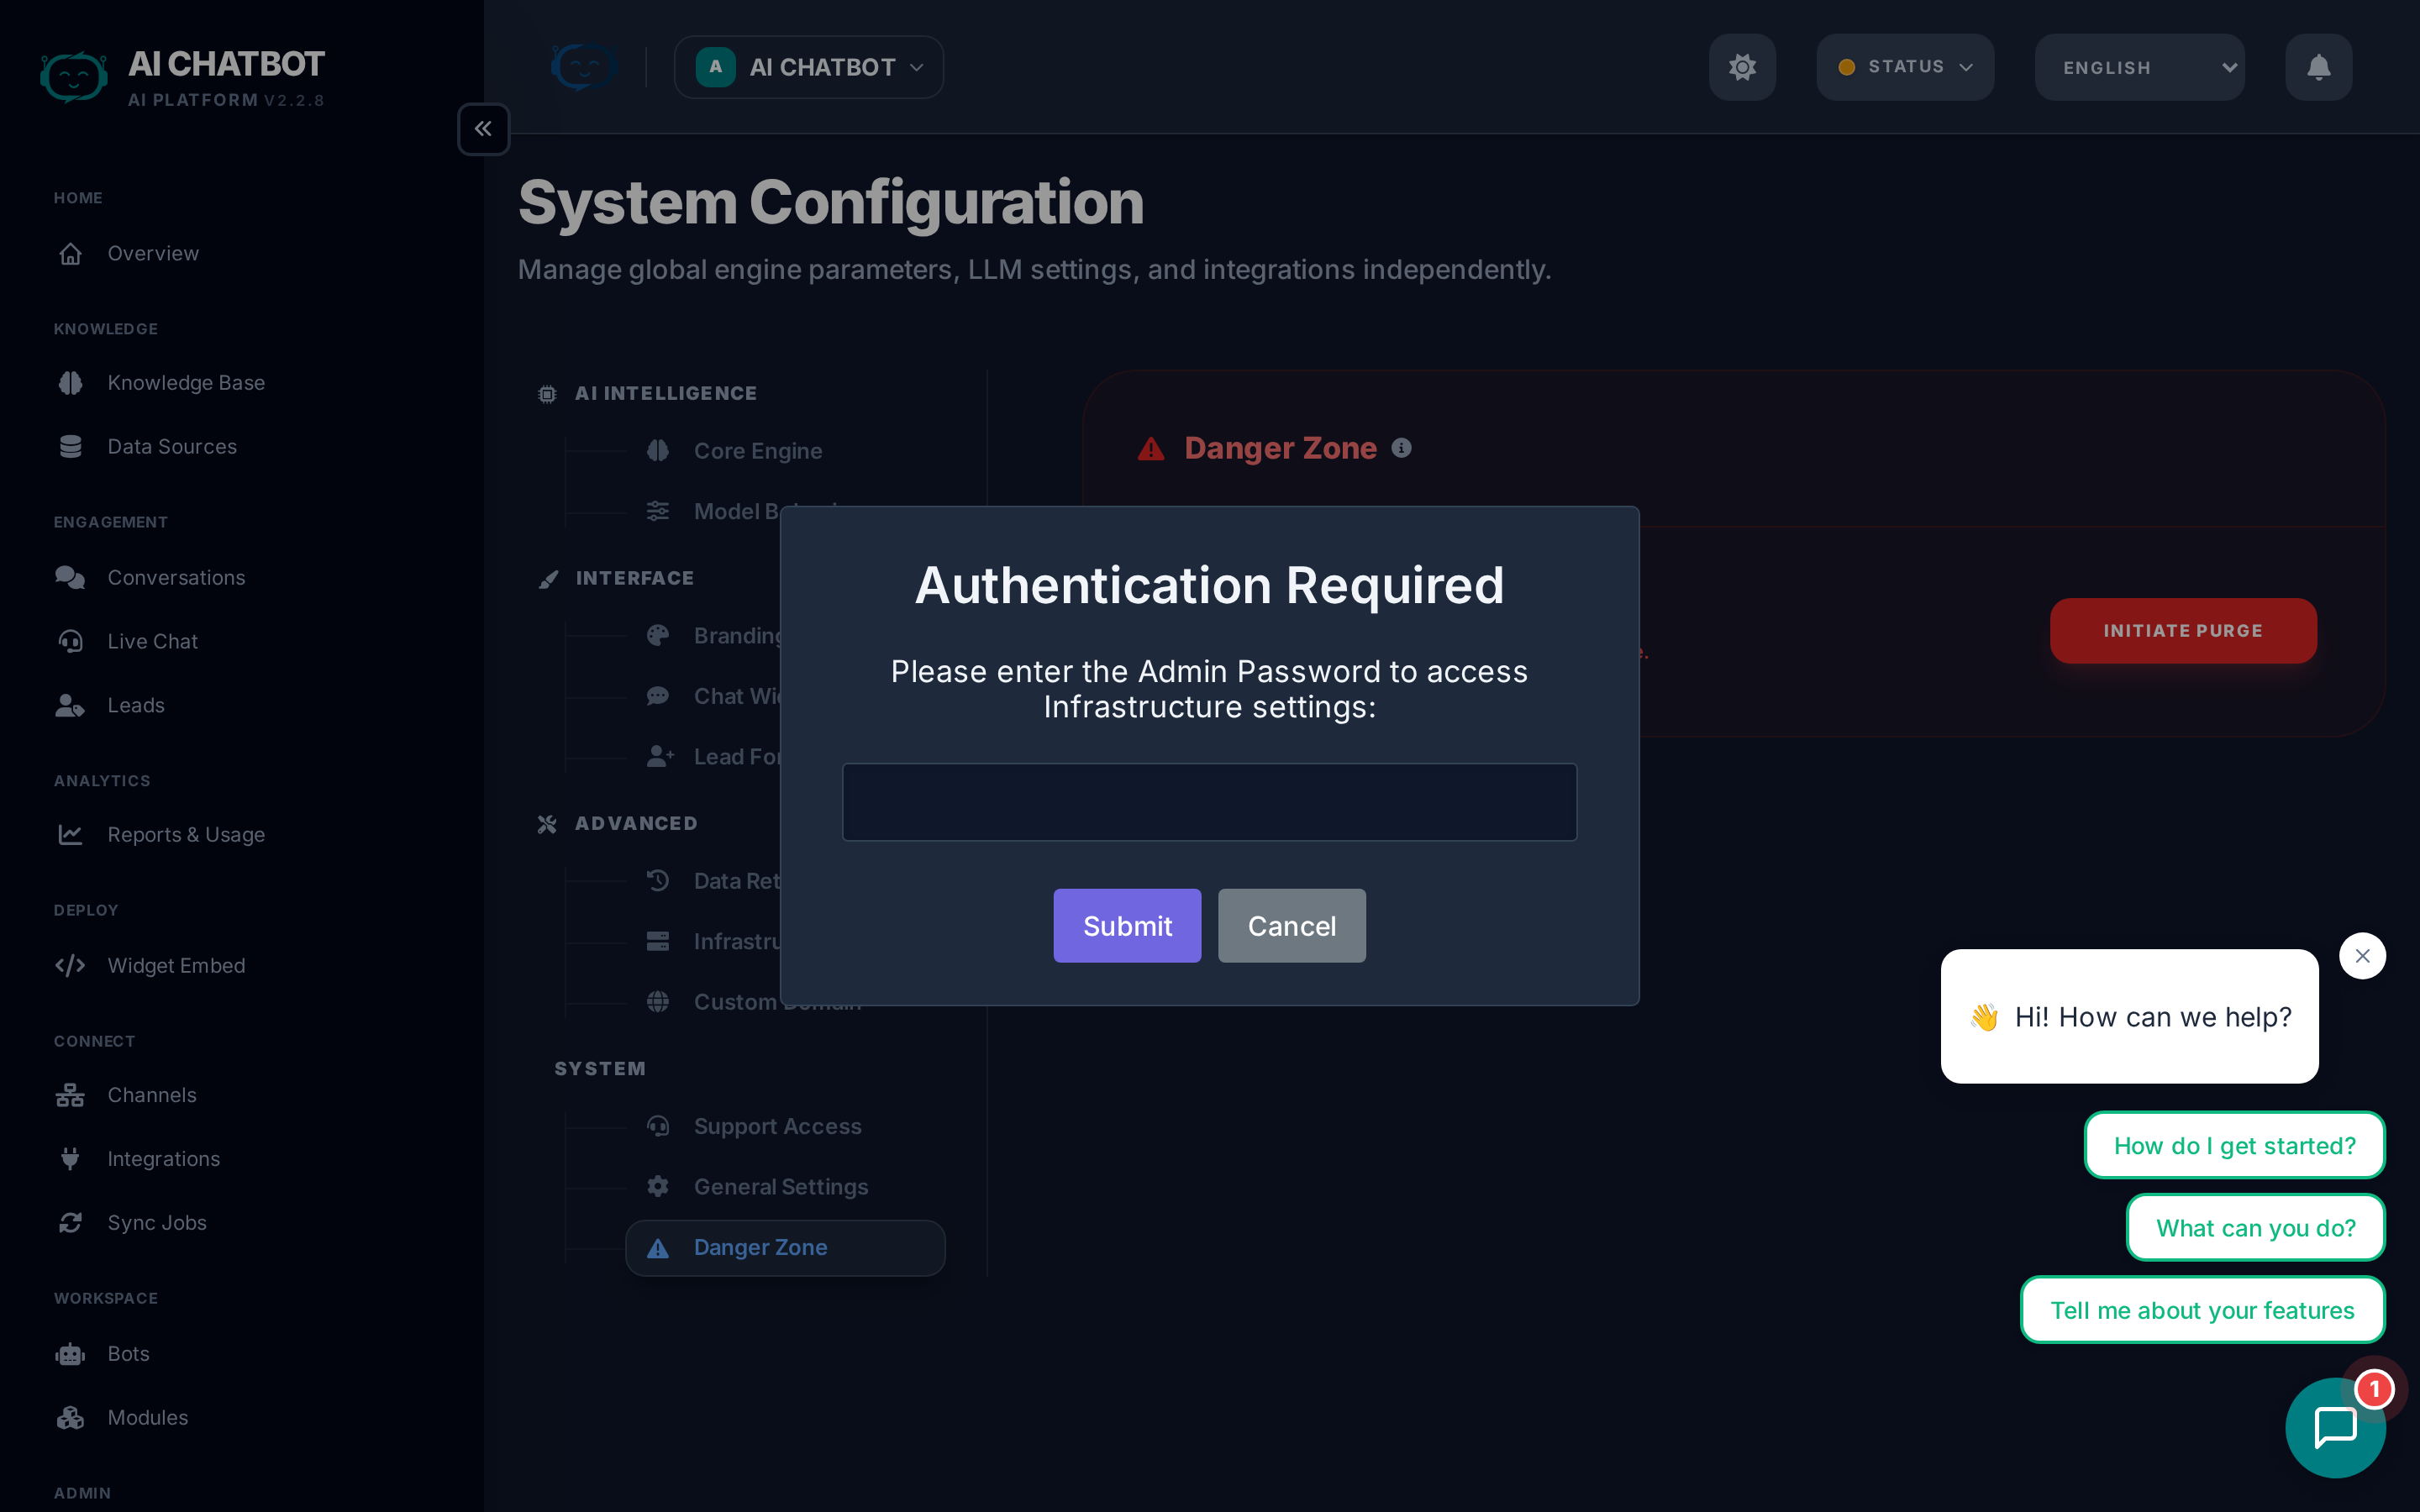
High-impact operations that require explicit confirmation. These actions cannot be undone.
| Action | What it does | What it preserves |
|---|---|---|
| Export Data | Downloads a backup of the current bot's data (knowledge base, conversations, leads) | Everything — this is read-only |
| Factory Reset | Deletes all indexed content, conversations, leads, and analytics for the current bot | Bot configuration (settings, branding, users) — only data is removed |
When to use Factory Reset
- Starting fresh after testing — remove all test conversations and leads
- Repurposing a bot for a different use case
- Cleaning up before re-indexing with new content
When to use Export Data
- Before performing a Factory Reset
- For compliance — periodic data backups
- Migrating data to another system
Factory Reset is permanent
This operation cannot be undone. All indexed content, conversations, leads, and analytics are permanently deleted. Always export data first if you might need it later.
FAQ
Q: The AI stopped responding after I changed settings.
- Reconnect OpenRouter in the AI Engine tab. Verify a model is selected and the API key is valid.
Q: Changes didn't apply after saving.
- Refresh the page. If changes still don't appear, check that the database is reachable (DB health indicator should be green).
Q: Where are settings stored?
- All settings are stored securely in the database. They persist across restarts and take effect immediately — no technical configuration needed.