Custom Domains
Path: /dashboard/settings (Custom Domain tab) · Permission: Settings module
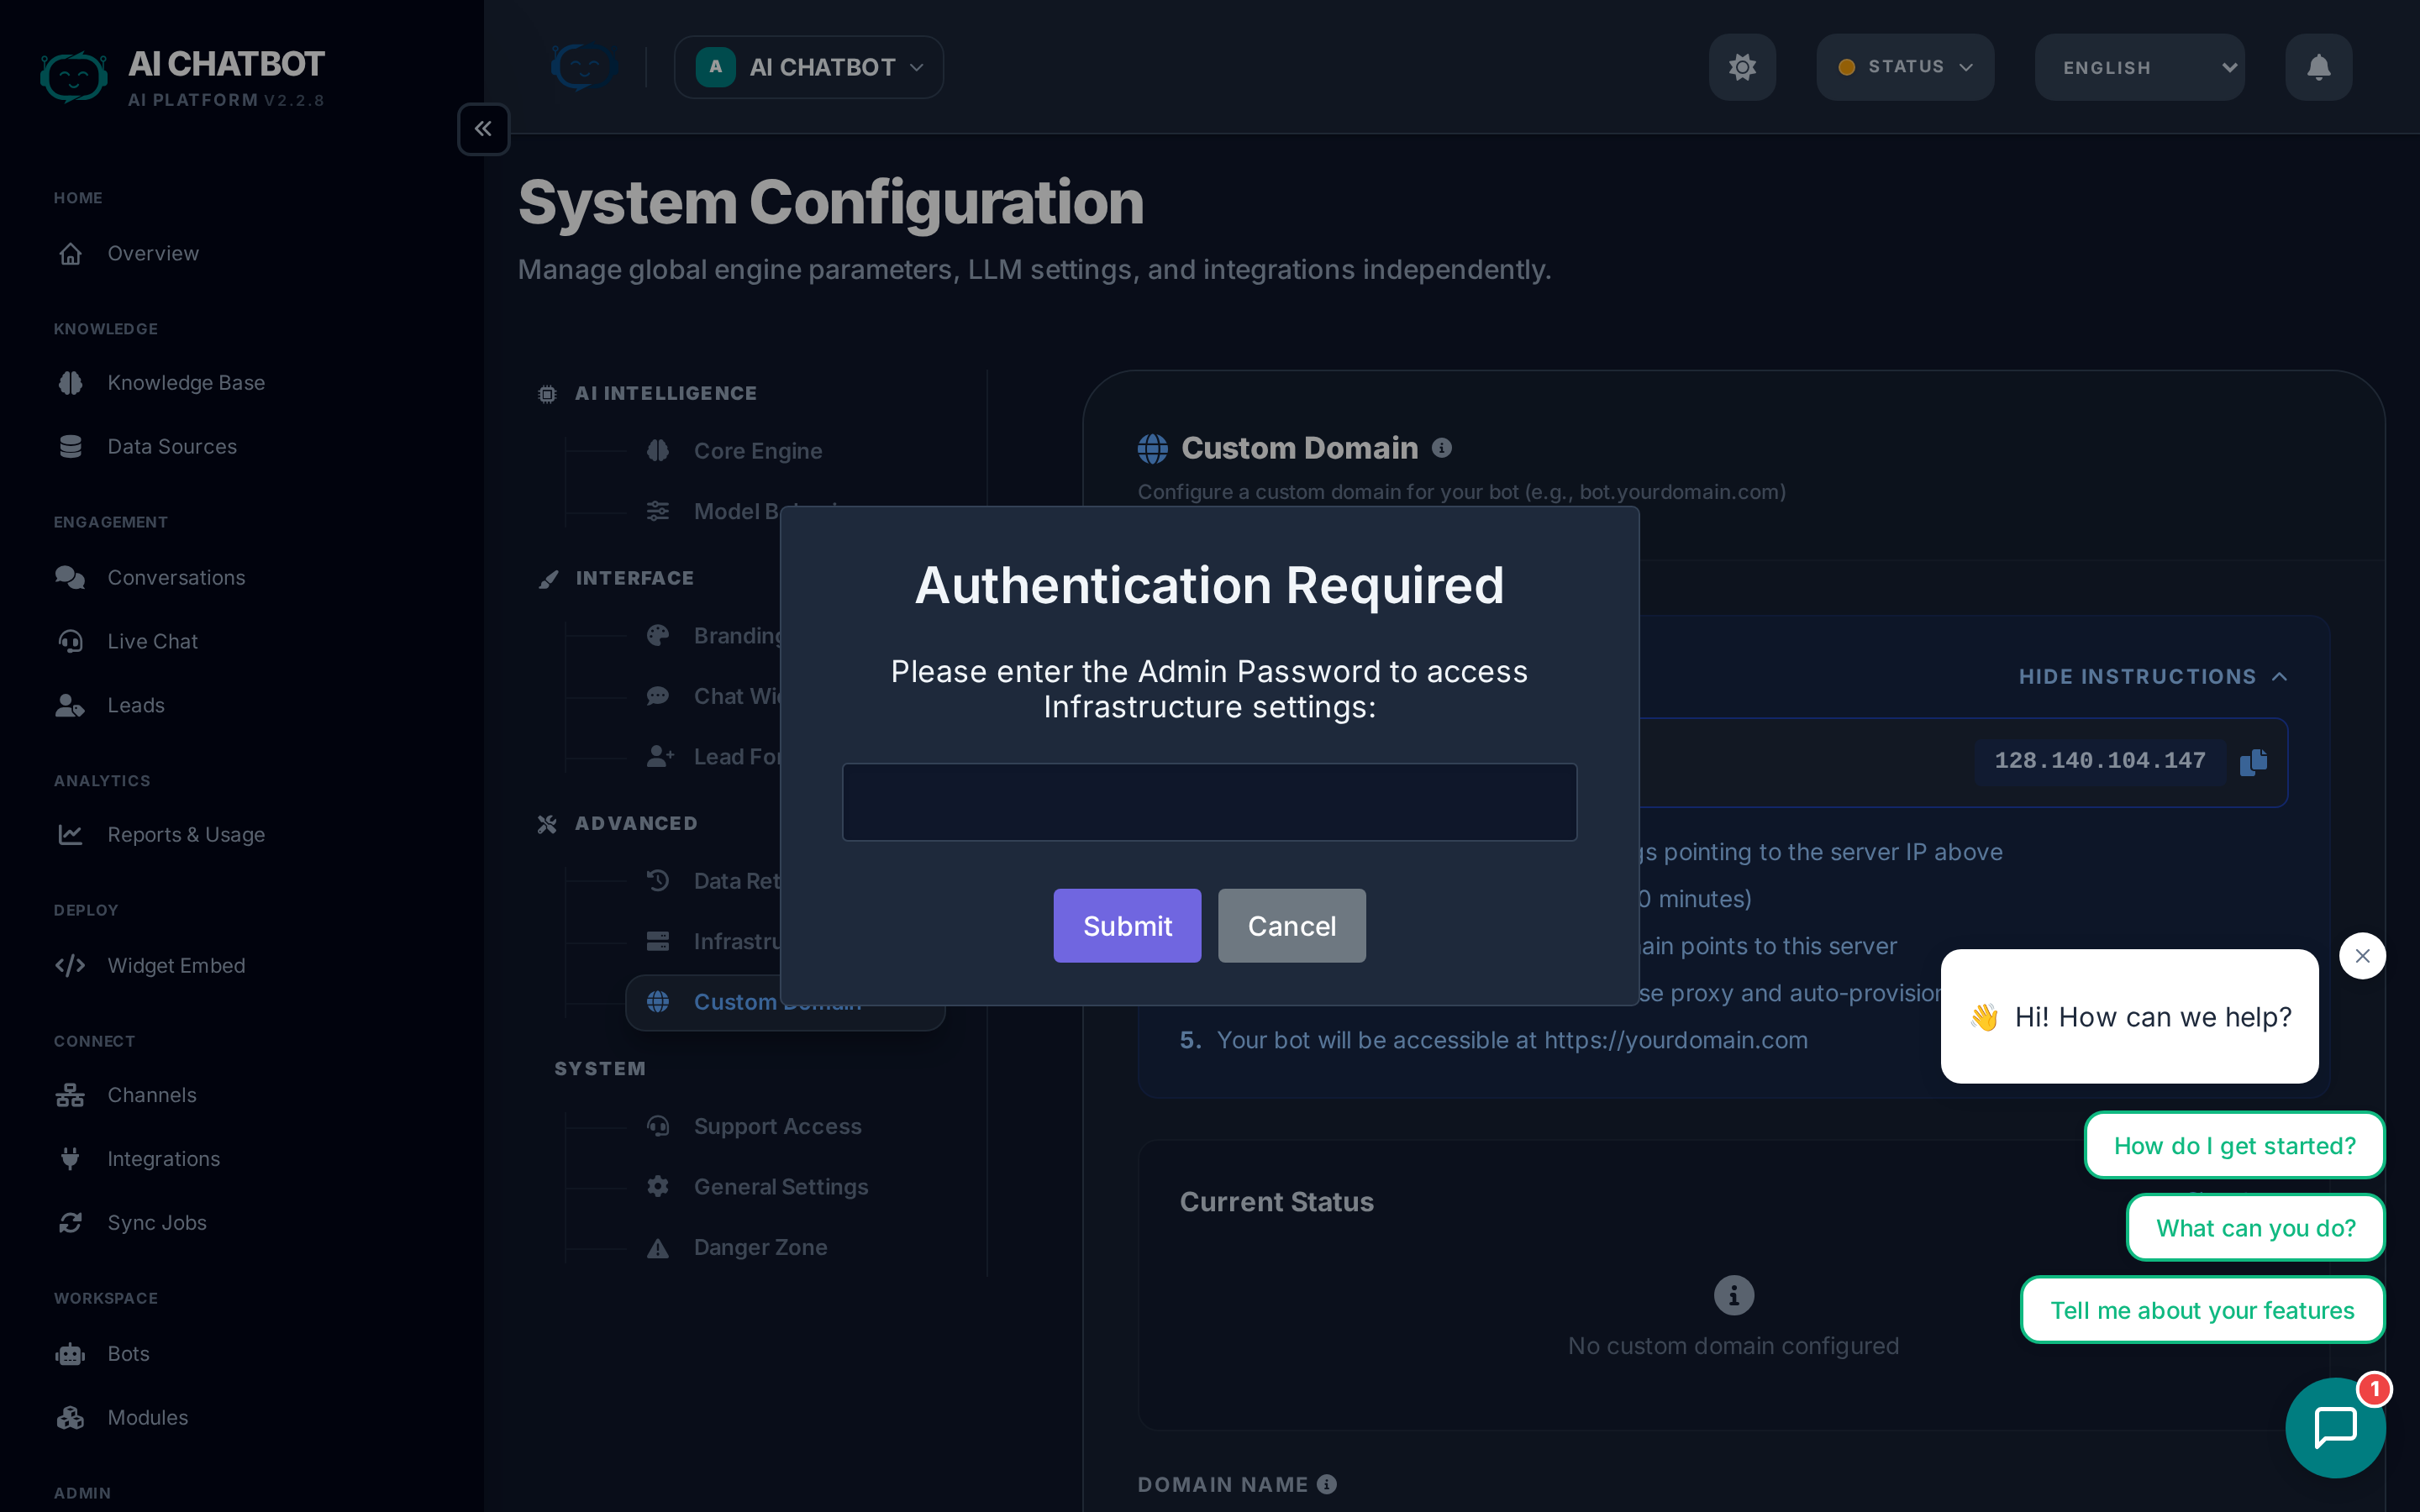
Custom domains let you serve your bot at a branded URL like https://bot.yourcompany.com instead of an IP address with a port number. The setup is automated from the dashboard — no command-line work required.

What a custom domain does
Instead of accessing your bot at https://123.45.67.89:8321, a custom domain gives you a clean, branded URL:
https://bot.yourcompany.com— Professional and trustworthyhttps://support.yourcompany.com— Purpose-specifichttps://ai.yourcompany.com— Modern and memorable
This is still your private server — a custom domain is just a branded URL that points to it.
Prerequisites
Before setting up a custom domain, ensure:
| Requirement | Details |
|---|---|
| DNS control | You can create A records for your domain (via your registrar or Cloudflare) |
| Ports 80 and 443 | Open on your server for HTTP and HTTPS traffic |
| Domain ownership | You own or manage the domain you want to use |
SSL is handled automatically
SSL certificates are provisioned and renewed automatically. No manual setup is needed.
Step-by-step setup
Step 1: Create a DNS record
Go to your domain registrar or DNS provider and create an A record:
| Record type | Name | Value |
|---|---|---|
| A | bot.yourdomain.com |
Your server's IP address |
Replace bot with whatever subdomain you prefer (e.g., support, ai, chat).
Step 2: Verify DNS
- Go to Settings → Custom Domain in the dashboard.
- Enter your domain (e.g.,
bot.yourdomain.com). - Click Verify DNS.
- The system checks that the A record points to your server.
DNS propagation
DNS changes can take 5–30 minutes to propagate. If verification fails, wait a few minutes and try again.
Step 3: Add the domain
- Once DNS is verified, click Add Domain.
- The system automatically:
- Generates Nginx configuration files
- Requests an SSL certificate from Let's Encrypt
- Activates the domain
Your bot is now live at https://bot.yourdomain.com.
Cloudflare compatibility
If you use Cloudflare as your DNS/CDN provider:
- Recommended SSL mode: Full (Strict)
- The system is compatible with Cloudflare's proxy (orange cloud enabled).
- Cloudflare handles edge SSL, and the server provides the origin certificate.
Managing domains
Renew SSL
SSL certificates from Let's Encrypt expire every 90 days. You can renew from the dashboard:
- Go to Settings → Custom Domain.
- Click Renew SSL.
Auto-renewal is configured during setup, but you can trigger a manual renewal anytime.
Remove a domain
- Go to Settings → Custom Domain.
- Click Remove.
- The Nginx config and SSL certificate are cleaned up.
- The bot reverts to IP:port access.
Widget embed after custom domain
Once your custom domain is active, update your widget embed code to use it:
<script
  src="https://bot.yourdomain.com/chatbot-widget/v1/js/loader.js"
  data-bot-id="your-bot-id"
  data-backend-url="https://bot.yourdomain.com"
  async>
</script>
Use the dynamic embed page
Go to Dashboard → Embed after adding your custom domain — the generated embed code automatically uses the new domain. No manual URL changes needed.
FAQ
Q: DNS verification fails.
- Wait 5–30 minutes for DNS propagation.
- Verify the A record is pointing to the correct IP address using your DNS provider's control panel.
- If still failing, contact your account manager.
Q: HTTPS is not working.
- Try renewing SSL from Settings → Custom Domain.
- If using Cloudflare, ensure SSL mode is set to Full (Strict).
- Contact your account manager if the issue persists.
Q: Can I use multiple custom domains?
- Currently, one custom domain per server is supported. For multiple domains, contact your account manager.
Q: Will my old IP:port URL still work?
- Yes. Adding a custom domain doesn't disable direct IP access. Both methods work simultaneously.