Widget & Embed Code
Path: /dashboard/embed · Permission: Settings module
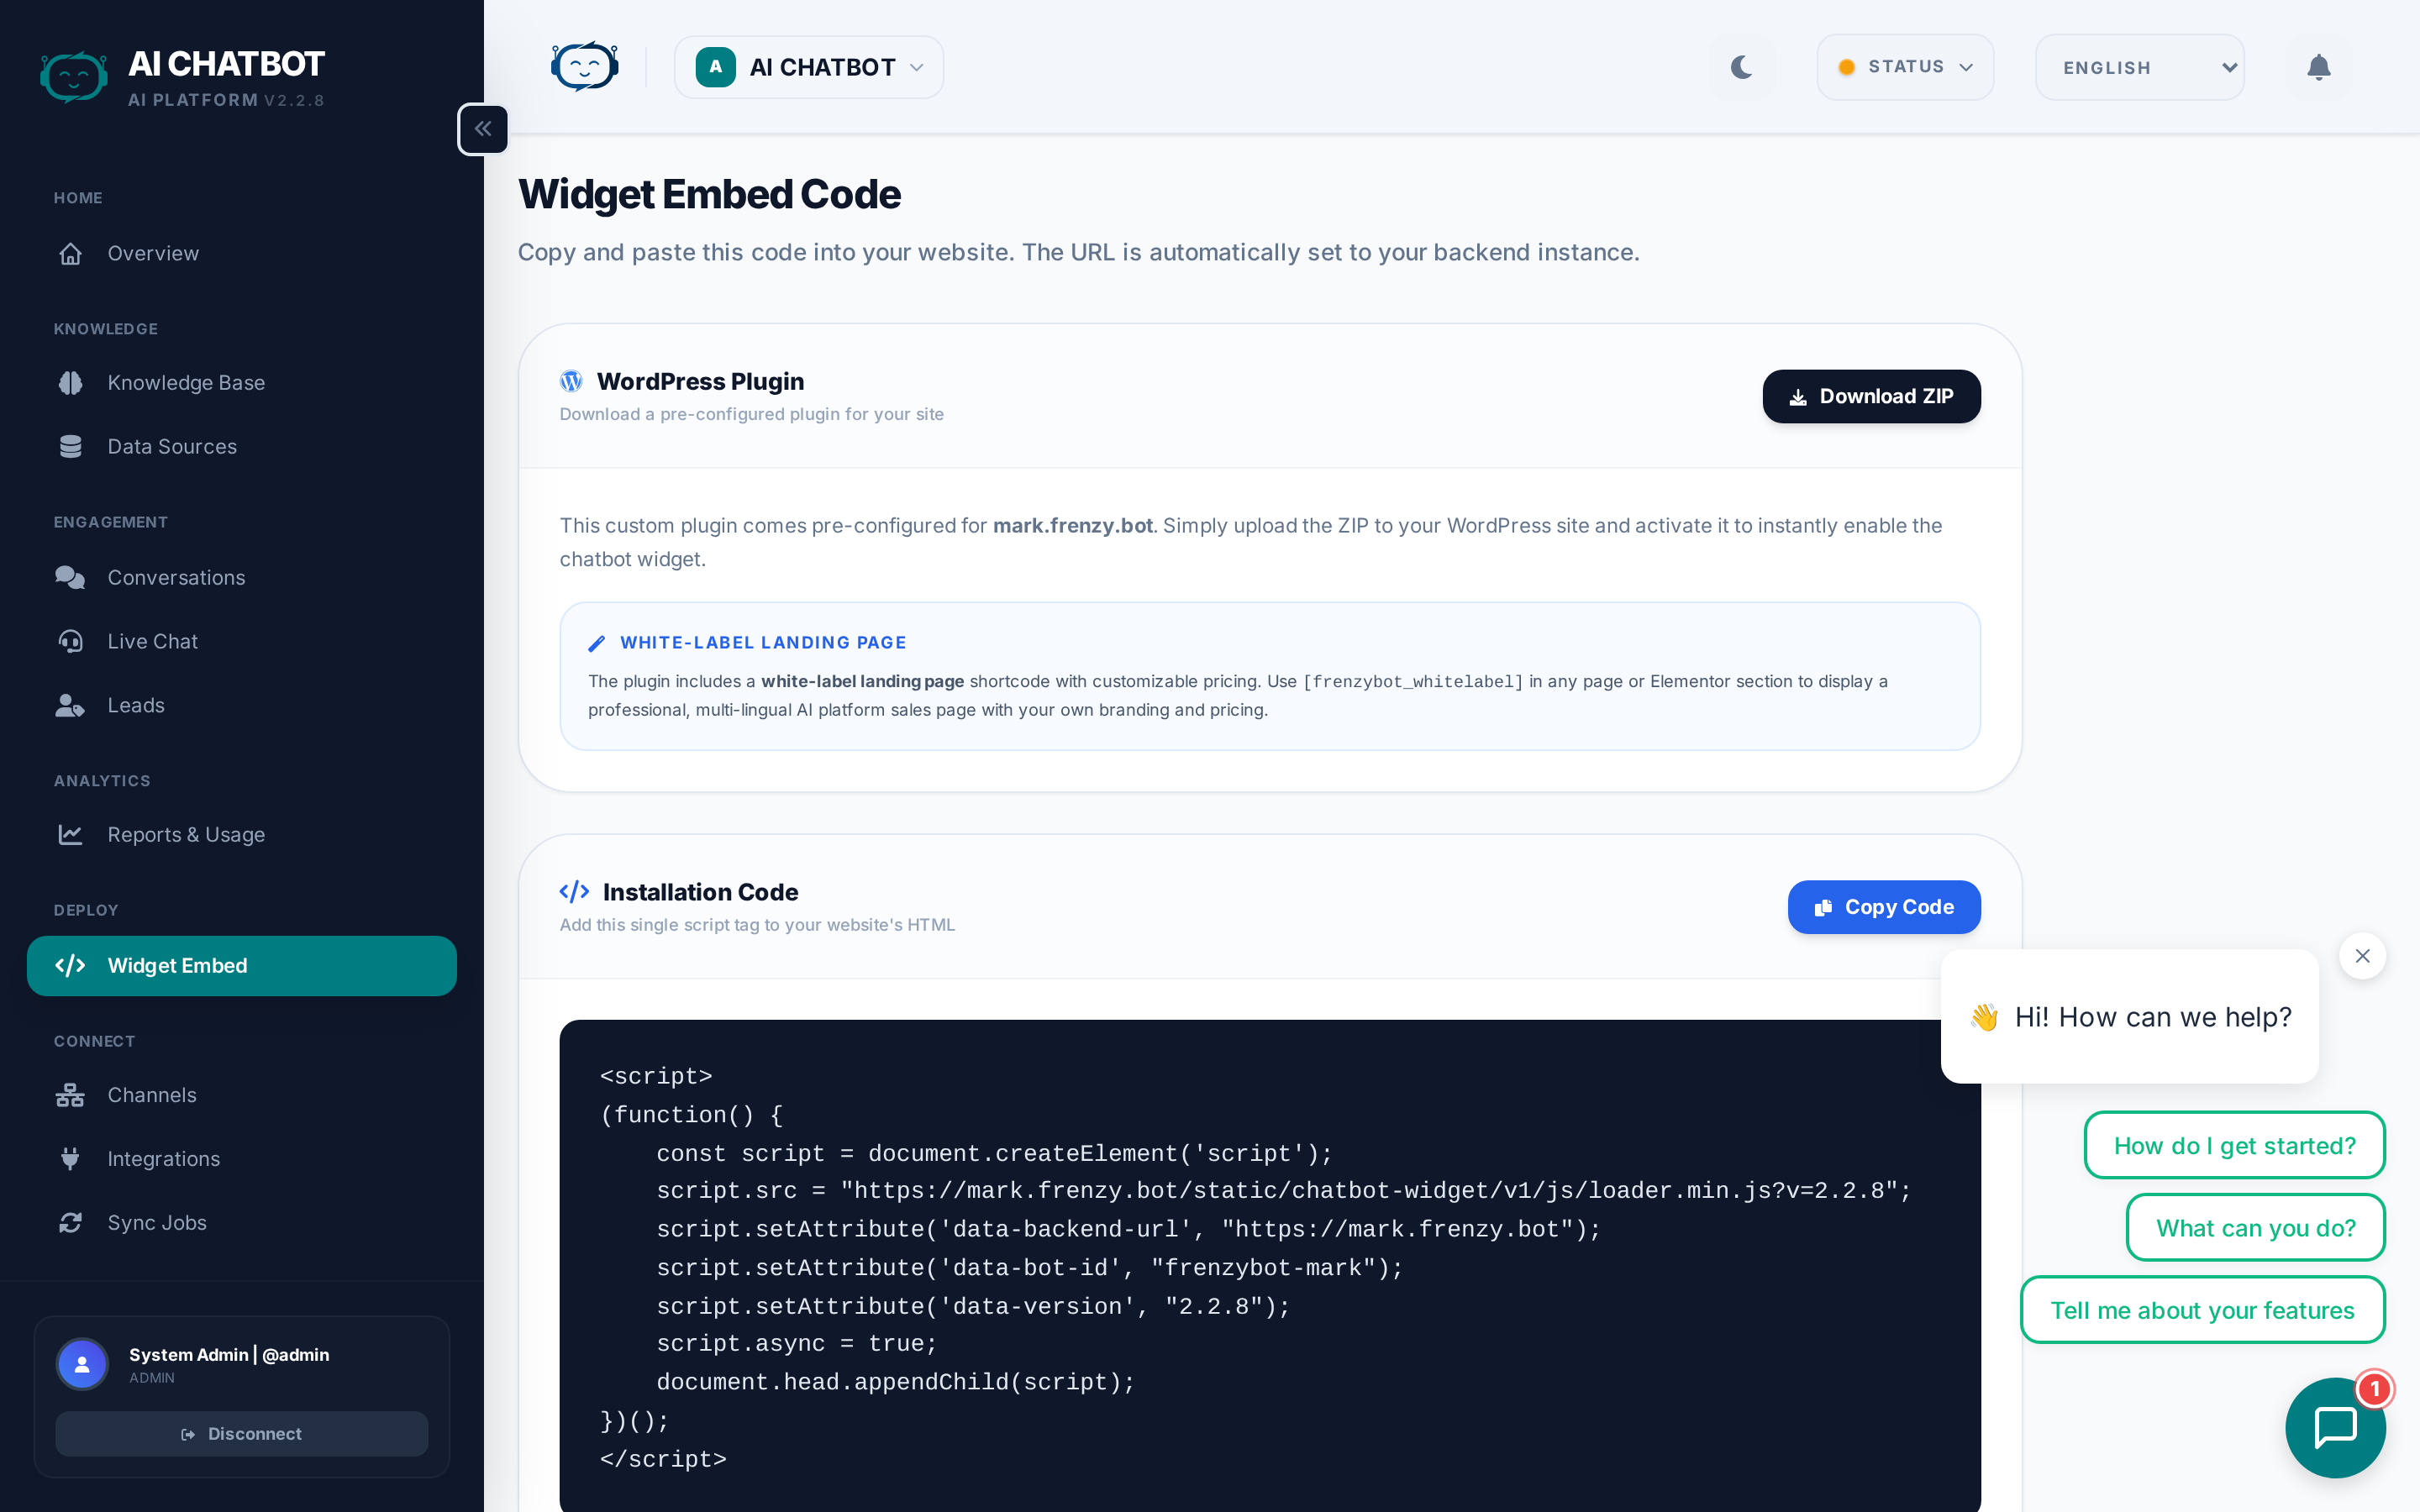
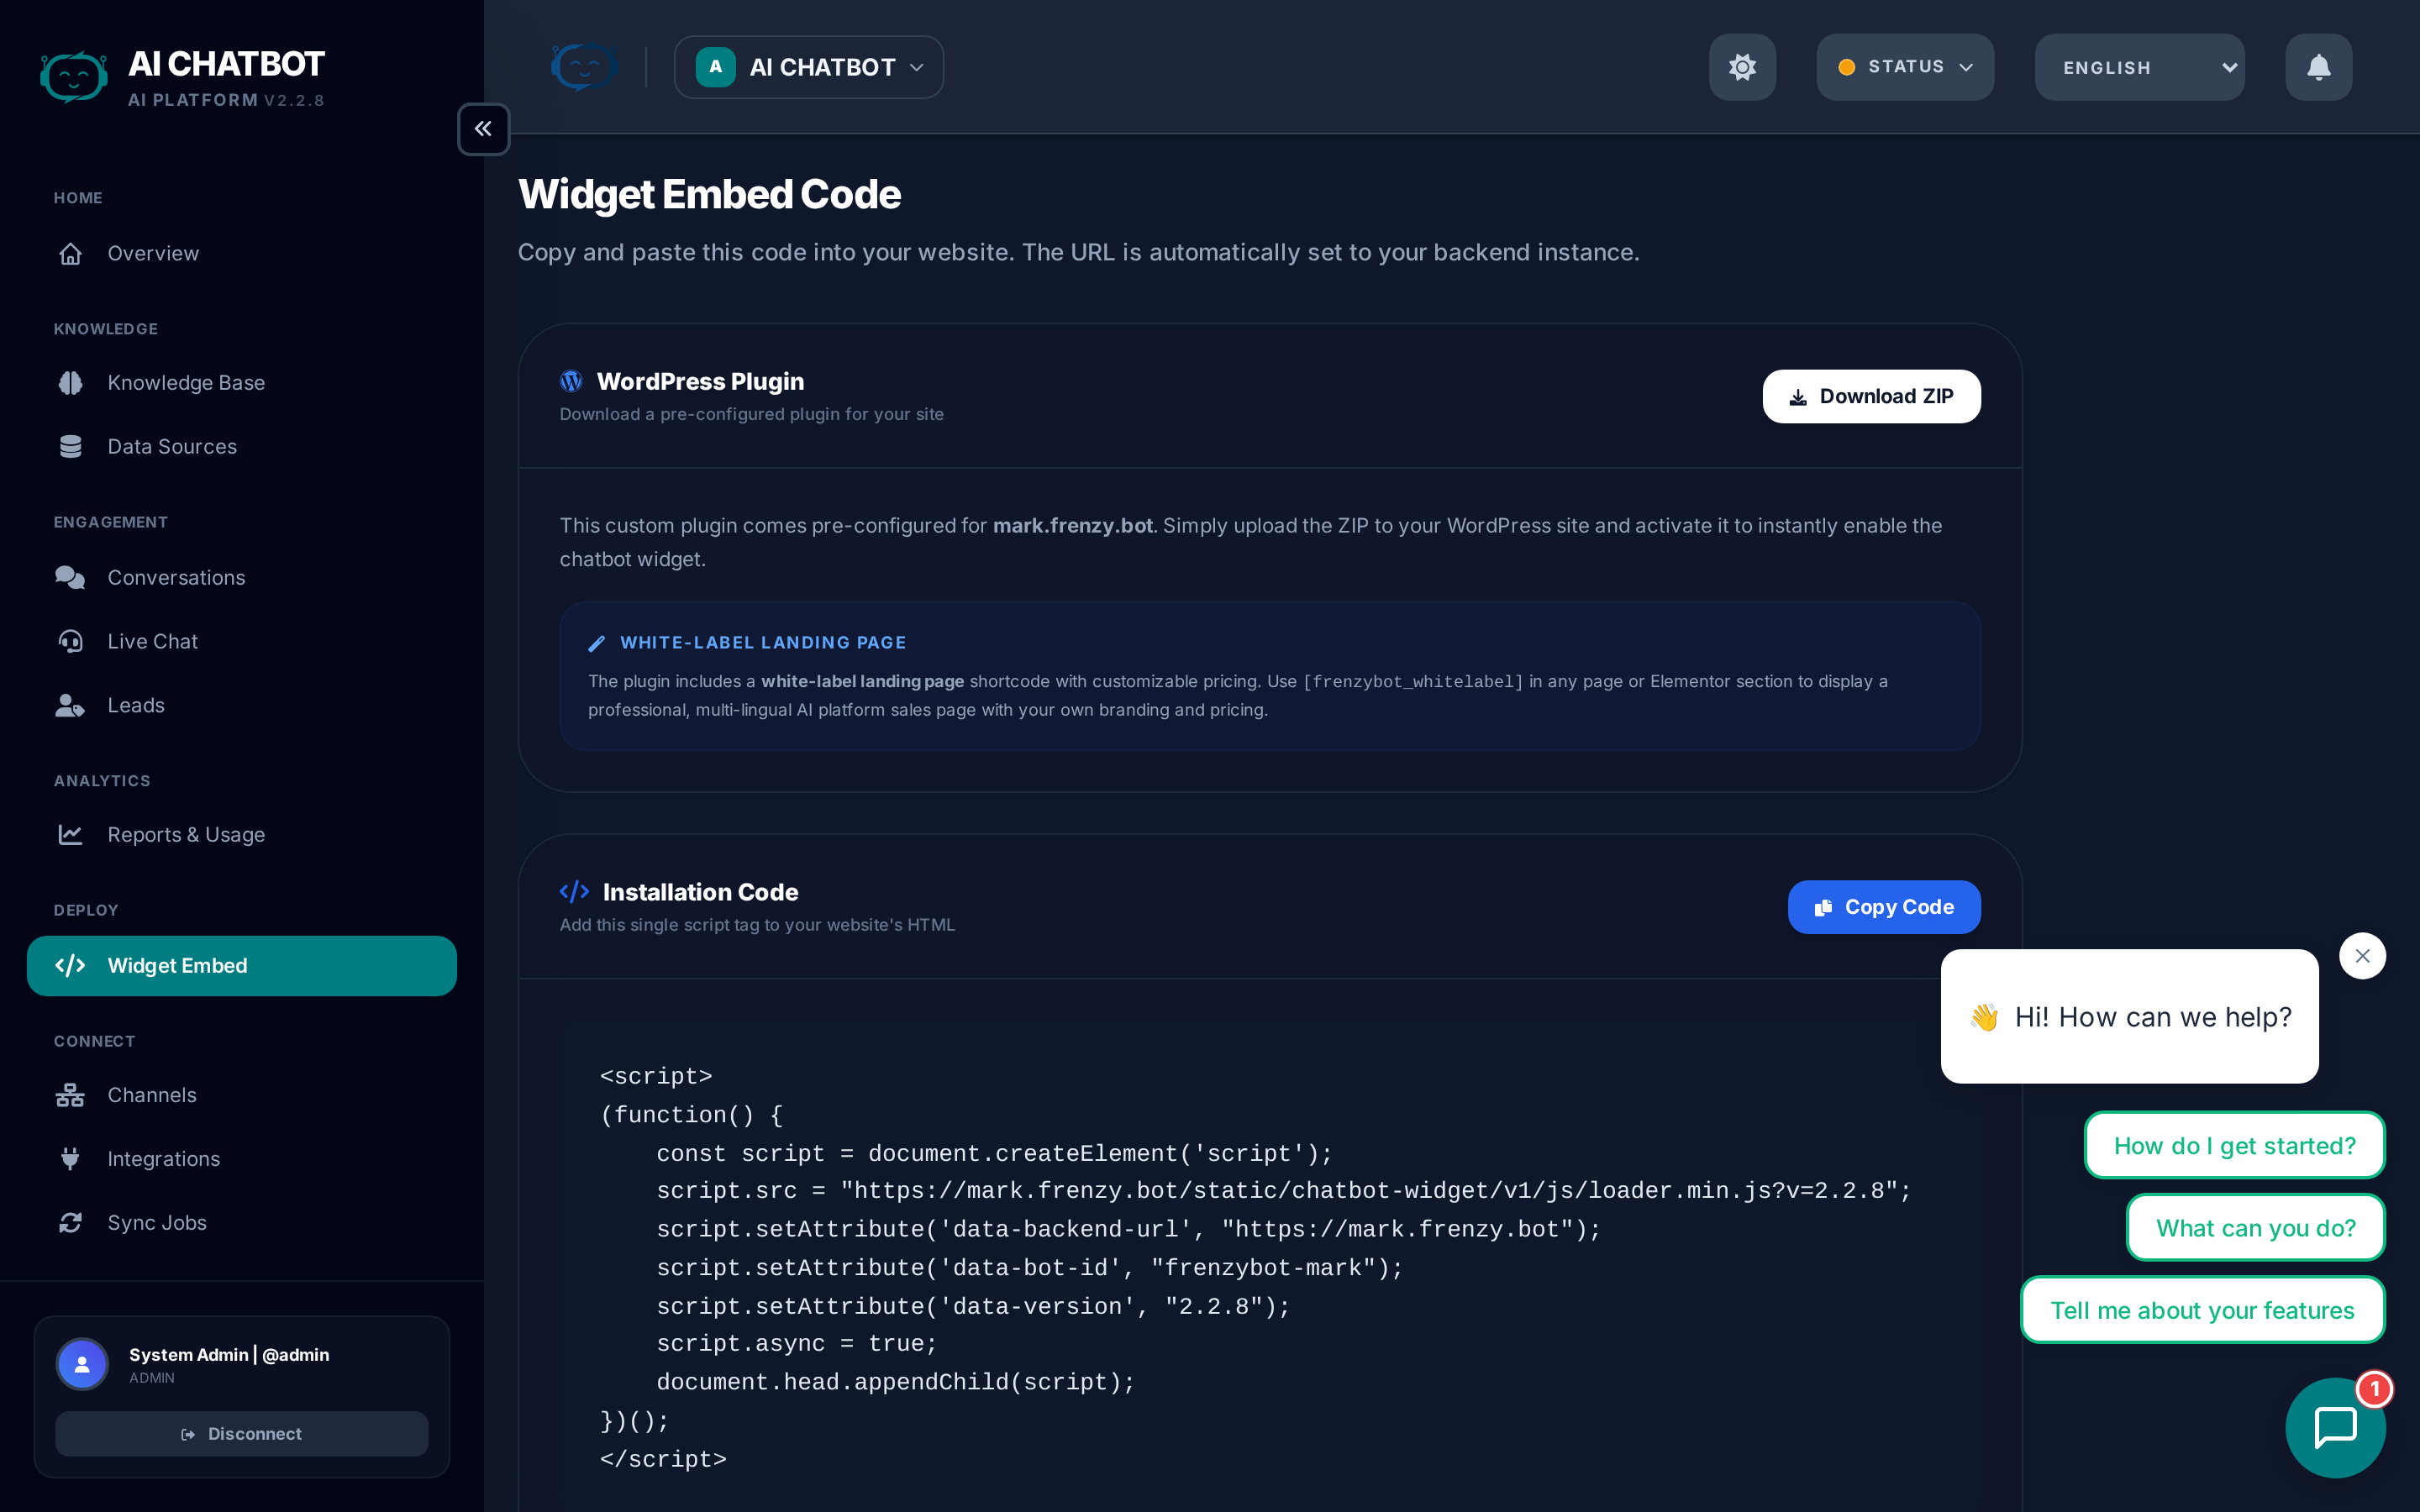
The widget is the primary way users interact with your AI assistant on your website. This page explains how to deploy it, what each embed attribute does, and how the widget works under the hood.
Getting your embed code
The easiest way to get your embed code:
- Go to Dashboard → Embed in the sidebar.
- The page auto-generates the correct script for your current bot and domain.
- Click Copy to copy the full embed snippet.
- Paste it into your website's HTML, just before
</body>.
Embed script reference
<script
  src="https://user.frenzy.bot/chatbot-widget/v1/js/loader.js"
  data-bot-id="sales-assistant"
  data-bot-name="Sales Assistant"
  data-theme-color="#3b82f6"
  data-backend-url="https://user.frenzy.bot"
  async>
</script>
Attributes
| Attribute | Required | What it does |
|---|---|---|
data-bot-id |
Yes | The unique slug ID of your bot. |
data-bot-name |
No | The label shown at the top of the chat window. |
data-theme-color |
No | Primary widget color (hex code). |
data-backend-url |
No | The server URL. Defaults to https://user.frenzy.bot (or your custom domain). |
How to find your bot ID
- Open the dashboard and go to Embed or Settings.
- The bot ID is shown in the embed code and in the bot management page.
- Format: lowercase alphanumeric with hyphens (e.g.,
sales-assistant,support-bot).
Dynamic embed page
The Dashboard → Embed page auto-detects your current hostname and generates the correct embed snippet. This is safer than hardcoding URLs because:
- If you change domains later, the generated embed code reflects the new domain automatically.
- Each bot gets its own embed snippet with the correct
data-bot-id. - One-click copy makes deployment fast.
Widget features
The FRENZY.BOT widget is built for production use with these capabilities:
| Feature | What it does |
|---|---|
| Shadow DOM isolation | Prevents your website's CSS from breaking the widget's design |
| Session persistence | Chat history survives page refreshes via localStorage |
| Lazy loading | Prevents slow performance on long conversations |
| Context window | Last 6 messages sent to the AI for response quality |
| Multilingual | Supports multiple languages with auto-detection |
| RTL support | Full right-to-left layout for Hebrew and Arabic |
| Suggested questions | Pre-written prompts shown below the welcome message |
| Lead form | In-chat contact capture with configurable fields |
| Text-to-speech | Optional audio playback for AI responses |
Testing the widget
Before adding the widget to your production site:
- Confirm the server is running.
- Open the built-in test page:
https://user.frenzy.bot/chatbot-widget/test.html - Send a few test messages.
- Refresh the page — chat history should persist.
- Verify the bot answers using your knowledge base content.
WordPress integration
For WordPress sites, two options are available:
Option 1: Paste the script
Add the embed script to your theme's footer.php or use a plugin that allows custom scripts in the footer.
Option 2: WordPress plugin
- Upload the FRENZY.BOT WordPress plugin ZIP and activate it.
- Use the
[FRENZY.BOT_whitelabel]shortcode for a full-screen embedded support portal page.
Common mistakes
| Problem | Cause | Fix |
|---|---|---|
| Widget appears but doesn't answer | Wrong data-bot-id |
Check the bot ID in Dashboard → Embed |
| Widget doesn't appear | Server unreachable | Verify port 8321 is open and the server is running |
| Works on localhost, fails on production | Missing data-backend-url |
Set it to your production domain URL |
| CSS conflicts with your site | Not using Shadow DOM | This shouldn't happen — check for forced global styles |
| Old widget version showing | Browser cache | Version-based cache busting handles this automatically |
Per-bot embed
In a multi-bot setup, each bot has its own embed snippet. The data-bot-id attribute determines which bot handles the conversation. Each bot's widget uses its own:
- System prompt and AI model
- Branding, colors, and avatar
- Welcome message and suggested questions
- Lead form configuration
- Language settings
Switch bots in the dashboard to generate the correct embed code for each one.
FAQ
Q: The widget loads but doesn't answer.
- Verify
data-bot-idis correct. - Confirm OpenRouter is connected (LLM indicator should be green).
- Check that the knowledge base has content.
Q: Widget works on localhost but not production.
- Confirm port 8321 is open on your server.
- Set
data-backend-urlto your production domain (withhttps://). - If using a custom domain, verify SSL is configured correctly.
Q: Can I use the widget on multiple domains?
- Yes. The widget works on any domain as long as
data-backend-urlpoints to your server. Use the dynamic embed page or custom domain for consistency.
Q: How do I update the widget after changes?
- Widget updates are applied automatically via version-based cache busting. When the server is updated, the widget version increments and browsers fetch the new version.