Quick Start
Get FRENZY.BOT live in under 15 minutes. This guide walks you through the four steps needed to go from first login to a working AI assistant on your website.
Step 1: Open the dashboard
Navigate to your dashboard URL:
- Managed Cloud:
https://user.frenzy.bot/dashboard/ - Private Server:
https://your-custom-domain.com/dashboard/orhttp://<server-ip>:8321/dashboard/
Log in with the credentials provided during setup. If this is a fresh installation, the system creates your admin account automatically.
First login
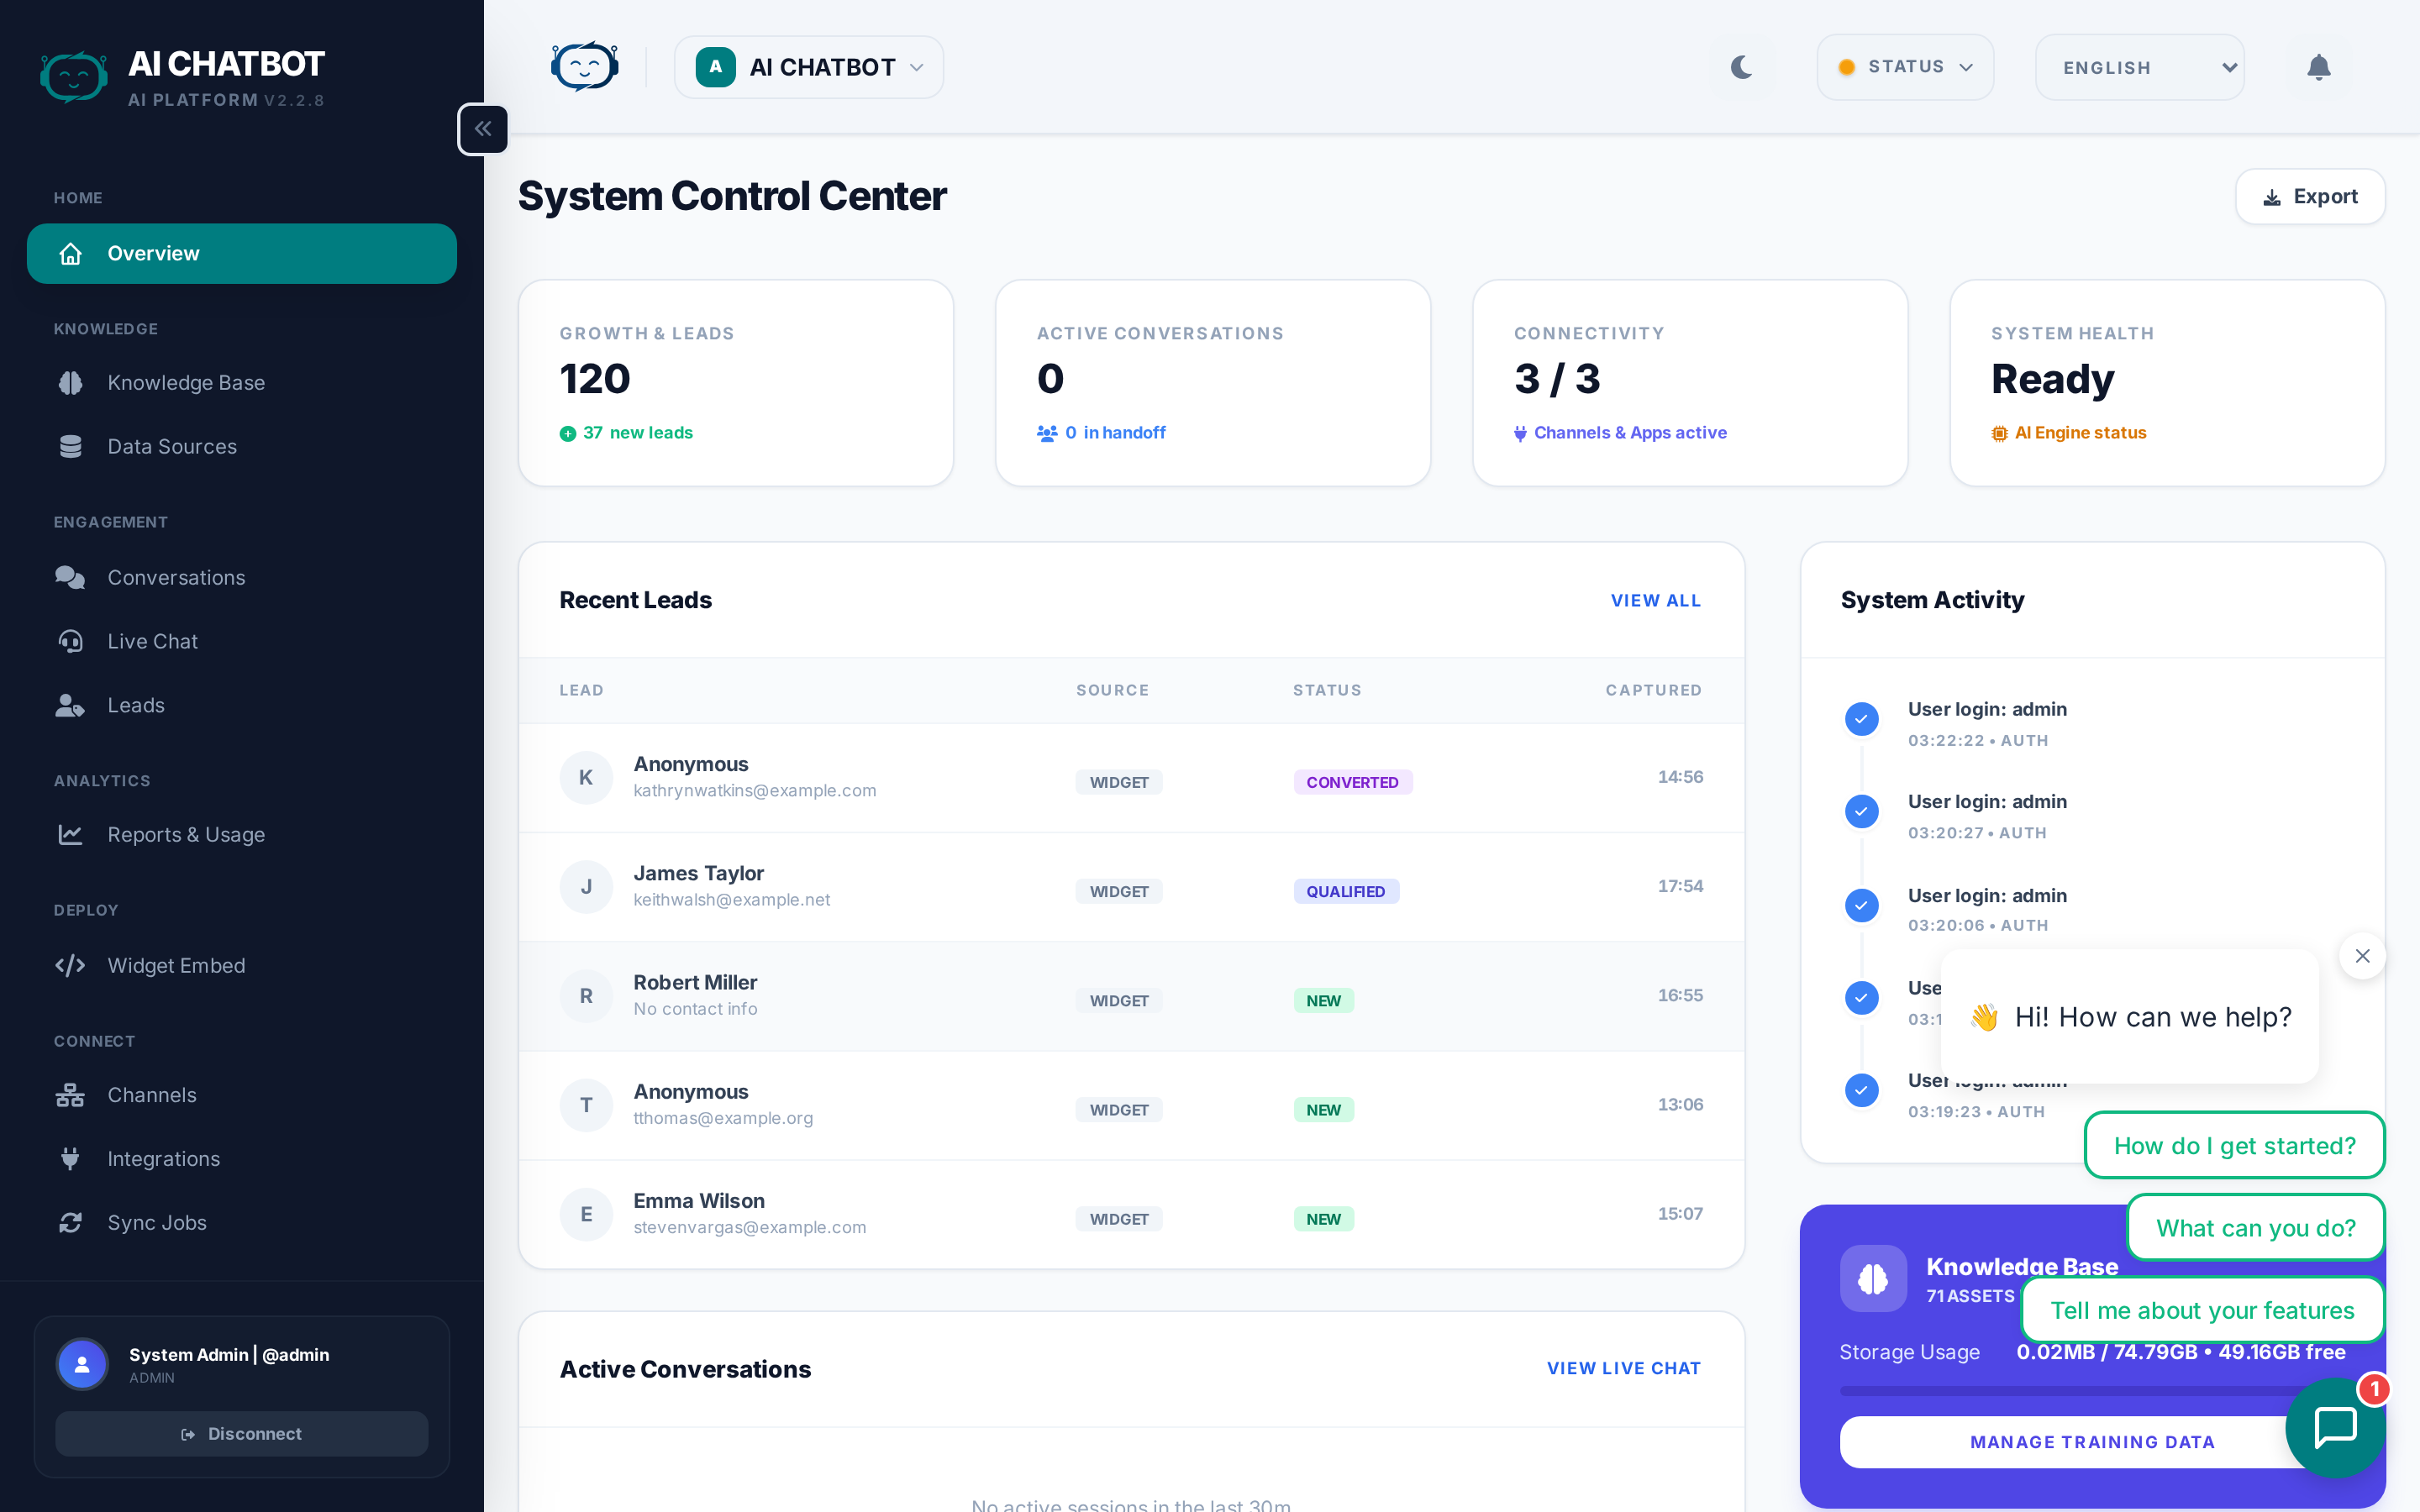
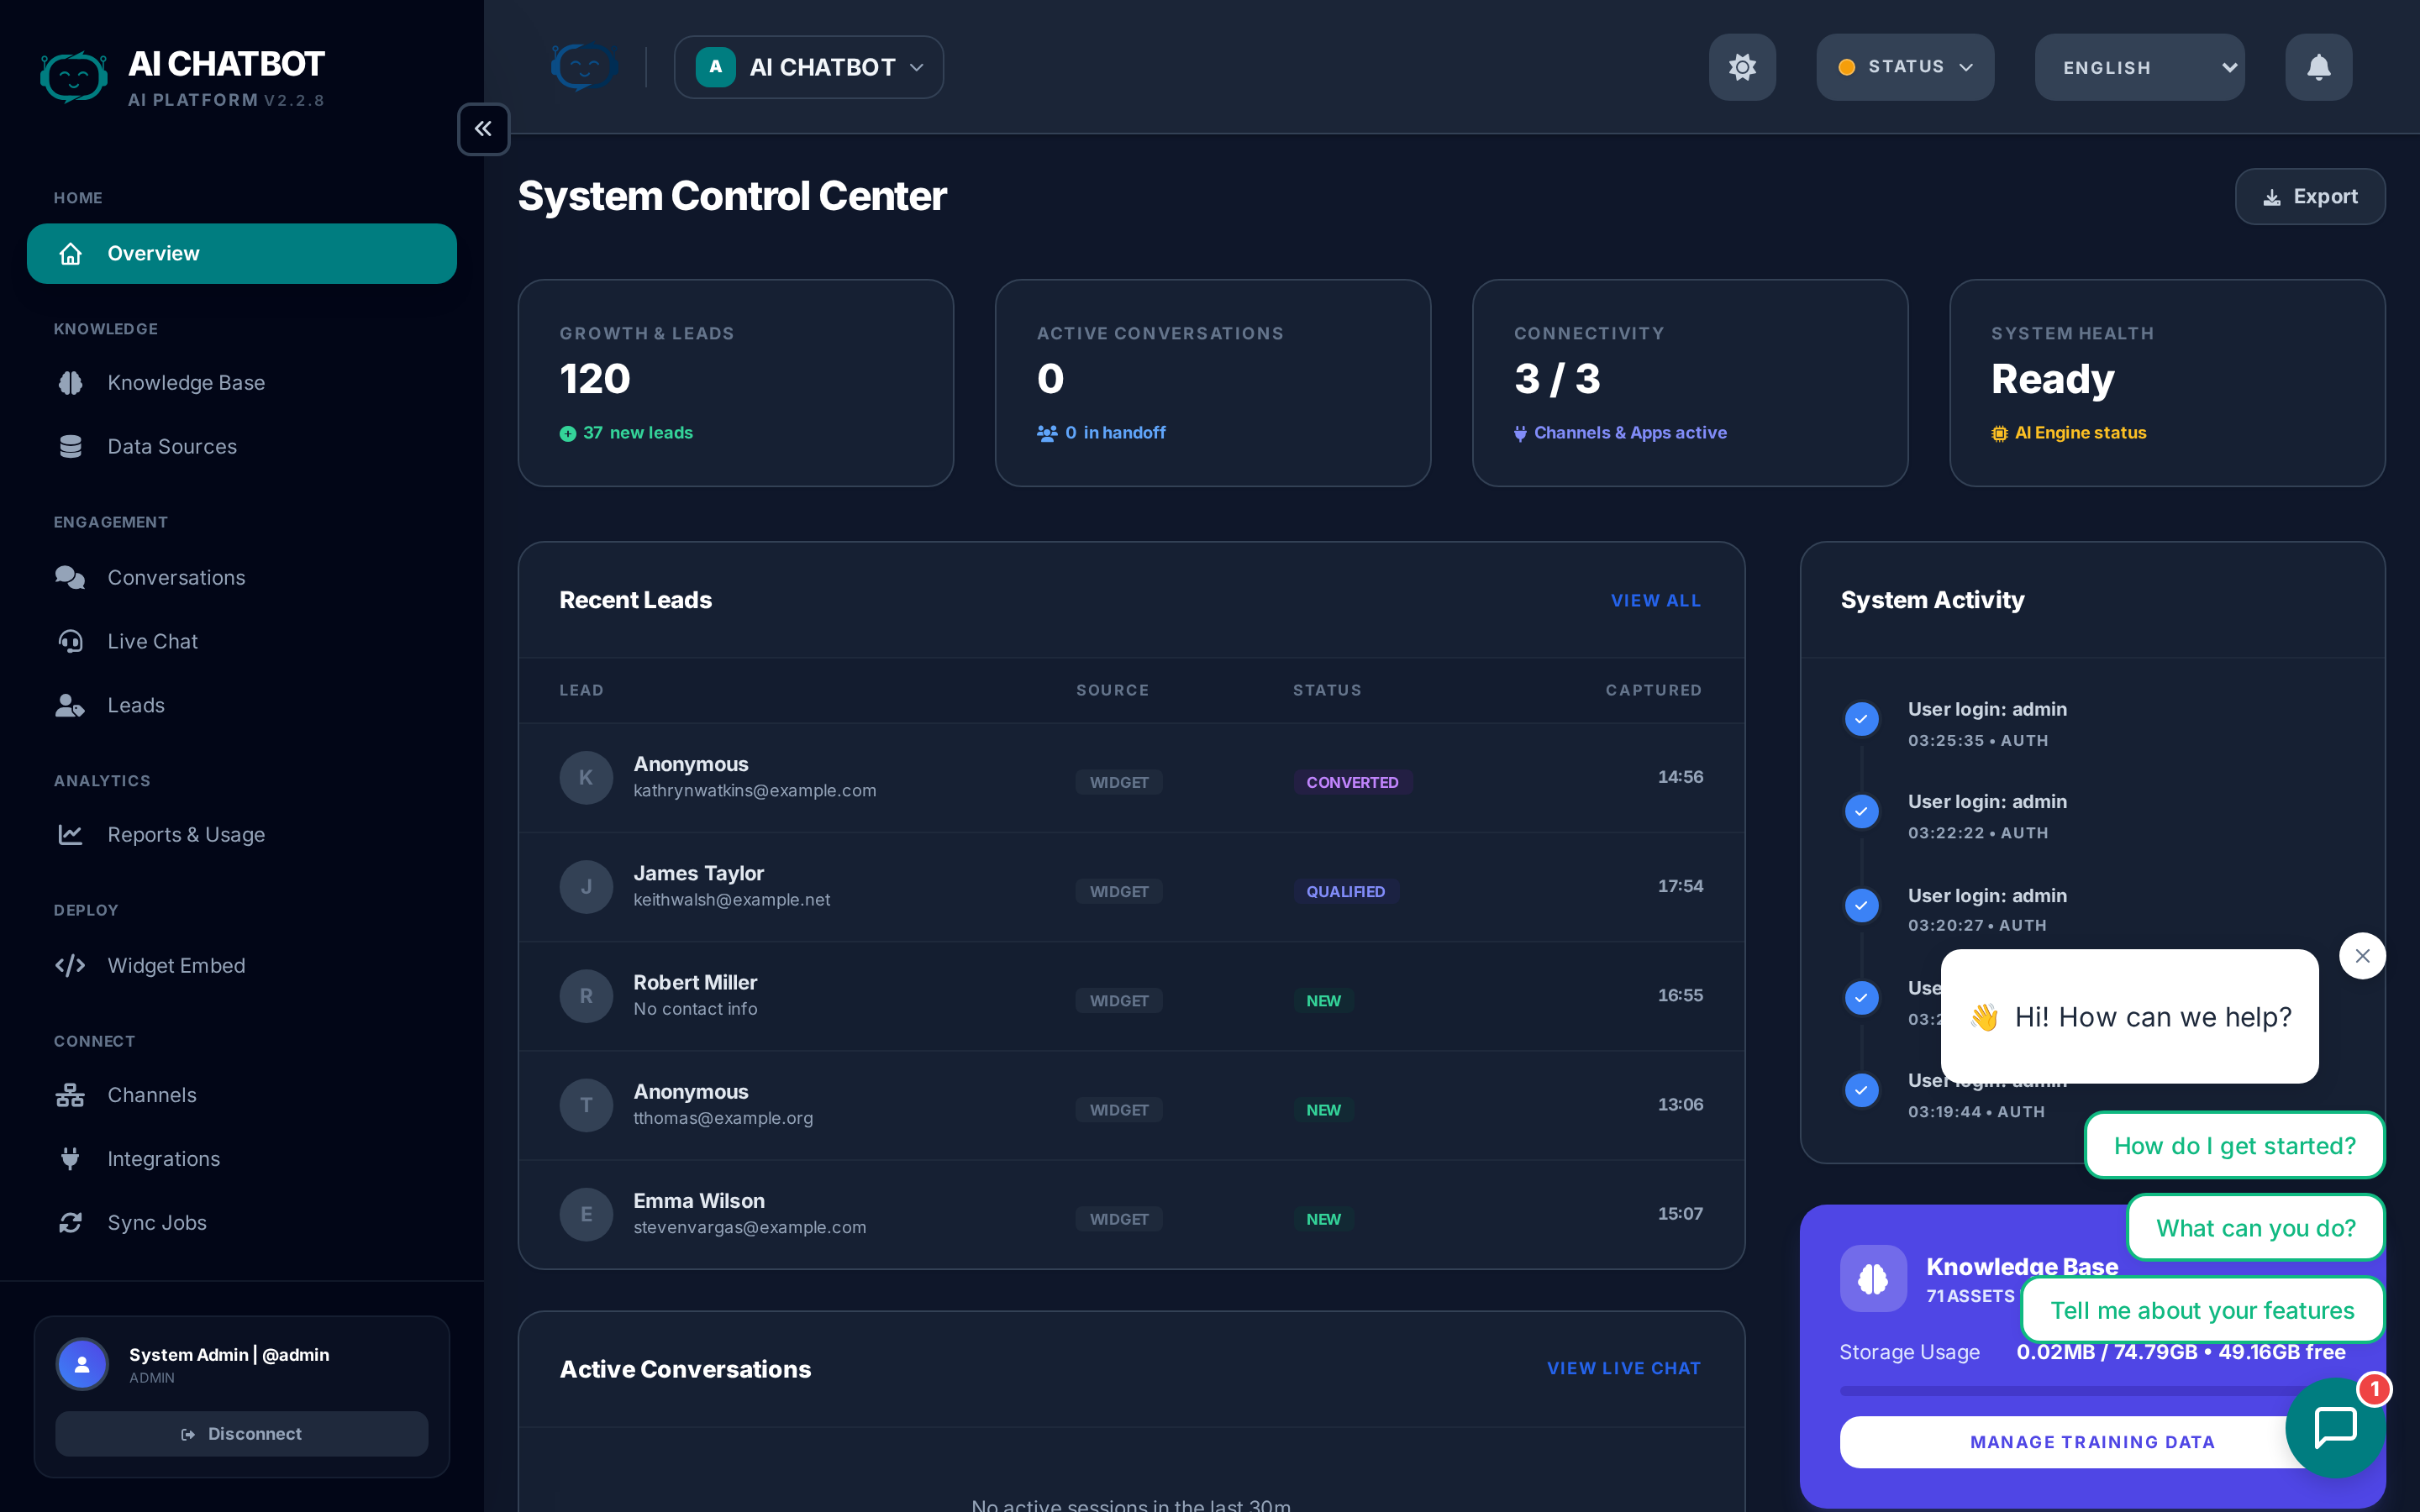
On first access, you'll land on the Overview page. The health indicators at the top should show DB and VEC as green. LLM will be red until you complete Step 2.
What this gives you: Full access to the control center where you configure everything — AI models, knowledge base, branding, integrations, and team access.
Step 2: Connect your AI provider
- Go to Settings → AI Engine.
- Click Connect OpenRouter and authorize the application (OAuth flow).
- Once connected, select an AI model from the dropdown.
Recommended first model: GPT-4o or Claude 3.5 Sonnet — both are fast, reliable, and cost-effective for general use.
Alternative: API Key
If you prefer not to use OAuth, paste an OpenRouter API key directly. Generate one at openrouter.ai.
What this gives you: The bot can now generate AI responses. Without this step, the widget loads but cannot answer questions.
For more detail on choosing models, see AI Models & Providers.
Step 3: Build your Knowledge Base
Go to Knowledge Base in the sidebar and add your business content:
Upload files
- Click Files → Upload and drag in your documents.
- Supported formats: PDF, DOCX, TXT, CSV, JSON, Markdown, PPTX, and more.
- Wait for the status to show Live.
Add website URLs
- Click URLs → Add URL and paste a public webpage.
- The system fetches the page, strips navigation and clutter, and indexes only the readable content.
- You can also provide a sitemap.xml URL to import an entire site.
Create FAQs
- Click FAQs → Add FAQ and enter a question + answer pair.
- FAQs are indexed instantly and take priority over document content.
- Perfect for pricing, policies, and critical answers you want to control exactly.
Start small, then expand
You don't need to upload everything at once. Start with 3-5 key documents or your most important FAQ page, test the bot, then add more content over time.
What this gives you: The bot now has business-specific knowledge. Without content, it can only give generic AI responses.
For the full guide, see Knowledge Base.
Step 4: Deploy the widget
- Go to Dashboard → Embed in the sidebar.
- Copy the embed script that's generated for you.
- Paste it into your website's HTML, just before
</body>. - Refresh your site — the chat widget appears in the bottom-right corner.
<script
  src="https://yourdomain.com:8321/chatbot-widget/v1/js/loader.js"
  data-bot-id="your-bot-id"
  data-bot-name="Your Bot Name"
  data-theme-color="#3b82f6"
  data-backend-url="https://yourdomain.com:8321"
  async>
</script>
Test before going live
Use the built-in test page at https://yourdomain.com:8321/chatbot-widget/test.html to verify the bot responds correctly before adding the widget to your production site.
What this gives you: Visitors can now chat with your AI assistant directly on your website.
For advanced widget options, see Widget & Embed Code.
Quick Start checklist
Use this checklist to confirm everything is working:
- [ ] Dashboard opens and login works
- [ ] Health indicators: DB ✅ VEC ✅ LLM ✅
- [ ] OpenRouter connected and model selected
- [ ] At least one file, URL, or FAQ added to the Knowledge Base
- [ ] Knowledge Base items show Live status
- [ ] Widget embed script added to your website
- [ ] Test chat works end-to-end — bot answers using your content
What to do next
Once the basics are working, explore these areas to get more out of FRENZY.BOT:
| Next step | Where to go |
|---|---|
| Customize branding and colors | Branding & Media |
| Set up lead capture | Lead Management |
| Connect WhatsApp or Telegram | Channels |
| Send leads to your CRM | Integrations |
| Add team members | Users & Permissions |
| Fine-tune AI behavior | AI Models & Providers |
If you get stuck
- Dashboard won't load: Verify the server is running and port 8321 is accessible. Check firewall rules.
- LLM indicator is red: Reconnect OpenRouter in Settings → AI Engine. Verify API key permissions.
- Bot answers generically: Your Knowledge Base may be empty or not yet indexed. Check Sync Jobs.
- Widget doesn't appear on your site: Verify the
data-bot-idanddata-backend-urlin your embed script. Ensure the server is reachable from the public internet.
For more issues, see Troubleshooting.